Page 4
I − APPLICATION
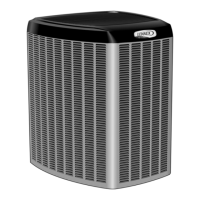
XC14 condensing units are available in 1 1/2, 2, 2 -1/2, 3,
3 -1/2, 4 and 5 ton capacities. All major components (indoor
blower and coil) must be matched according to Lennox rec-
ommendations for the compressor to be covered under war-
ranty. Refer to the Engineering Handbook for approved sys-
tem matchups.
II − UNIT COMPONENTS
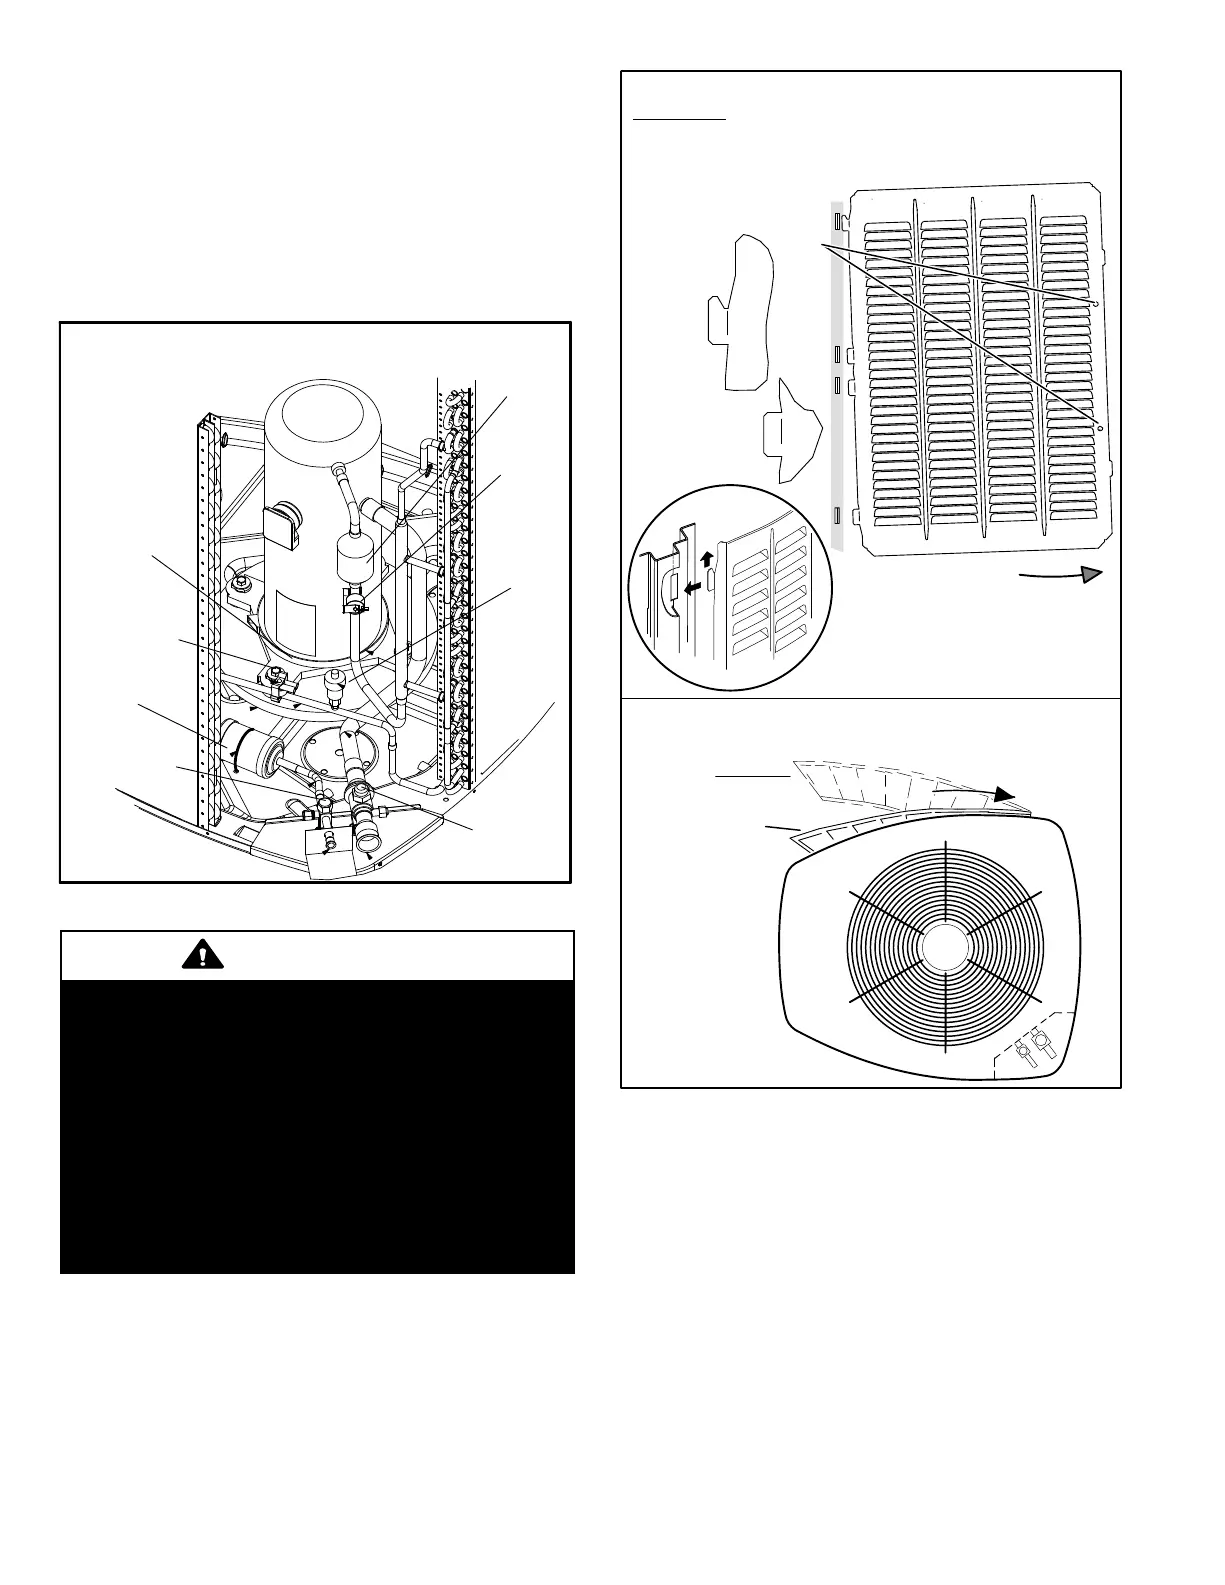
Unit components are illustrated in figure 1.
XC14 PARTS ARRANGEMENT
FIGURE 1
HR1
Crankcaseheater
(−048 & −060)
S4 High
Presure
Switch
Vapor Line
Service Valve
Liquid Line
Service Valve
Muffler
Drier
S40
Crankcaseheater
Thermostat
(−048 & −060)
S5
Discharge
Line
Thermostat
CAUTION
To prevent personal injury, or damage to panels, unit
or structure, be sure to observe the following:
While installing or servicing this unit, carefully stow
all removed panels out of the way, so that the panels
will not cause injury to personnel, nor cause damage
to objects or structures nearby, nor will the panels be
subjected to damage (e.g., being bent or scratched).
While handling or stowing the panels, consider any
weather conditions, especially windy conditions, that
may cause panels to be blown around and battered.
Detail
A
Detail C
Detail
B
FIGURE 2
Removing/Installing Louvered Panels
MAINTAIN MINIMUM PANEL ANGLE (AS CLOSE TO PARALLEL WITH THE UNIT
AS POSSIBLE) WHILE INSTALLING PANEL.
PREFERRED ANGLE
FOR INSTALLATION
Detail D
ROTATE IN THIS DIRECTION;
THEN DOWN TO REMOVE PANEL
SCREW
HOLES
ANGLE MAY BE TOO
EXTREME
HOLD DOOR FIRMLY TO THE HINGED
SIDE TO MAINTAIN
FULLY−ENGAGED TABS
LIP
IMPORTANT! Do not allow panels to hang on unit by top tab. Tab
is for alignment and not designed to support weight of panel.
Panel shown slightly rotated to allow top tab to exit (or enter) top
slot for removing (or installing) panel.
Remove the louvered panels as follows:
1.Remove 2 screws, allowing the panel to swing open slight-
ly (see figure 2).
2.Hold the panel firmly throughout this procedure. Ro-
tate bottom corner of panel away from hinge corner post
until lower 3 tabs clear the slots (see figure 2, Detail B).
 Loading...