 Loading...
Do you have a question about the Lenovo C260 and is the answer not in the manual?
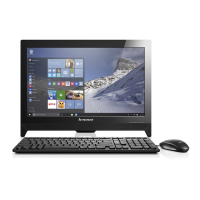
| Storage | Up to 1TB HDD |
|---|---|
| Graphics | Integrated Intel HD Graphics |
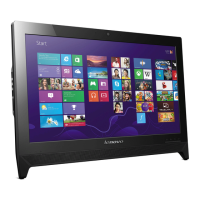
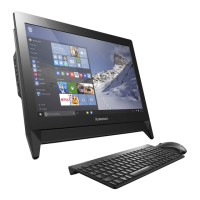
| Operating System | Windows 8.1 |
| Connectivity | Wi-Fi 802.11 b/g/n, Bluetooth 4.0 |
| Audio | Integrated stereo speakers |
| RAM | Up to 8GB DDR3 |
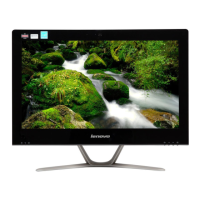
| Display | 19.5-inch (1600x900) |
| Optical Drive | DVD Recordable |
| Ports | 2 x USB 3.0, HDMI, 6-in-1 card reader |
| Processor | Intel Celeron J1800 / Intel Celeron J1900 |
| Weight | 4.1 kg |
Read all CAUTION and DANGER sections before following instructions.
Follow rules to ensure general safety during maintenance and when lifting objects.
Caution: Electrical current from cables is hazardous. Disconnect power before opening.
Guide to identify potential hazards and follow checklist for safe inspection.
Protect against ESD damage by equalizing charge between computer, part, and person.
Electrical grounding is required for operator safety and correct system function.
CAUTION and DANGER notices provided in English regarding hazards.
Lists the physical and environmental specifications for the Lenovo C260 computer.
Procedure to start the Lenovo BIOS Setup Utility program by pressing the F1 key.
System configuration options are listed in the Setup Utility menu.
Set Administrator or Power-On passwords to prevent unauthorized access.
Details on setting, changing, or deleting Administrator Passwords.
Details on setting, changing, or deleting Power-On Passwords.
Enable or disable devices like USB Functions, SATA Mode, Audio, or Ethernet.
Procedure to select a temporary or permanent startup device.
View or permanently change the configured startup device sequence.
How to change the boot mode between UEFI and Legacy.
Instructions on how to exit the BIOS Setup Utility, saving or discarding changes.
Troubleshooting steps and FRU actions for hard disk drive boot errors.
Procedures to check and verify power supply issues and potential FRUs.
List of POST error messages and their corresponding description/action.
Troubleshooting steps for problems not covered by specific error codes.
General information and pre-disassembly instructions before starting repairs.
Steps to perform before starting any disassembly procedure.
Step-by-step instructions for replacing the keyboard and mouse.
Step-by-step instructions for replacing the power adapter.
Step-by-step instructions for replacing the computer stand.
Detailed steps for removing the rear cover of the computer.
Step-by-step instructions for replacing the optical drive.
Step-by-step instructions for replacing a memory module.
Step-by-step instructions for replacing the hard disk drive.
Step-by-step instructions for replacing the Wi-Fi card.
Step-by-step instructions for replacing the speaker system.
Step-by-step instructions for replacing the power switch board.
Step-by-step instructions for replacing the system fan.
Detailed steps for removing and replacing the system motherboard.
Step-by-step instructions for replacing the CPU heat-sink.
Step-by-step instructions for replacing the internal camera.
Step-by-step instructions for replacing the converter board.
Step-by-step instructions for replacing the LED panel.
Information on how power management reduces component power consumption.
Details on ACPI BIOS system allowing OS to control power management.
Features to enable/disable automatic computer startup like Wake Up on Alarm/LAN.
![Preview: Lenovo F0B2 [C20-30]](https://data.easymanua.ls/products/594284/200x200/lenovo-f0b2-c20-30.webp)