MC-12 to MC-12 Balanced Upgrade Instructions
Lexicon
6
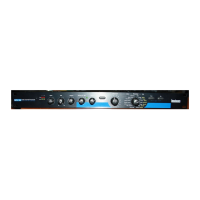
5. Remove the five rear panel screws shown in
the illustration below. These screws are connected to
the analog board.
6. Next, remove the three internal screws connecting
the analog board to the chassis. These screws are
shown in the illustration at the top of page 5. These
screws are black. Do not remove the silver screws.
7. Remove the analog board from the chassis and store
it in a static-free area. (For more information, see the
Electrostatic Discharge (ESD) Precautions on
page 3.)
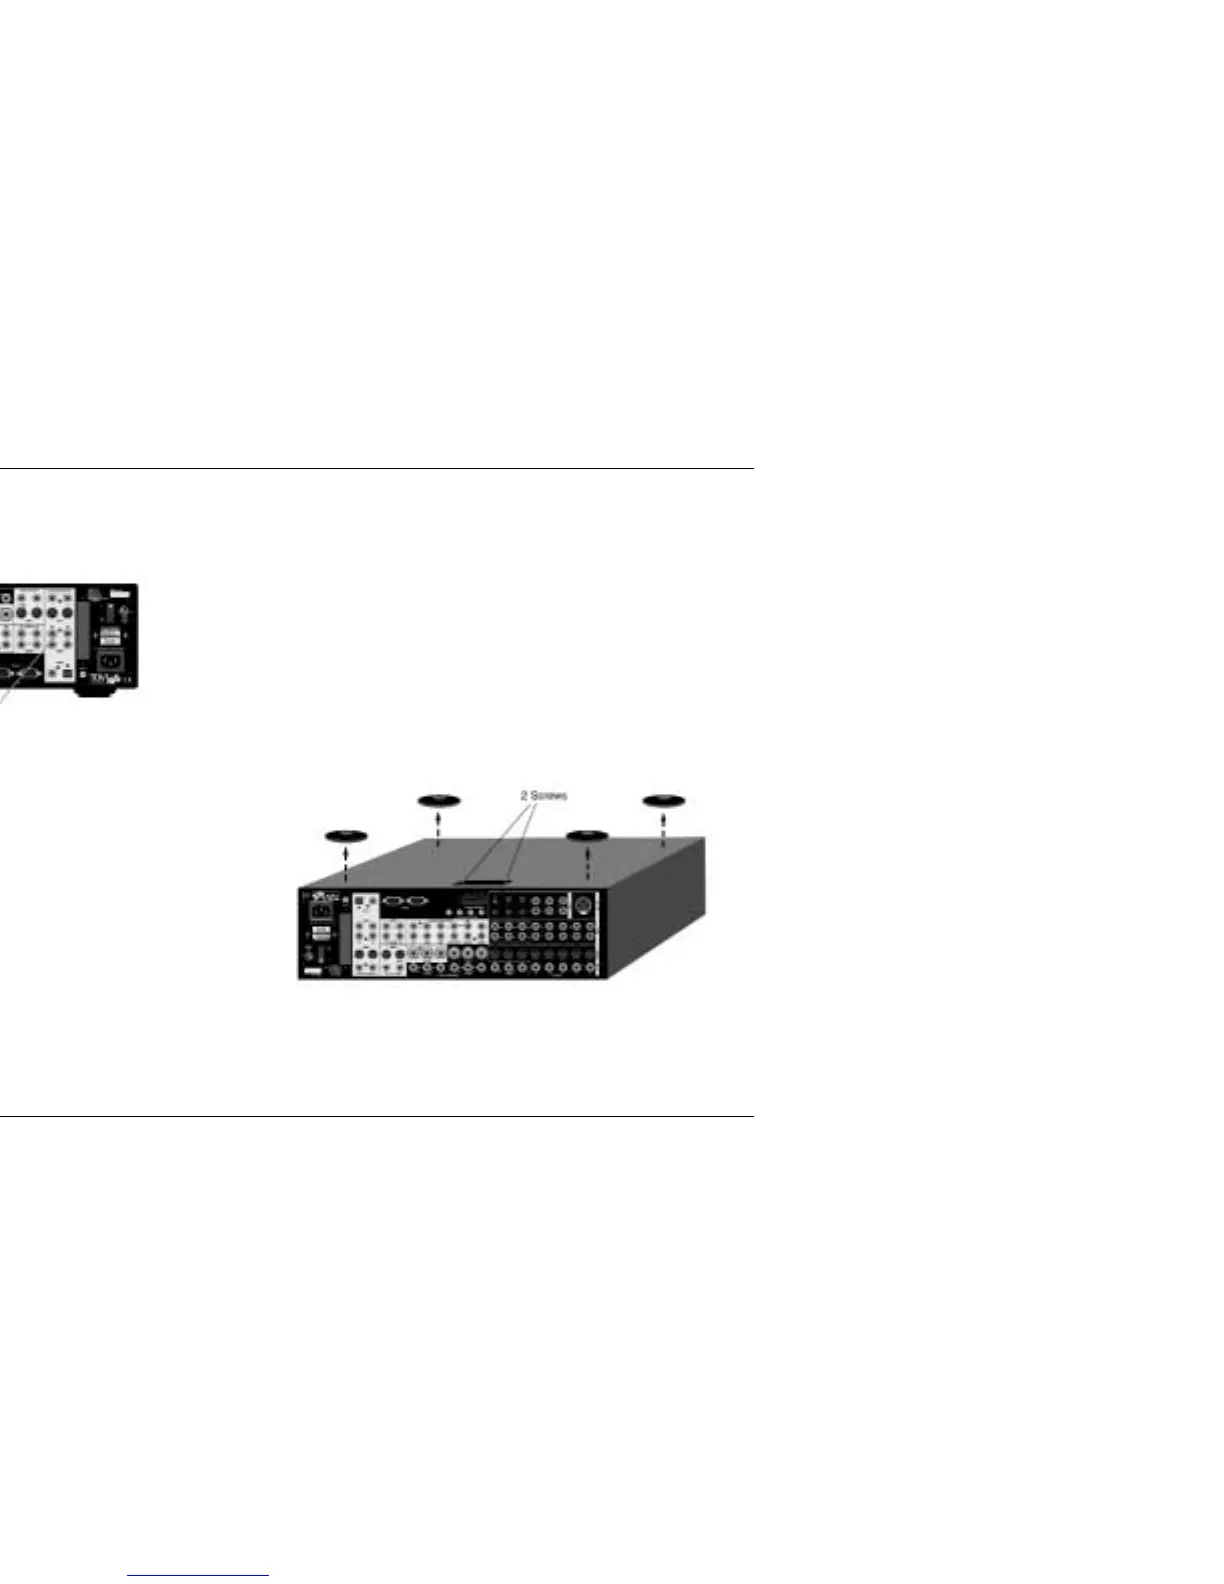
8. Position the unit upside down, as shown in
the illustration below. Remove the two self-tapping
screws on the access panel, also identified in the
illustration below. (The access panel will not be
reinstalled.)
9. Remove the four feet from the bottom of the MC-12,
removing the screws as shown in the illustration
below. (The MC-12 feet will not be re-attached. The
MC-12 Balanced chassis comes with its own rubber
feet already attached.)
 Loading...