Please
follow
the
steps
on
the
following
pages
to
set
up
your
new
printer.
NOTE:
Some
unpacking
steps
are
also
detailed
in
the
Setup
guide
included
with
your
printer.
Those
have
not
been
repeated
here.
See
Setup
guide
for
unpacking
directions
during
step
#1.
1. Follow Steps #1 through #12 in the Setup Guide enclosed with your new Lexmark C543DN
printer.
2. Determine whether you wish to place your printer on your local myMEDIA BurnBar™ network
or communicate with it locally via USB. (If you are unsure of your network requirements or
the preferred connection method, consult your Local Network Administrator.)
3. If you want to connect via USB proceed to Step #4 If you wish to add your new printer to
your local myMEDIA BurnBar™ Network, proceed to Step # 12
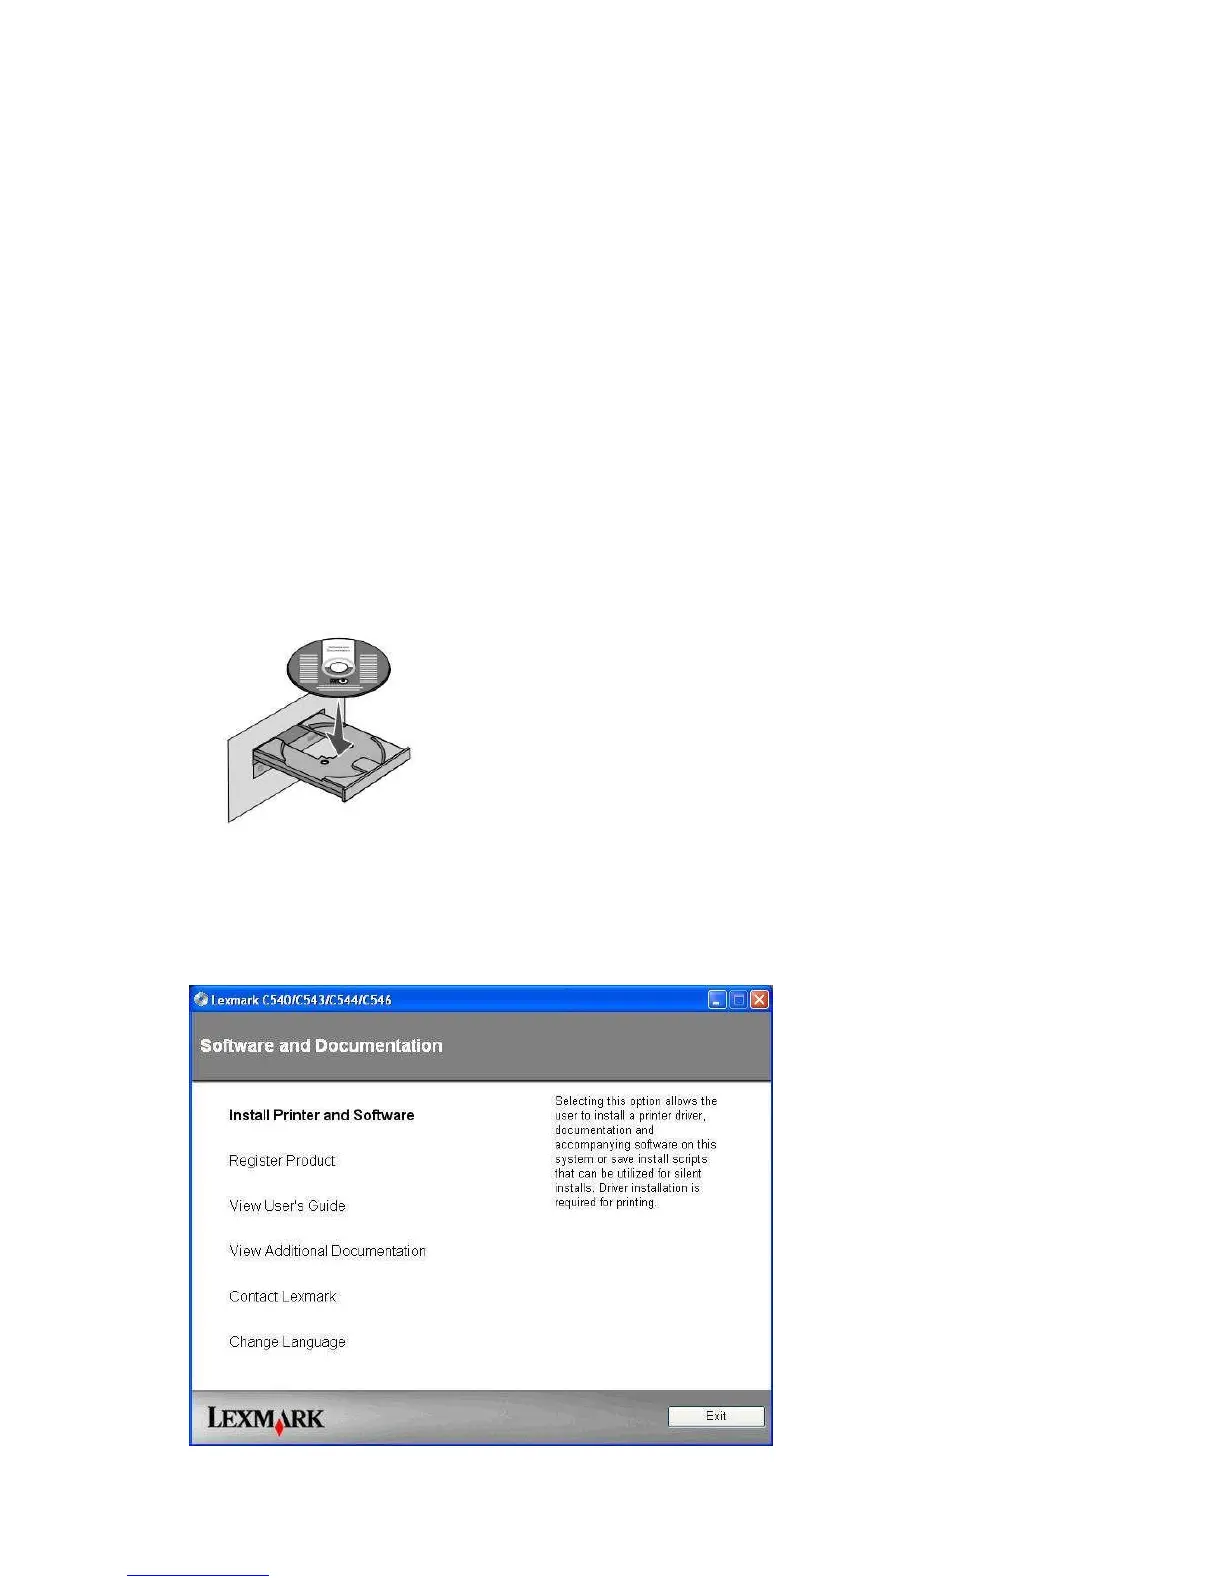
4. Place the disk that came in the Lexmark C543DN Printer box into your DVD drive
.
5. Click on Install Printer and Software.
 Loading...