7
INSTALLATION
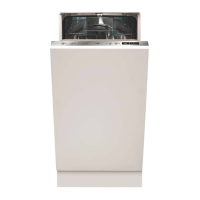
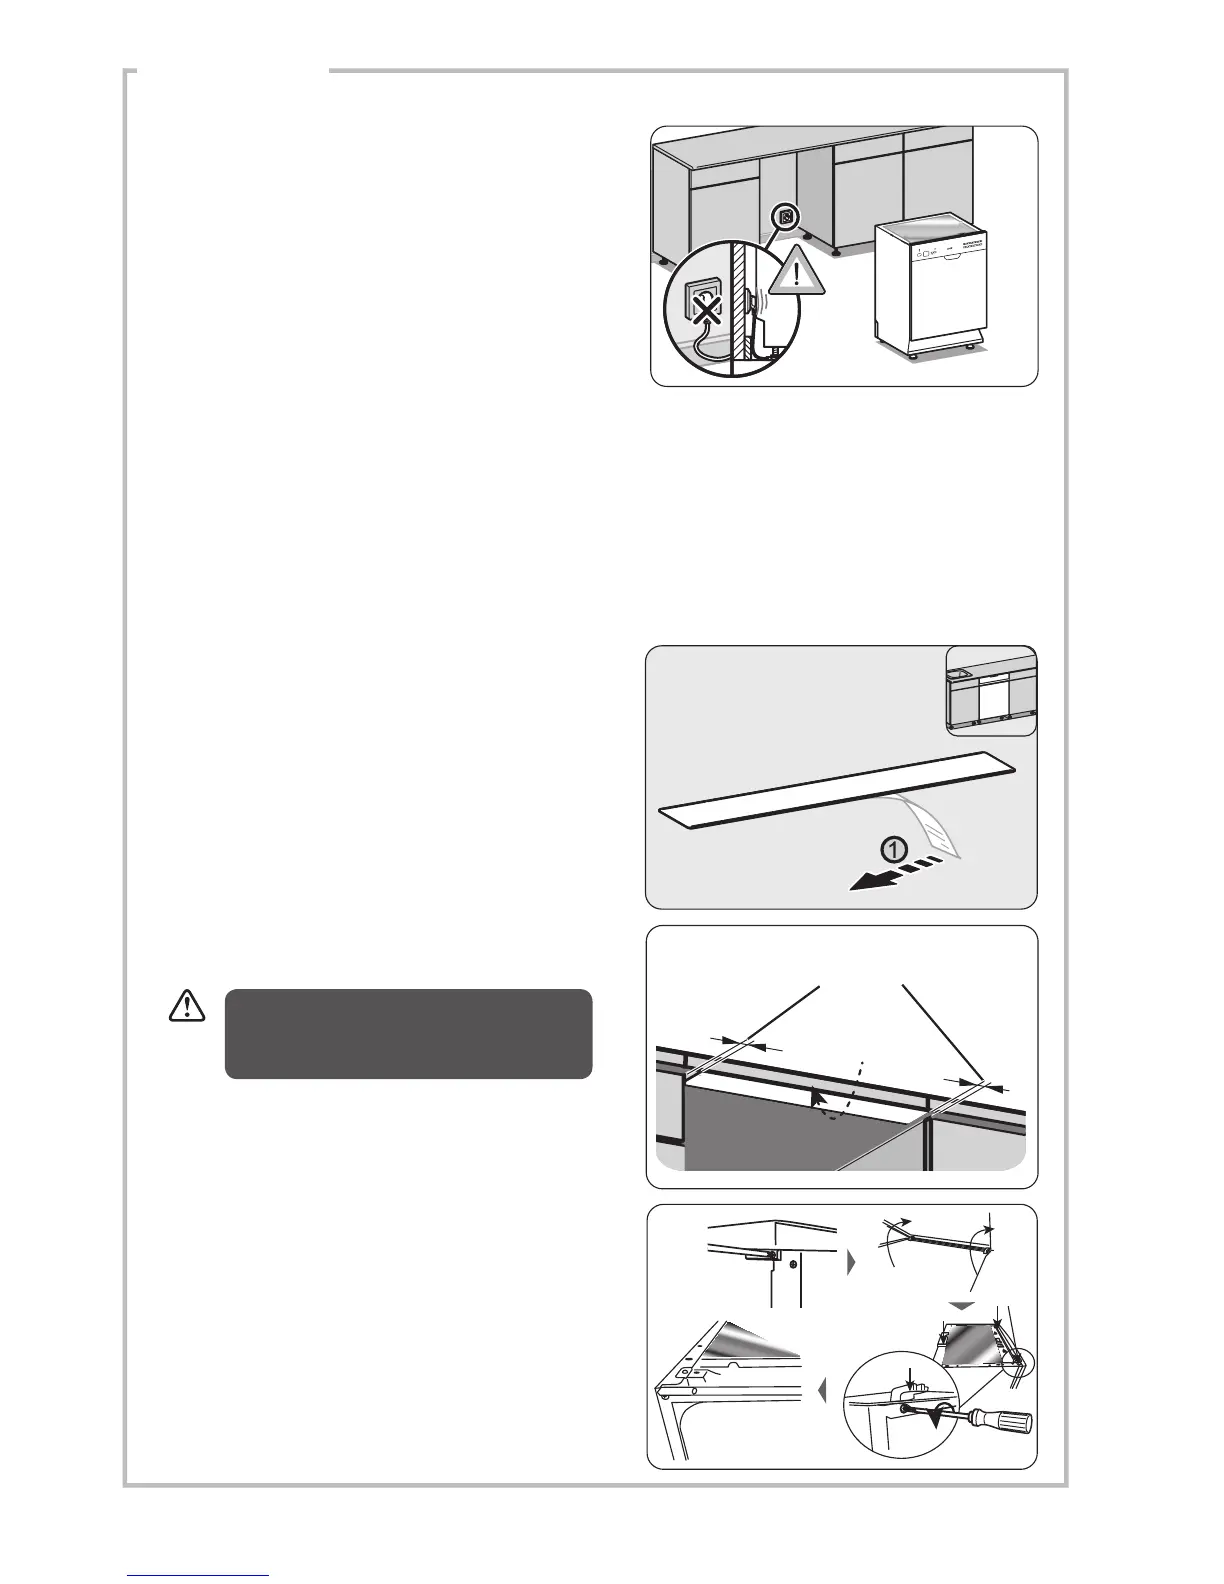
3. If required, the worktop of the dishwasher can
be removed. The height without the worktop
is 820 mm, the minimum dimensions required
to accommodate the dishwasher within fitted
kitchen furniture units.
Do not connect the unit to the mains socket
before installation. Ensure you are not
installing the unit right in front of the mains
socket. This is to avoid potential damage to
the back of the unit.
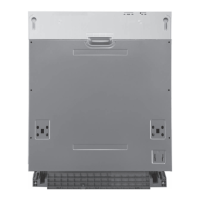
5. The worktop can be removed by removing
the fixing screws located at the rear of the
dishwasher. After removing the screws, lift
and push the worktop forward to release the
lugs from the front section of the dishwasher.
The polystyrene block and the lugs should be
saved for future use.
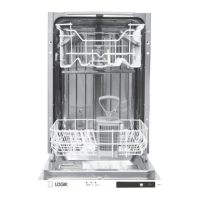
Power
Delay
Start
1/2 Load
3in1 Intensive Normal Eco Rinse Glass Rapid
Remove
Remove
Remove
Unscrew
Stick the Condensation Strip
under the worktop, where you
want to install the dishwasher.
Leave some space
Failure to attach the condensation strip
could result in damage to the underside
of your worktop!
4. The condensation strip must be fitted to
the underside of the worktop above your
dishwasher to protect it against any moisture.
Its purpose is to protect your worktop’s
underside from steam rising from the
dishwasher.
• Ensure the surface is clean prior to sticking
the condensation strip to the underside of
the worktop.
• Remove the backing paper from the
condensation strip.
• Stick the condensation strip to the
underside of the worktop.
 Loading...