INSTALLATION
7
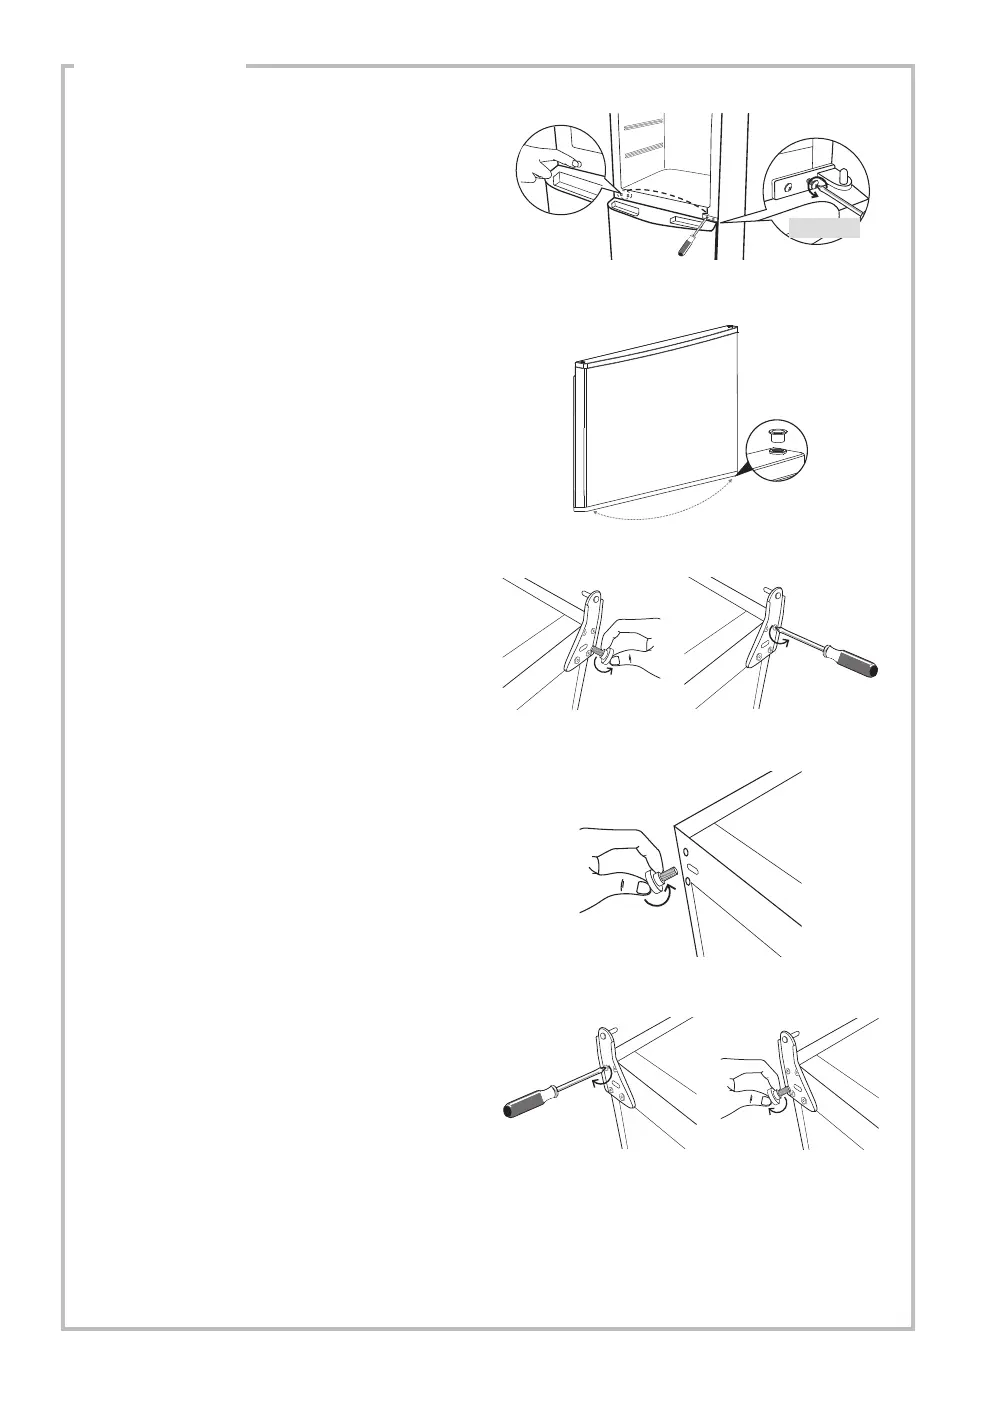
6. Take off the middle hinge by removing
the screws. Lift the lower door and place
it on a padded surface to prevent it from
scratching.
Remove the screws’ covers and place
them to the opposite side.
7. Swap the bottom bushing and bottom
bushing cap of the lower door. The
bottom bushing key must be in the
correct position to allow it to be inserted
correctly.
8. Remove the lower screws, hinge bracket
and adjustable feet from the unit bottom.
9. Remove the screw-type adjustable feet
from another side of the unit bottom and
transfer it to the corresponding position
on the opposite side of the unit bottom.
10. Reattach the two lower screws, hinge
bracket and adjustable feet to the
opposite side of the unit bottom. Loosely
secure. Carefully set the lower door back
into place, sliding it onto the bottom
hinge.
unscrew
unscrew unscrew
screw
screw
 Loading...