TRACKSO CONNECTION MANUAL FOR LUMIAX CHARGE CONTROLLER
Brand: LUMIAX
Type: Solar Charge Controller
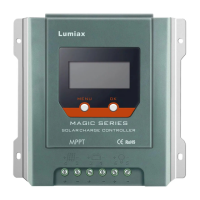
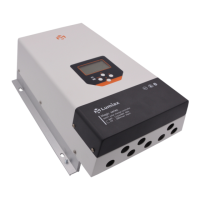
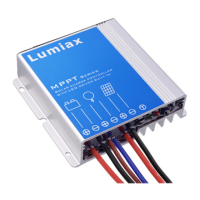
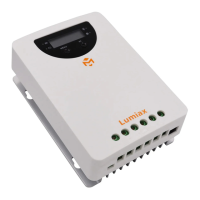
Models: MT2010, MT2075, MT3075BT, MT3010, MT4010, MT4015, MT6020-Pro
CONNECTION DIAGRAM
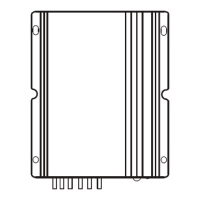
The communication terminals (RS485) are located at the bottom side of the charge controller
Figure L1 – LUMIAX Charge Controller RS485 Port
Connection Steps
1. Create RJ11 wire as per pinout mentioned in photo L1.
2. The charger is equipped with a RS485 port with RJ11 sockets, the
RJ11 interface is defined as mentioned in Figure L1
3. The communication terminals is located at the bottom of the
section as shown in Figure L1
4. Connect the cables to the RS485 bus terminal blocks.
5. Please make the connections from the Terminal Block chip to
TrackSo IoT Gateway as mentioned in the Table – TL1
Controller Pin No.
& Assignment
TrackSo Pin No.
& Assignment
Figure L2 – Lumiax RS485 chip connections with TrackSo IoT Gateway