369480g 3 10.31.14
Installation Overview
Sensor Setup
• Sensor setup is available as a service by Lutron. For more
information see the Sensor Layout and Tuning service
document (Lutron® P/N 3601235).
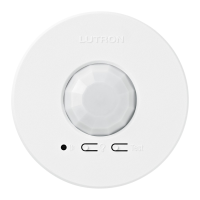
Sensor Placement
• To detect motion, the sensor requires line-of-sight of
room occupants. The sensor must have an unobstructed
view of the room. DO NOT mount behind or near tall
cabinets, shelves, hanging fixtures, ceiling fans, etc. The
sensor cannot see through glass objects such as patio- or
shower doors.
• Hot objects and moving air currents can affect the
performance of the sensor. To ensure proper operation,
the sensor should be mounted at least 4 ft (1.2 m) away
from HVAC vents and light bulbs that are below the ceiling
line.
• The performance of the sensor depends on a temperature
differential between the ambient room temperature and
that of room occupants. Warmer rooms may reduce the
ability of the sensor to detect occupants.
Mounting
Temporary mounting is optional to test sensor coverage
and wireless communication before permanently installing
the sensor.
Drop Ceiling (Compressed Fiber Ceiling Tile)
The mounting wire is provided for both temporary and
permanent mounting of the sensor to ceiling tiles. It is
designed to allow temporary mounting, testing, and
repositioning (if necessary) of the sensor without
damaging a ceiling tile. Once the final position of the
sensor has been chosen, the mounting wire should be
twisted together to permanently secure the sensor in
place.
Solid Ceiling (Drywall, Plaster, Concrete, or
Wood)
• Temporary mounting: Ten (10) temporary mounting strips
can be purchased in the kit, L-CMDPIRKIT, for temporarily
mounting and testing the sensor.
• Permanent mounting: Screws and anchors (for drywall or
plaster) provided to mount the sensor.
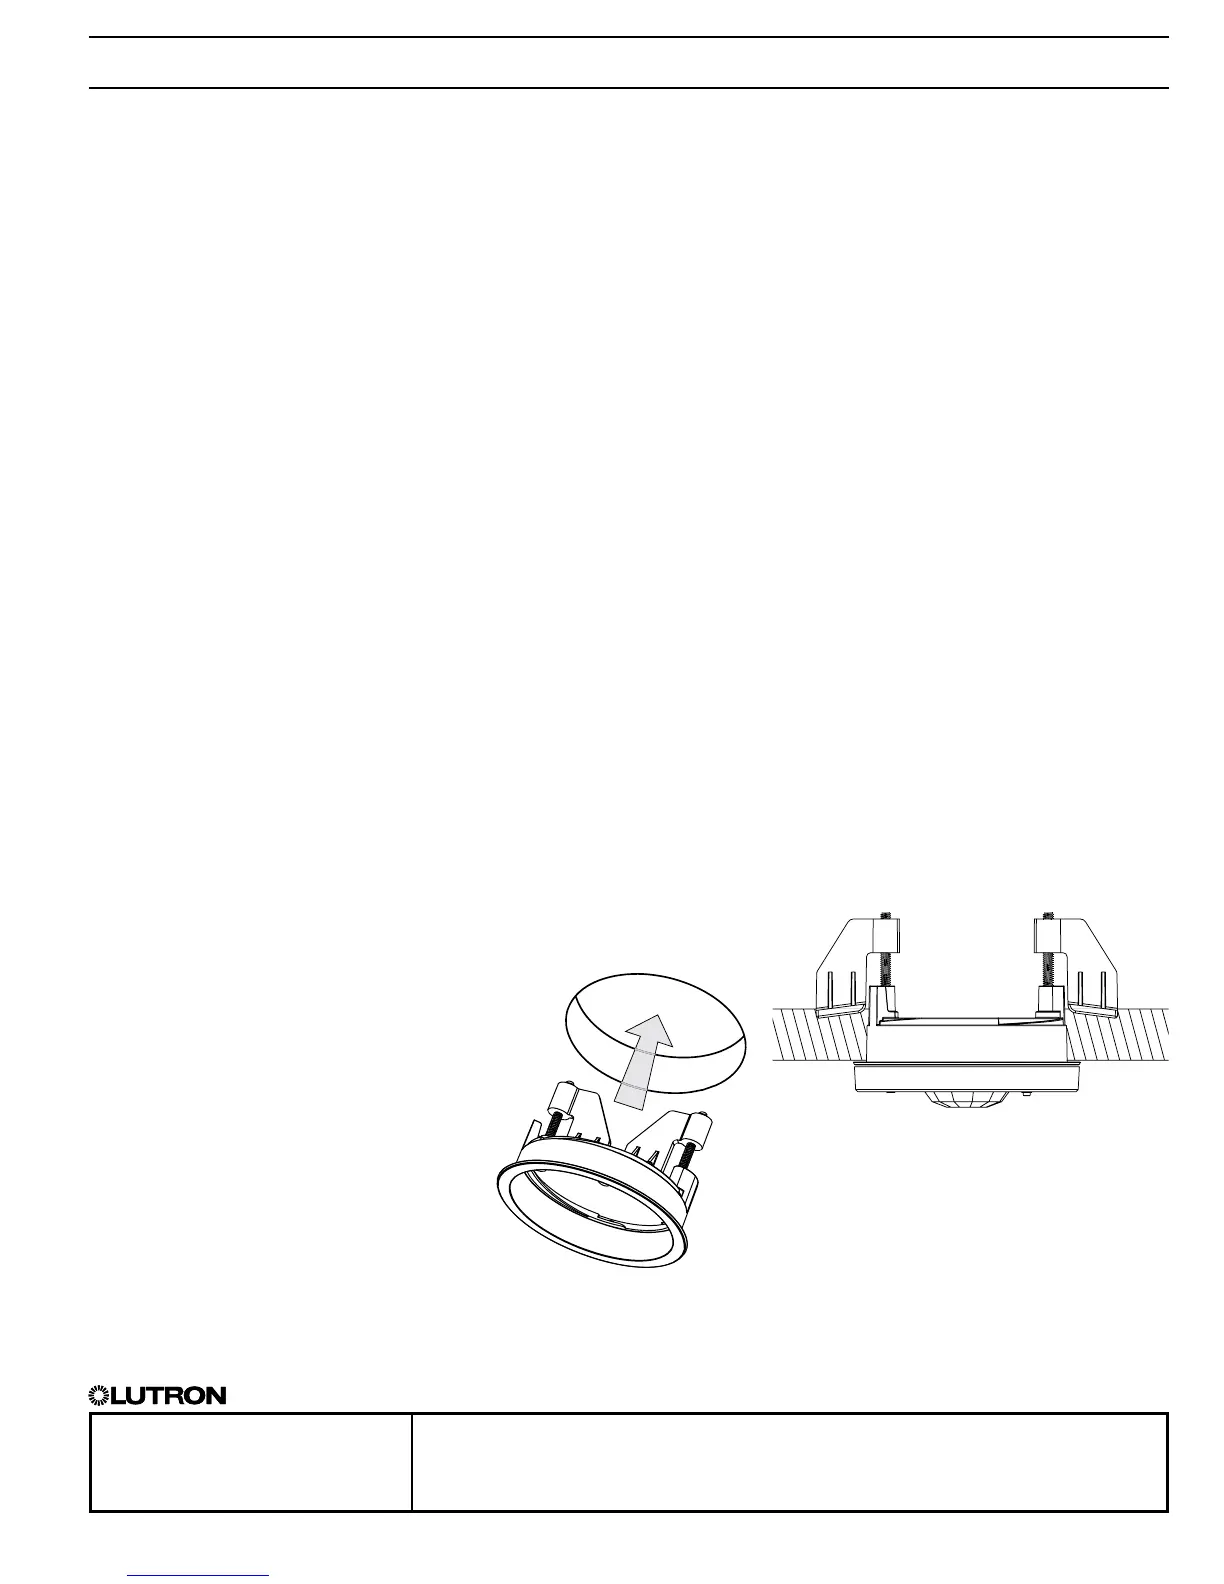
Recess-Mount
• Do not recess-mount sensor in a metal surface.
• Recess-mounting ring requires an opening of 3 in (76 mm)
in diameter.
• Recess-mounting ring secures internally to ceiling. Sensor
twists into the recess mounting ring and sits flush with
ceiling (see image below).
• Recess-mounting ring purchased as a separate kit:
L-CRMK-WH.
 Loading...