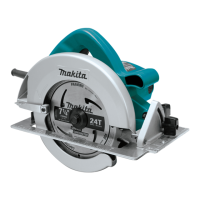
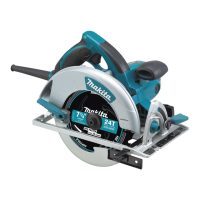
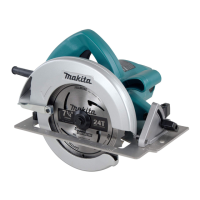
8 ENGLISH
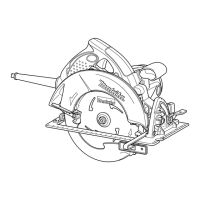
To install hex wrench, place it on the handle and turn
it until it comes into contact with the protrusion on the
handle.
Removing or installing saw blade
1
2
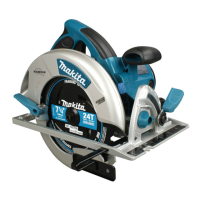
►1. Hex wrench 2. Shaft lock
CAUTION:
• Be sure the blade is installed with teeth pointing
up at the front of the tool.
• Use only the Makita wrench to install or remove
the blade.
To remove the blade, press the shaft lock so that the
blade cannot revolve and use the hex wrench to loosen
the hex bolt counterclockwise. Then remove the hex
bolt,outerangeandblade.
To install the blade, follow the removal procedure in
reverse. BE SURE TO TIGHTEN THE HEX BOLT
CLOCKWISE SECURELY.
12
3
4
5
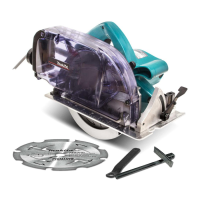
►1. Hex bolt 2.Outerange3. Saw blade 4. Inner
ange5. Ring
When changing blade, make sure to also clean upper
and lower blade guards of accumulated sawdust. Such
efforts do not, however, replace the need to check lower
guard operation before each use.
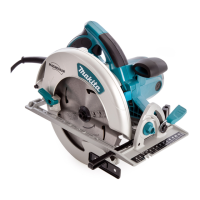
Connecting a vacuum cleaner
(Optional accessory in some countries)
1
2
3
►1. Dust nozzle 2. Screw 3. Lever
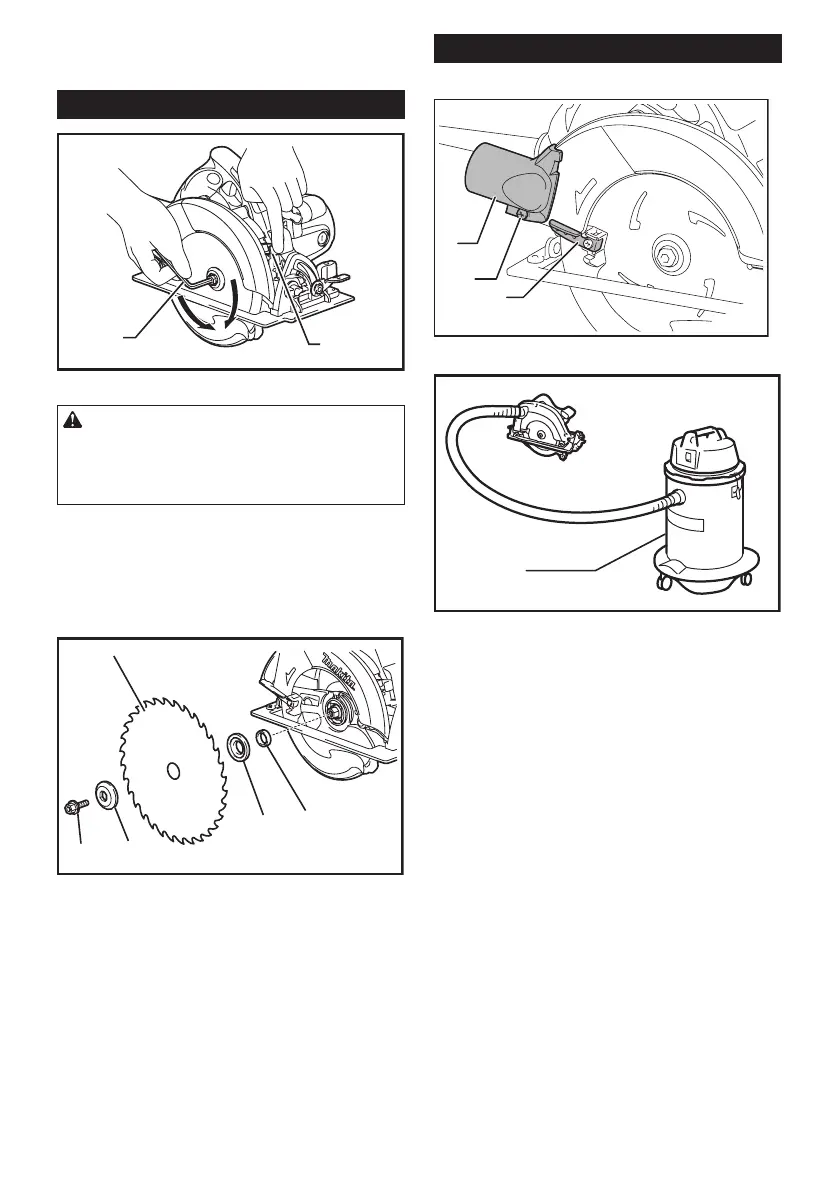
1
►1. Vacuum cleaner
When you wish to perform clean cutting operation,
connect a Makita vacuum cleaner to your tool.
Install the dust nozzle on the tool using the screw. Then
connect a hose of the vacuum cleaner to the dust noz-
zleasshowninthegure.
For tool without dust nozzle provided as a standard
equipment,replacetheleverxedonthelowerguardto
the one supplied with the dust nozzle (optional acces-
sory) at the same time when installing the dust nozzle.
Otherwise you will not be able to make a cut because
the lower guard movement is hindered by the dust
nozzle.

 Loading...