 Loading...
Do you have a question about the Makita AF601 and is the answer not in the manual?
| Operating Pressure | 70-120 PSI |
|---|---|
| Air Inlet | 1/4" NPT |
| Power Source | Pneumatic |
| Shank Type | Smooth |
| Magazine Capacity | 100 |
| Length | 12.5 inches |
Symbol indicating the need to consult the instruction manual.
Symbol for wearing safety glasses.
Symbol indicating prohibition on scaffoldings or ladders.
Warnings specific to pneumatic nailers and staplers.
Fundamental safety rules for tool operation.
Guidelines for maintaining a safe work environment.
Ensure all safety systems function correctly before operation.
Proper use and handling of the contact element.
Do not secure or alter the trigger mechanism.
Ensure correct fastener use and check for proper safety mechanism function.
Load fasteners only when controls are inactive, use specified fasteners.
Adhere to specified air pressure ranges and set to the lower value.
Use only compressed air; avoid other gases.
Disconnect air hose when unattended or performing maintenance.
Use only specified pneumatic tool oil.
Inspect tool condition and tighten loose screws before use.
Handle tool with care, avoid dropping or striking.
Immediately stop use if any tool malfunction is noticed.
Keep hands/feet away from ejection port; do not point at others.
Do not activate tool unless against workpiece; avoid rushing.
Never hold trigger with finger on it; avoid accidental firing.
Avoid using tool on scaffoldings, ladders, or for specific applications.
Check work area for electrical wires or gas pipes before fastening.
Do not use tool for fastening electrical cables.
Maintain good footing and balance; secure air hose.
Drive fasteners from top to bottom on perpendicular surfaces.
Place fasteners carefully to avoid bending or jamming.
Avoid leaving loaded tool in sun; protect from dust and debris.
Choose a compressor with adequate pressure and air output for efficient operation.
Use an appropriately sized and long air hose for continuous nailing.
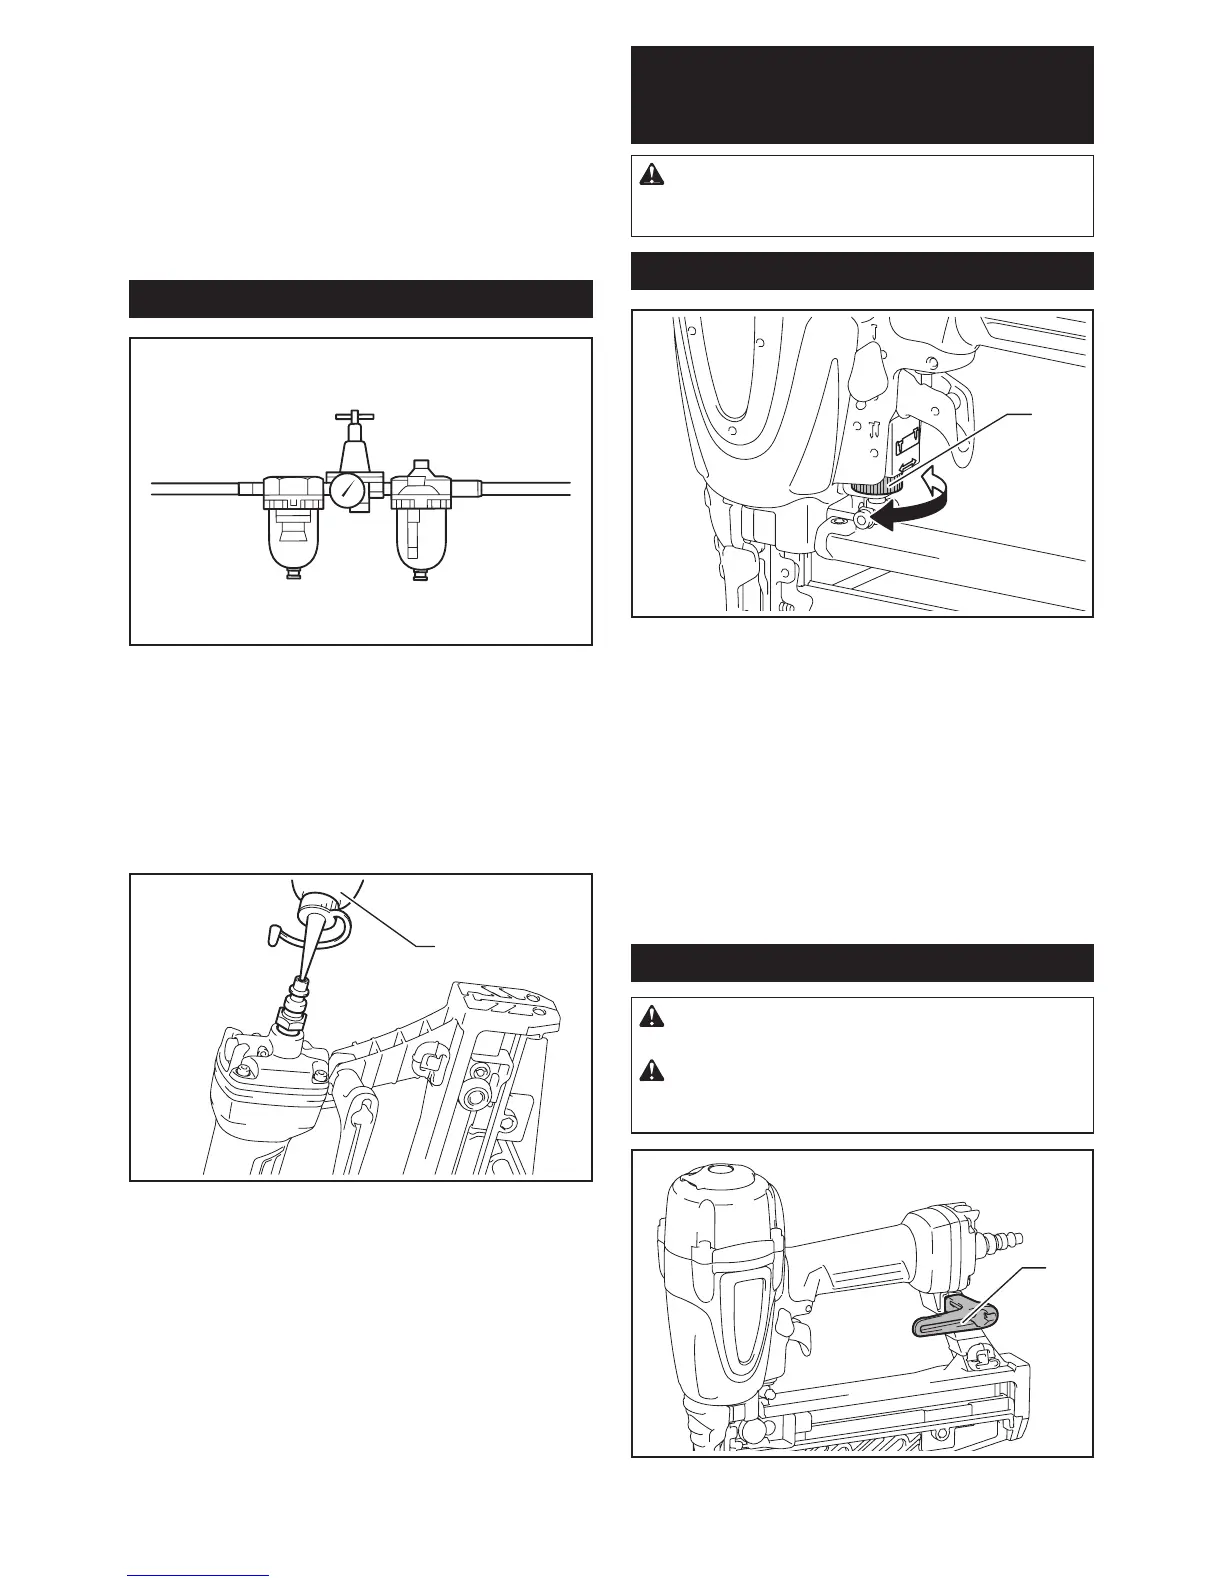
Install oiler, regulator, and air filter close to the tool for maximum performance.
Apply pneumatic tool oil directly to the air fitting if an air set is not used.
Turn adjuster to set nail depth; increase air pressure if needed.
The hook is for temporary hanging of the tool.
Avoid aiming ejection port at others; keep hands/feet clear.
Air supplied to tool can clean work area by pressing button on grip.
Pull pusher lever until locked, insert nails, push strip, return lever.
Pull pusher lever, slide nails towards rear, and remove.
Use the nose adapter to prevent scratching or damaging workpiece surfaces.
Set the actuation mode selector for the desired nailing mode.
Drive one nail per operation by placing contact element and pulling trigger.
Drive nails repetitively by placing contact element with trigger held.
Tool locks contact arm when nails are low to prevent dry firing.
Follow procedures to remove nails; open latch and release door for jammed nail.
Handle nail strips carefully and avoid humid/hot storage.
Check tool condition, screws, contact element, and trigger daily.
Drain compressor and air filter after operation to prevent moisture issues.
Use only recommended accessories to avoid injury risks.