EasyManua.ls Logo

Makita BLS712 User Manual

Makita BLS712
36 pages
To Next Page IconTo Next Page
To Previous Page IconTo Previous Page
Page #15 background imageLoading...
Page #15 background image
15
Adjusting the miter angle
Loosen the grip by turning counterclockwise. Turn the turn
base while pressing down the lock lever. When you have
moved the grip to the position where the pointer points to the
desired angle on the miter scale, securely tighten the grip
clockwise.
CAUTION:
When turning the turn base, be sure to raise the handle
fully.
After changing the miter angle, always secure the turn
base by tightening the grip firmly.
Adjusting the bevel angle
To adjust the bevel angle, loosen the lever at the rear of the
tool counterclockwise.
Push the handle to the left to tilt the saw blade until the
pointer points to the desired angle on the bevel scale. Then
tighten the lever clockwise firmly to secure the arm.
CAUTION:
When tilting the saw blade, be sure to raise the handle
fully.
After changing the bevel angle, always secure the arm
by tightening the lever clockwise.
When changing bevel angles, be sure to position the kerf
boards appropriately as explained in the Positioning kerf
boards section.
Switch action
CAUTION:
Before inserting the battery cartridge into the tool,
always check to see that the switch trigger actuates
properly and returns to the OFF position when
released.
When not using the tool, remove the lock-off button and
store it in a secure place. This prevents unauthorized
operation.
1. Turn base
2. Miter scale
3. Pointer
4. Grip
5. Lock lever
2
5
4
3
1
002197
1. Lever
1. Pointer
2. Bevel scale
3. Arm
1
002198
1
2
3
002199
1. Lock-off button
2. Switch trigger
12
001811
Question and Answer IconNeed help?

Do you have a question about the Makita BLS712 and is the answer not in the manual?
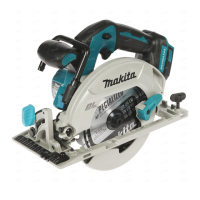
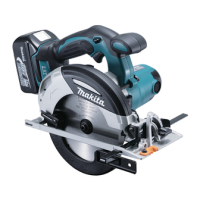
Makita BLS712 Specifications

General IconGeneral
BrandMakita
ModelBLS712
CategoryCordless Saw
LanguageEnglish

Summary

Specifications

General Safety Precautions

Know Your Power Tool

Read manual for applications, limitations, and hazards.

Keep Guards in Place

Ensure guards are in place and working order for safety.

Wear Proper Apparel & Safety Glasses

Avoid loose clothing; wear safety glasses and appropriate footwear.

Reduce Risk of Unintentional Starting

Ensure the switch is in the OFF position before inserting the battery.

Additional Safety Rules

Keep Hands Out of Saw Blade Path

Avoid contact with the saw blade, even when coasting.

Secure Workpiece Firmly

Always secure the workpiece against the base and fence.

Stop Tool Before Adjustments

Turn off the tool and wait for the blade to stop before making adjustments.

Important Safety Instructions for Charger & Battery Cartridge

Charge Makita Batteries Only

Use only Makita rechargeable batteries marked on the charger label.

Replace Damaged Charger Cord

Do not operate charger with a damaged cord or plug.

Do Not Disassemble Charger/Battery

Do not disassemble; seek qualified service for repairs.

Additional Safety Rules for Charger & Battery Cartridge

Charge Battery Within Temperature Range

Charge between 10°C (50°F) and 40°C (104°F).

Prevent Battery Cartridge Short Circuit

Avoid conductive materials touching terminals or storing with metal objects.

Symbols

Installation

Bench Mounting

Securely bolt the tool to a level and stable surface.

Installing or Removing Battery Cartridge

Learn the correct procedure for inserting and removing the battery.

Charging

Plug in Charger

Connect the battery charger to an AC voltage source.

Insert Battery Cartridge

Insert the battery cartridge into the charger until it clicks.

Cooling System

Charger has a cooling fan for battery performance and safety.

Conditioning Charge

Extends battery life by automatically searching optimum charging conditions.

Blade Guard

Positioning Kerf Board

Maintaining Maximum Cutting Capacity

Stopper Arm

Adjusting the Miter Angle

Adjusting the Bevel Angle

Switch Action

Electric Brake

Assembly

Socket Wrench Storage

Installing or Removing Saw Blade

Dust Bag

Securing Workpiece

Vertical Vise

Horizontal Vise (Optional Accessory)

Holders and Holder Assembly (Optional Accessories)

Operation

Press Cutting (Cutting Small Workpieces)

Slide (Push) Cutting (Cutting Wide Workpieces)

Bevel Cut

Compound Cutting

Cutting Crown and Cove Moldings

Measuring

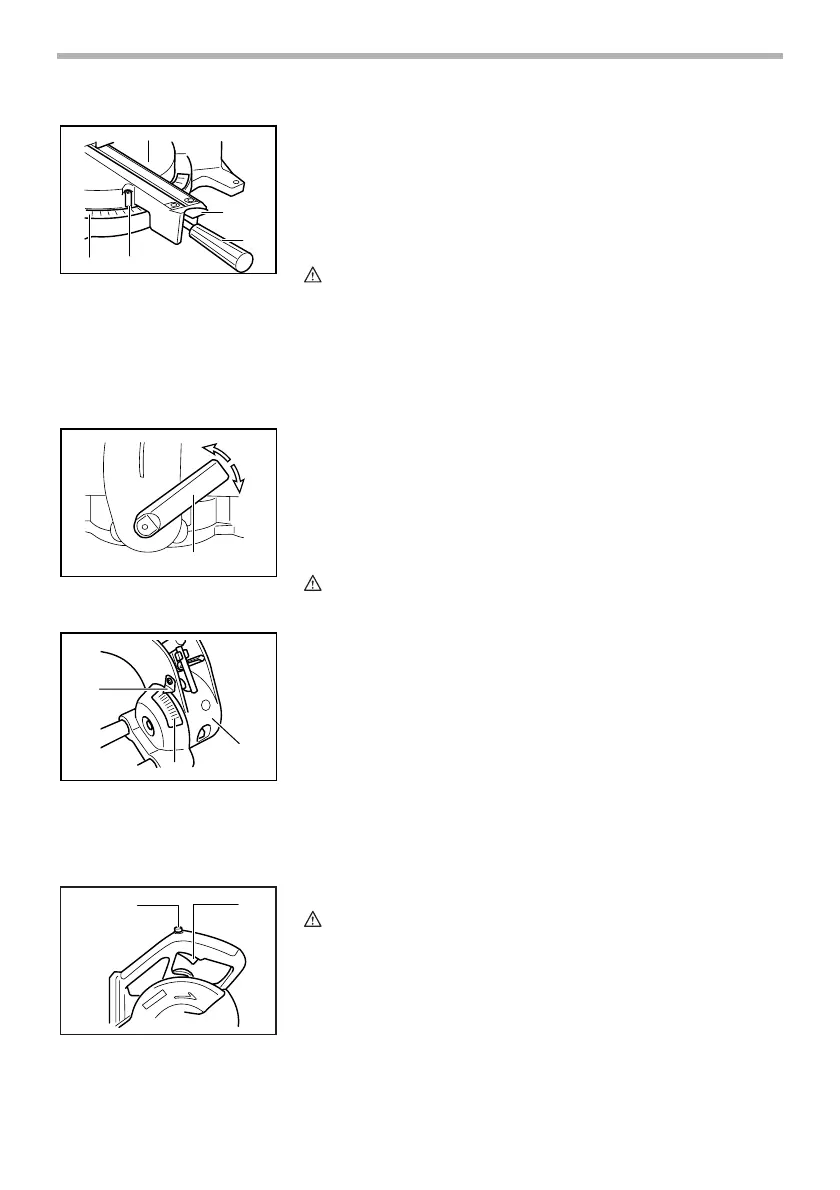
Measure and adjust workpiece for accurate angle cuts.

Miter and Bevel Angle Settings

Cutting Repetitive Lengths

Groove Cutting

Carrying Tool

Maintenance

Miter Angle Adjustment

Align the turn base and pointer to the 0° miter scale.

Bevel Angle Adjustment

Adjust the 0° and 45° bevel angles using adjusting bolts.

Replacing Carbon Brushes

Accessories

Carbide-Tipped Saw Blades

Blades for smooth and precise cutting in various materials.

Factory Service Centres

Makita Limited One Year Warranty

Related product manuals