8 ENGLISH
Adjusting the fastening torque
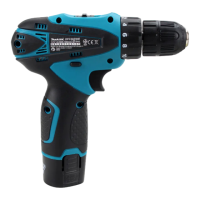
1
2
3
►1.Adjustingring2. Graduation 3. Arrow
Thefasteningtorquecanbeadjustedin21levelsbyturningtheadjustingring.Alignthegraduationswiththearrow
onthetoolbody.Youcangettheminimumfasteningtorqueat1andmaximumtorqueat
marking.
Theclutchwillslipatvarioustorquelevelswhensetatthenumber1to20.Theclutchdoesnotworkat
the marking.
Beforeactualoperation,driveatrialscrewintoyourmaterialorapieceofduplicatematerialtodeterminewhich
torquelevelisrequiredforaparticularapplication.
The following shows the rough guide of the relationship between the screw size and graduation.
Graduation 1 2 3 4 5 6 7 8 9 10 11 12 13 14 15 16 17 18 19 20
Machine screw M4 M5 M6
Wood
screw
Soft wood
(e.g. pine)
– ɸ3.5 x 22 ɸ4.1 x 38
Hard wood
(e.g. lauan)
– ɸ3.5 x 22 –
– ɸ4.1 x 38
ASSEMBLY
CAUTION: Always be sure that the tool is
switched off and the battery cartridge is removed
before carrying out any work on the tool.
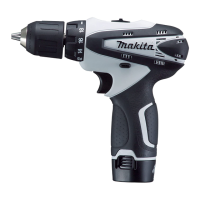
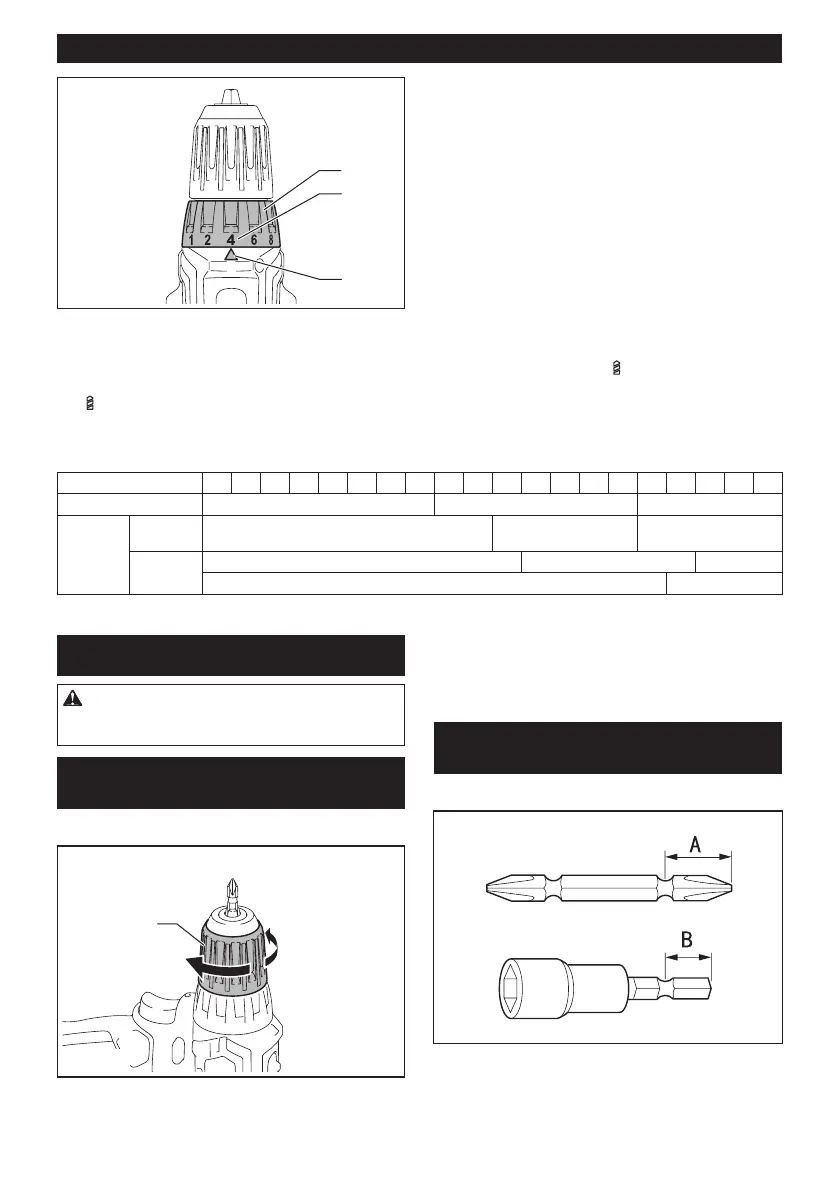
Installing or removing driver bit/
drill bit
For Model DF333D (optional accessory)
3
2
1
►1. Sleeve 2. Close 3. Open
Turn the sleeve counterclockwise to open the chuck
jaws.Placethedriverbit/drillbitinthechuckasfar
as it will go. Turn the sleeve clockwise to tighten the
chuck. To remove the driver bit/drill bit, turn the sleeve
counterclockwise.
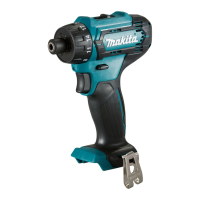
Installing or removing driver bit/
socket bit
For Model DF033D (optional accessory)
Useonlydriverbit/socketbitthathasinsertingportion
showninthegure.Donotuseanyotherdriverbit/
socket bit.

 Loading...