8
OPERATION
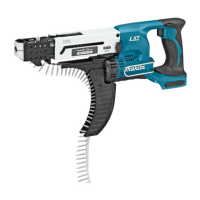
Driving operation
006811
Switch on the tool by pulling the switch trigger. Hold the
tool squarely and firmly up against the driving surface. A
screw will be automatically carried to the driving position
and fastened.
CAUTION:
• Always check the bit carefully for wear before
driving operations. Replace a worn bit or poor
fastening may result.
• Always hold the tool squarely against the driving
surface. Holding it at an angle may damage the
screw heads and cause wear on the bit. This may
also lead to poor fastening.
• Always keep the tool firmly against the driving
surface until the driving is over. Failure to do so
may cause insufficient fastening of screws.
• Be careful not to drive a screw onto another screw
already fastened.
• Do not operate the tool without screws. It will
damage the driving surface.
• If the feeder box does not work smoothly when
driving screws, spray car wax (spray type) on the
sliding surfaces. Never lubricate it.
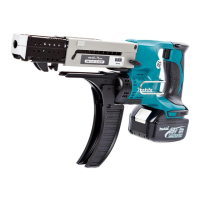
Driving in corner
15mm
1
2
006812
This tool can be used to drive at a position 15 mm away
from the wall as shown in the figure.
CAUTION:
• Driving at a position closer than 15 mm to the wall
or driving with the stopper base in contact with the
wall may damage the screw heads and cause wear
on the bit. This may also lead to poor fastening of
screws and malfunction of the tool.
MAINTENANCE
CAUTION:
• Always be sure that the tool is switched off and the
battery cartridge is removed before attempting to
perform inspection or maintenance.
• Never use gasoline, benzine, thinner, alcohol or the
like. Discoloration, deformation or cracks may
result.
Replacing carbon brushes
1
006258
Replace when they wear down to the limit mark. Keep
the carbon brushes clean and free to slip in the holders.
Both carbon brushes should be replaced at the same
time. Use only identical carbon brushes.
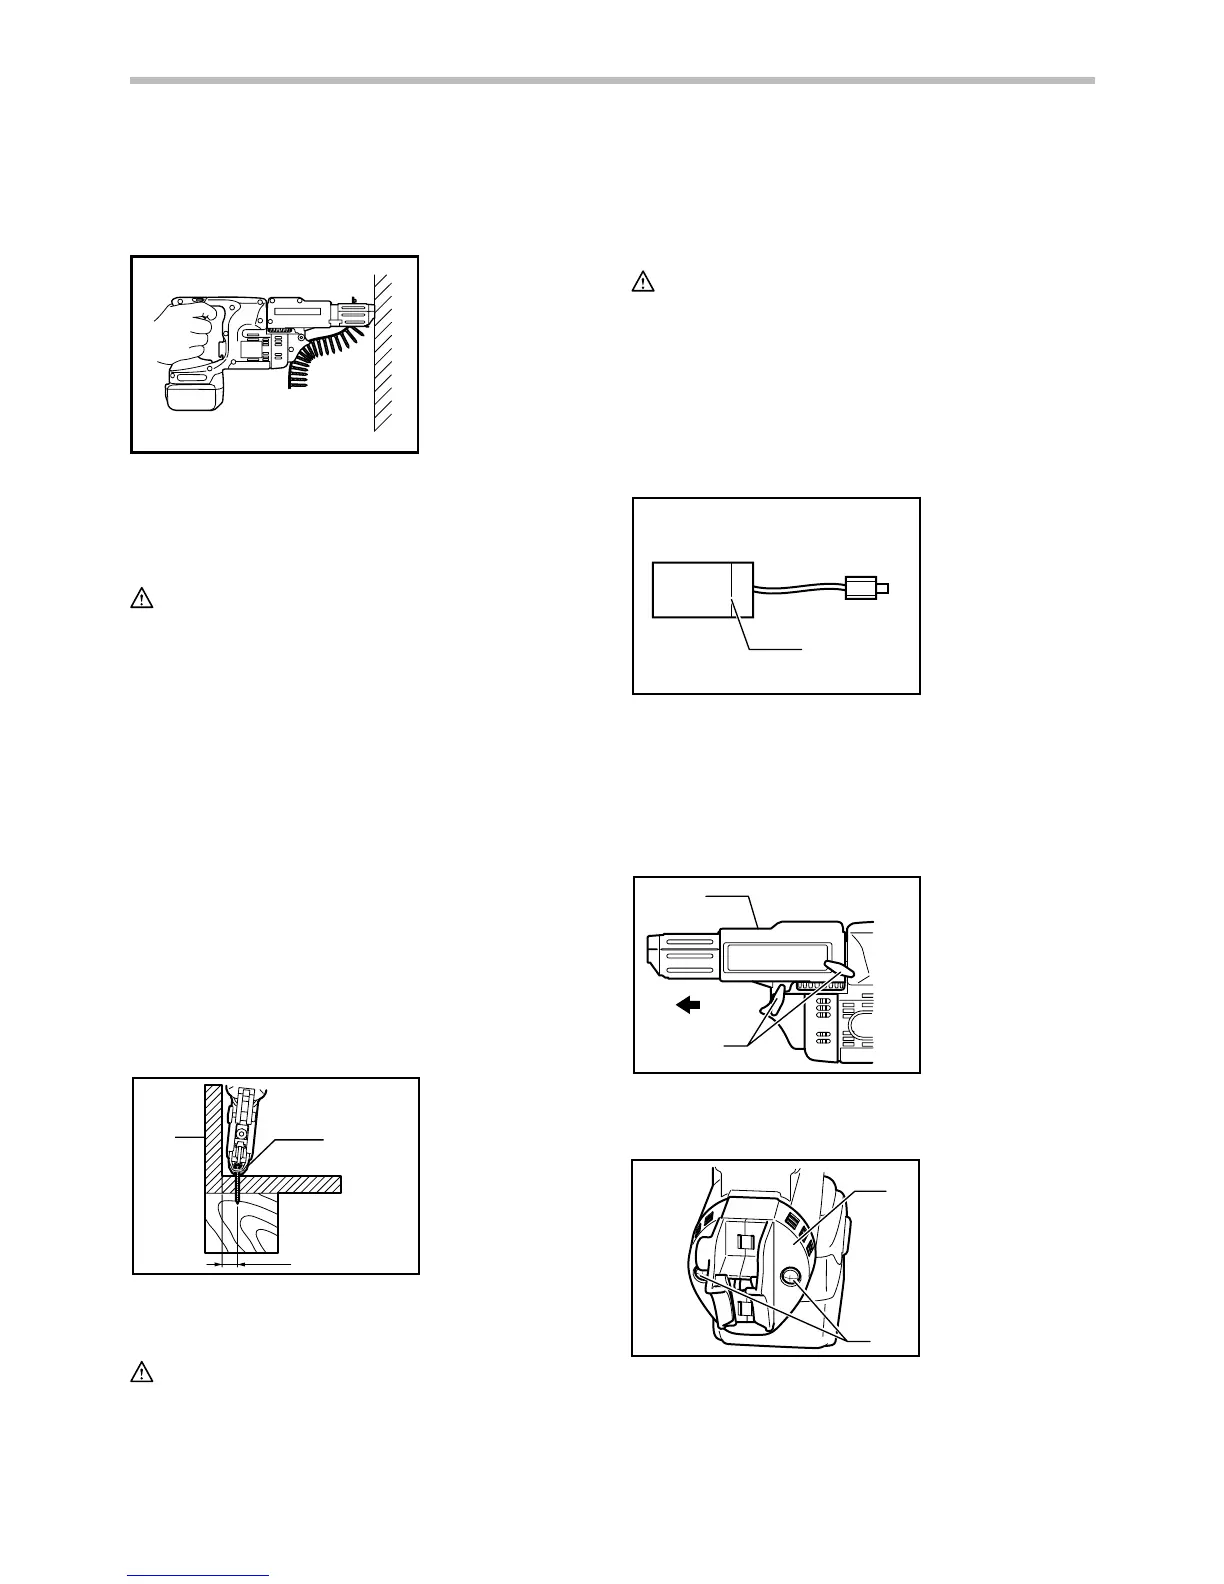
Loosen the thumb screws which secure the casing. Pull
out the casing in the direction of the arrow.
1
2
006813
Use a screwdriver to remove two screws then remove
the front cover.
1
2
006815
Raise the arm part of the spring and then place it in the
recessed part of the housing with a slotted bit
screwdriver of slender shaft or the like.
1. Front cover
2. Screws
1. Casing
2. Thumb screws
1. Limit mark
1. Wall
2. Stopper base
 Loading...