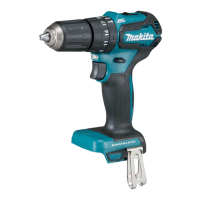
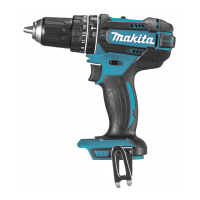
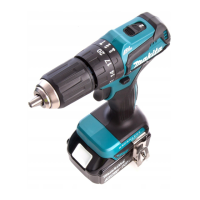
9 ENGLISH
chuck.Toremovethedriverbit/drillbit,turnthesleeve
counterclockwise.
Installing hook
►Fig.11: 1. Groove 2. Hook 3. Screw
Thehookisconvenientfortemporarilyhangingthetool.
Thiscanbeinstalledoneithersideofthetool.Toinstall
the hook, insert it into a groove in the tool housing on
eithersideandthensecureitwithascrew.Toremove,
loosen the screw and then take it out.
Installing driver bit holder
Optional accessory
►Fig.12: 1.Driverbitholder2.Driverbit
Fitthedriverbitholderintotheprotrusionatthetoolfoot
on either right or left side and secure it with a screw.
Whennotusingthedriverbit,keepitinthedriverbit
holders.Driverbits45mm-longcanbekeptthere.
OPERATION
CAUTION: Always insert the battery cartridge
all the way until it locks in place. If you can see the
redindicatorontheuppersideofthebutton,itisnot
locked completely. Insert it fully until the red indicator
cannotbeseen.Ifnot,itmayaccidentallyfalloutof
thetool,causinginjurytoyouorsomeonearound
you.
CAUTION: When the speed comes down
extremely, reduce the load or stop the tool to
avoid the tool damage.
Holdthetoolrmlywithonehandonthegripandthe
otherhandonthebottomofthebatterycartridgeto
control the twisting action.
►Fig.13
Screwdriving operation
CAUTION: Adjust the adjusting ring to the
proper torque level for your work.
CAUTION: Make sure that the driver bit is
inserted straight in the screw head, or the screw
and/or driver bit may be damaged.
First, turn the action mode changing ring so that the
arrowonthetoolbodypointstothe marking.
Placethepointofthedriverbitinthescrewheadand
apply pressure to the tool. Start the tool slowly and then
increase the speed gradually. Release the switch trigger
as soon as the clutch cuts in.
NOTE: When driving wood screw, pre-drill a pilot hole
2/3thediameterofthescrew.Itmakesdrivingeasier
and prevents splitting of the workpiece.
Hammer drilling operation
CAUTION: There is a tremendous and sud-
den twisting force exerted on the tool/drill bit
at the time of hole breakthrough, when the hole
becomes clogged with chips and particles, or
when striking reinforcing rods embedded in the
concrete.
First, turn the action mode changing ring so that the
arrowonthetoolbodypointstothe marking.The
adjustingringcanbealignedinanytorquelevelsfor
this operation.
Besuretouseatungsten-carbidetippeddrillbit.
Positionthedrillbitatthedesiredlocationforthehole,
then pull the switch trigger. Do not force the tool. Light
pressuregivesbestresults.Keepthetoolinposition
and prevent it from slipping away from the hole.
Donotapplymorepressurewhentheholebecomes
clogged with chips or particles. Instead, run the tool at
anidle,thenremovethedrillbitpartiallyfromthehole.
Byrepeatingthisseveraltimes,theholewillbecleaned
outandnormaldrillingmayberesumed.
Blow-out bulb
Optional accessory
►Fig.14: 1.Blow-outbulb
Afterdrillingthehole,usetheblow-outbulbtocleanthe
dust out of the hole.
Drilling operation
First, turn the action mode changing ring so that the
arrow points to the marking.Thenproceedas
follows.
Drilling in wood
Whendrillinginwood,thebestresultsareobtained
withwooddrillsequippedwithaguidescrew.Theguide
screwmakesdrillingeasierbypullingthedrillbitinto
the workpiece.
Drilling in metal
Topreventthedrillbitfromslippingwhenstartinga
hole, make an indentation with a center-punch and
hammeratthepointtobedrilled.Placethepointofthe
drillbitintheindentationandstartdrilling.
Useacuttinglubricantwhendrillingmetals.Theexcep-
tionsareironandbrasswhichshouldbedrilleddry.
 Loading...