EasyManua.ls Logo

Makita DHP486 User Manual

Makita DHP486
12 pages
To Next Page IconTo Next Page
To Previous Page IconTo Previous Page
Page #10 background imageLoading...
Page #10 background image
10 ENGLISH
Installing hook
CAUTION: When installing the hook, always
secure it with the screw rmly. If not, the hook
may come o󰀨 from the tool and result in the personal
injury.
CAUTION: Use the hanging/mounting parts
for their intended purposes only. Using for unin-
tended purpose may cause accident or personal
injury.
3
2
1
1. Groove 2. Hook 3. Screw
The hook is convenient for temporarily hanging the tool.
This can be installed on either side of the tool. To install
the hook, insert it into a groove in the tool housing on
either side and then secure it with a screw. To remove,
loosen the screw and then take it out.
NOTICE: When hanging the tool on your belt
using the hook, remove the bit and the side grip.
Installing driver bit holder
Optional accessory
1
2
1. Driver bit holder 2. Driver bit
Fit the driver bit holder into the protrusion at the tool foot
on either right or left side and secure it with a screw.
When not using the driver bit, keep it in the driver bit
holders. Driver bits 45 mm-long (1-3/4") can be kept
there.
OPERATION
Hold the tool rmly with one hand on the grip and the
other hand on the handle to control the twisting action.
NOTICE: When the speed comes down extremely,
reduce the load or stop the tool to avoid the tool
damage.
NOTICE: Do not cover vents, or it may cause over-
heating and damage to the tool.
1
1. Vent
Screwdriving operation
CAUTION: Adjust the adjusting ring to the
proper torque level for your work.
CAUTION: Make sure that the driver bit is
inserted straight in the screw head, or the screw
and/or driver bit may be damaged.
First, turn the adjusting ring so that the arrow on the tool
body points to the proper fastening torque level (1 - 21).
Place the point of the driver bit in the screw head and
apply pressure to the tool. Start the tool slowly and then
increase the speed gradually. Release the switch trigger
as soon as the clutch cuts in.
NOTE: When driving wood screw, pre-drill a pilot hole
2/3 the diameter of the screw. It makes driving easier
and prevents splitting of the workpiece.
Question and Answer IconNeed help?

Do you have a question about the Makita DHP486 and is the answer not in the manual?
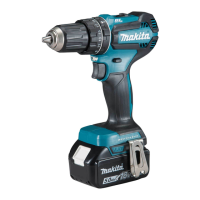
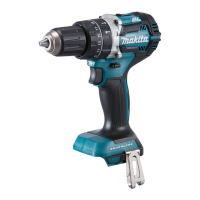
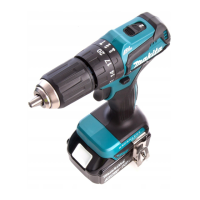
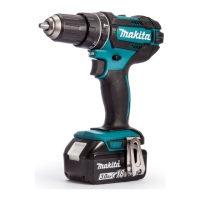
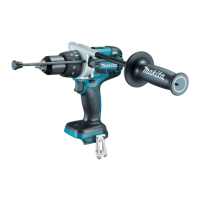
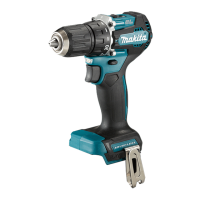
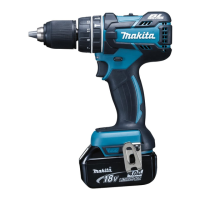
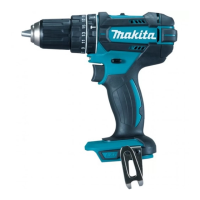
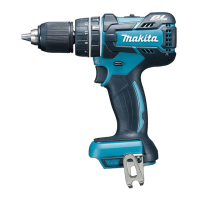
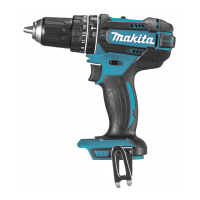
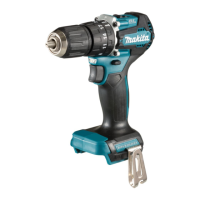
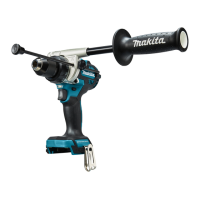
Makita DHP486 Specifications

General IconGeneral
BrandMakita
ModelDHP486
CategoryDrill
Voltage18V
Max Torque (Soft)50 Nm
No Load Speed (Lo)0 - 550 rpm
No Load Speed (Hi)0 - 2, 100 rpm
Blows per Minute (Hi)0 - 31, 500 bpm
Chuck Capacity1.5 - 13 mm
Max. Drilling Capacity in Masonry16 mm
Max. Drilling Capacity in Steel13 mm
Max. Drilling Capacity in Wood76 mm
Battery TypeLithium-Ion
TypeHammer Driver Drill
Blows per Minute (Lo)0 - 8, 250 bpm
Weight2.0 - 2.7 kg

Summary

Safety Warnings

General Power Tool Safety

Provides essential safety precautions applicable to all power tools.

Work Area Safety

Outlines safety measures to maintain a secure and hazard-free work environment.

Power Tool Use and Care

General Use and Care

Instructions for safe and proper operation, maintenance, and storage of the power tool.

Battery Tool Use and Care

Guidelines for charging, handling, and storing battery cartridges safely.

Cordless Hammer Drill Safety

Operational Safety Instructions

Specific safety precautions for operating the cordless hammer drill.

Specific Safety Instructions

Battery Cartridge Safety

Critical safety guidelines for handling and using battery cartridges to prevent hazards.

Tool Operation Features

Speed and Mode Adjustment

Operation

Screwdriving Operation

Detailed steps for performing screwdriving tasks with the tool.

Drilling Operations

Hammer Drilling Operation

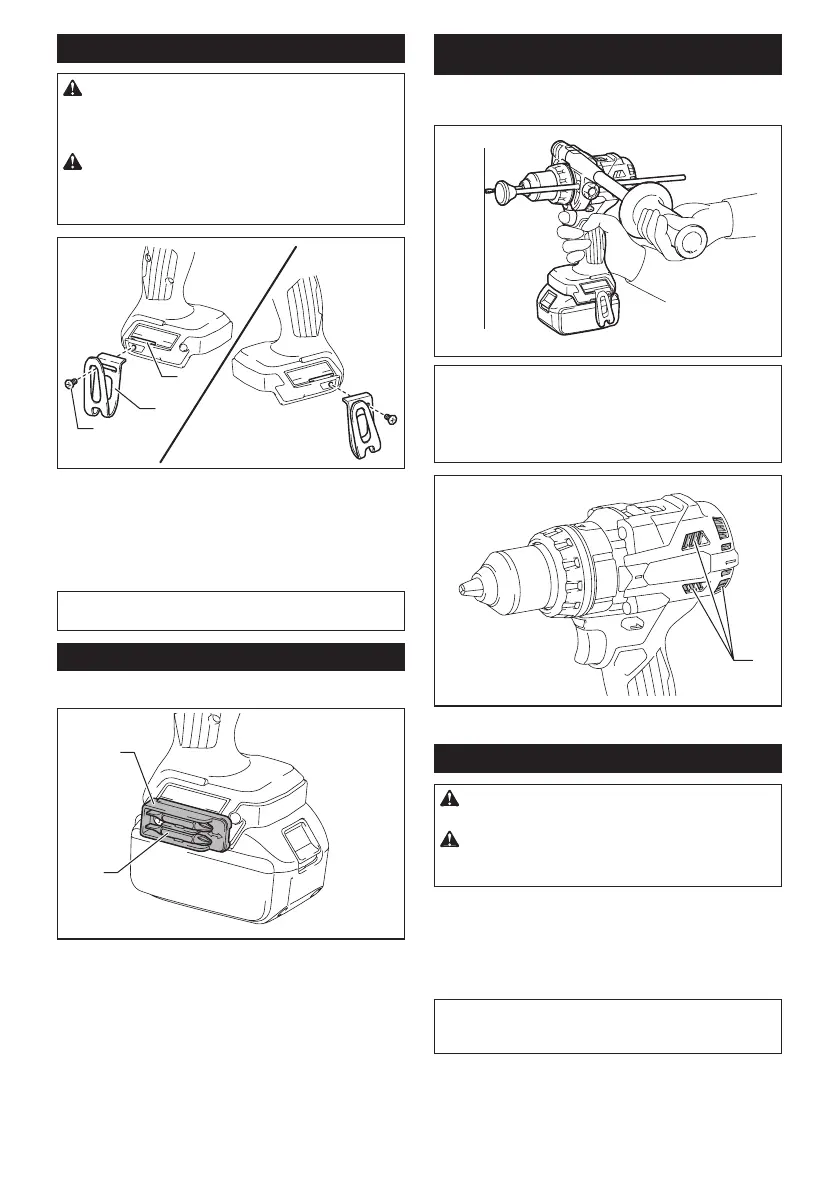
Guidance on performing hammer drilling, including safety precautions.

Maintenance and Accessories

Tool Maintenance

Instructions for inspecting and maintaining the tool for safety and reliability.

Related product manuals