9 ENGLISH
Adjusting the fastening torque
1
2
3
4
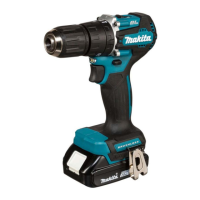
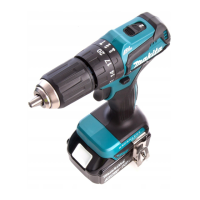
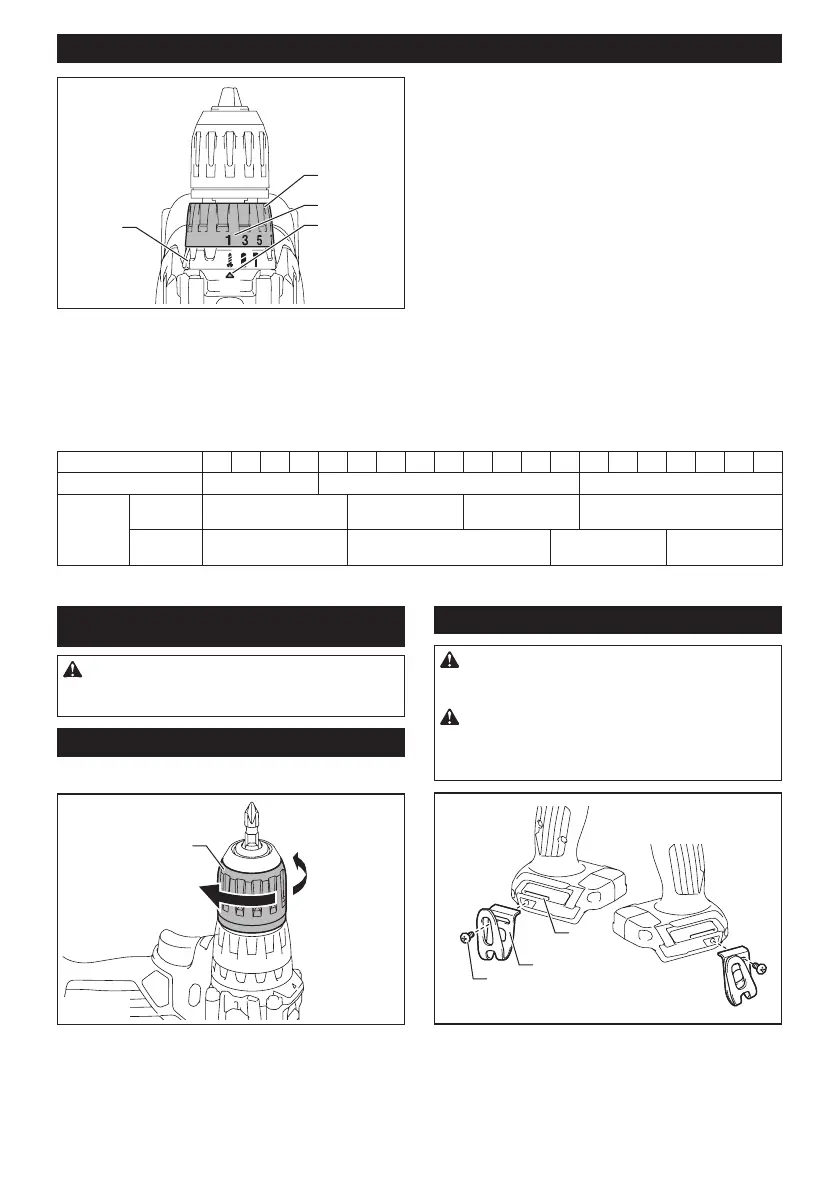
►1. Action mode changing ring 2.Adjustingring
3. Graduation 4. Arrow
Thefasteningtorquecanbeadjustedin20levelsbyturningtheadjustingring.Alignthegraduationswiththearrow
on the tool body. You can get the minimum fastening torque at 1 and maximum torque at 20.
Before actual operation, drive a trial screw into your material or a piece of duplicate material to determine which
torque level is required for a particular application. The following shows the rough guide of the relationship between
the screw size and graduation.
Graduation 1 2 3 4 5 6 7 8 9 10 11 12 13 14 15 16 17 18 19 20
Machine screw M4 M5 M6
Wood
screw
Soft wood
(e.g. pine)
– ø3.5 x 22 ø4.1 x 38 –
Hard wood
(e.g. lauan)
– ø3.5 x 22 ø4.1 x 38 –
ASSEMBLY
CAUTION: Always be sure that the tool is
switched o and the battery cartridge is removed
before carrying out any work on the tool.
Installing or removing driver bit/drill bit
Optional accessory
1
2
3
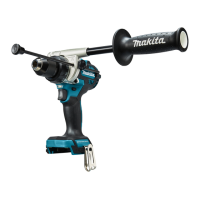
►1. Sleeve 2. Close 3. Open
Turn the sleeve counterclockwise to open the chuck
jaws.Placethedriverbit/drillbitinthechuckasfar
as it will go. Turn the sleeve clockwise to tighten the
chuck. To remove the driver bit/drill bit, turn the sleeve
counterclockwise.
Installing hook
CAUTION:
When installing the hook, always
secure it with the screw rmly. If not, the hook may
comeofromthetoolandresultinthepersonalinjury.
CAUTION: Use the hanging/mounting parts
for their intended purposes only. Using for unin-
tended purpose may cause accident or personal
injury.
2
3
1
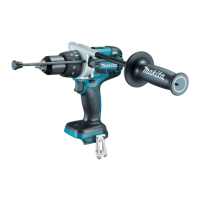
►1. Groove 2. Hook 3. Screw
The hook is convenient for temporarily hanging the tool.
This can be installed on either side of the tool. To install
the hook, insert it into a groove in the tool housing on
either side and then secure it with a screw. To remove,
loosen the screw and then take it out.
 Loading...