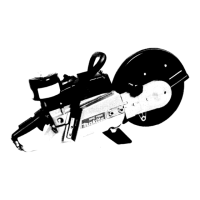
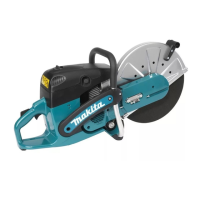
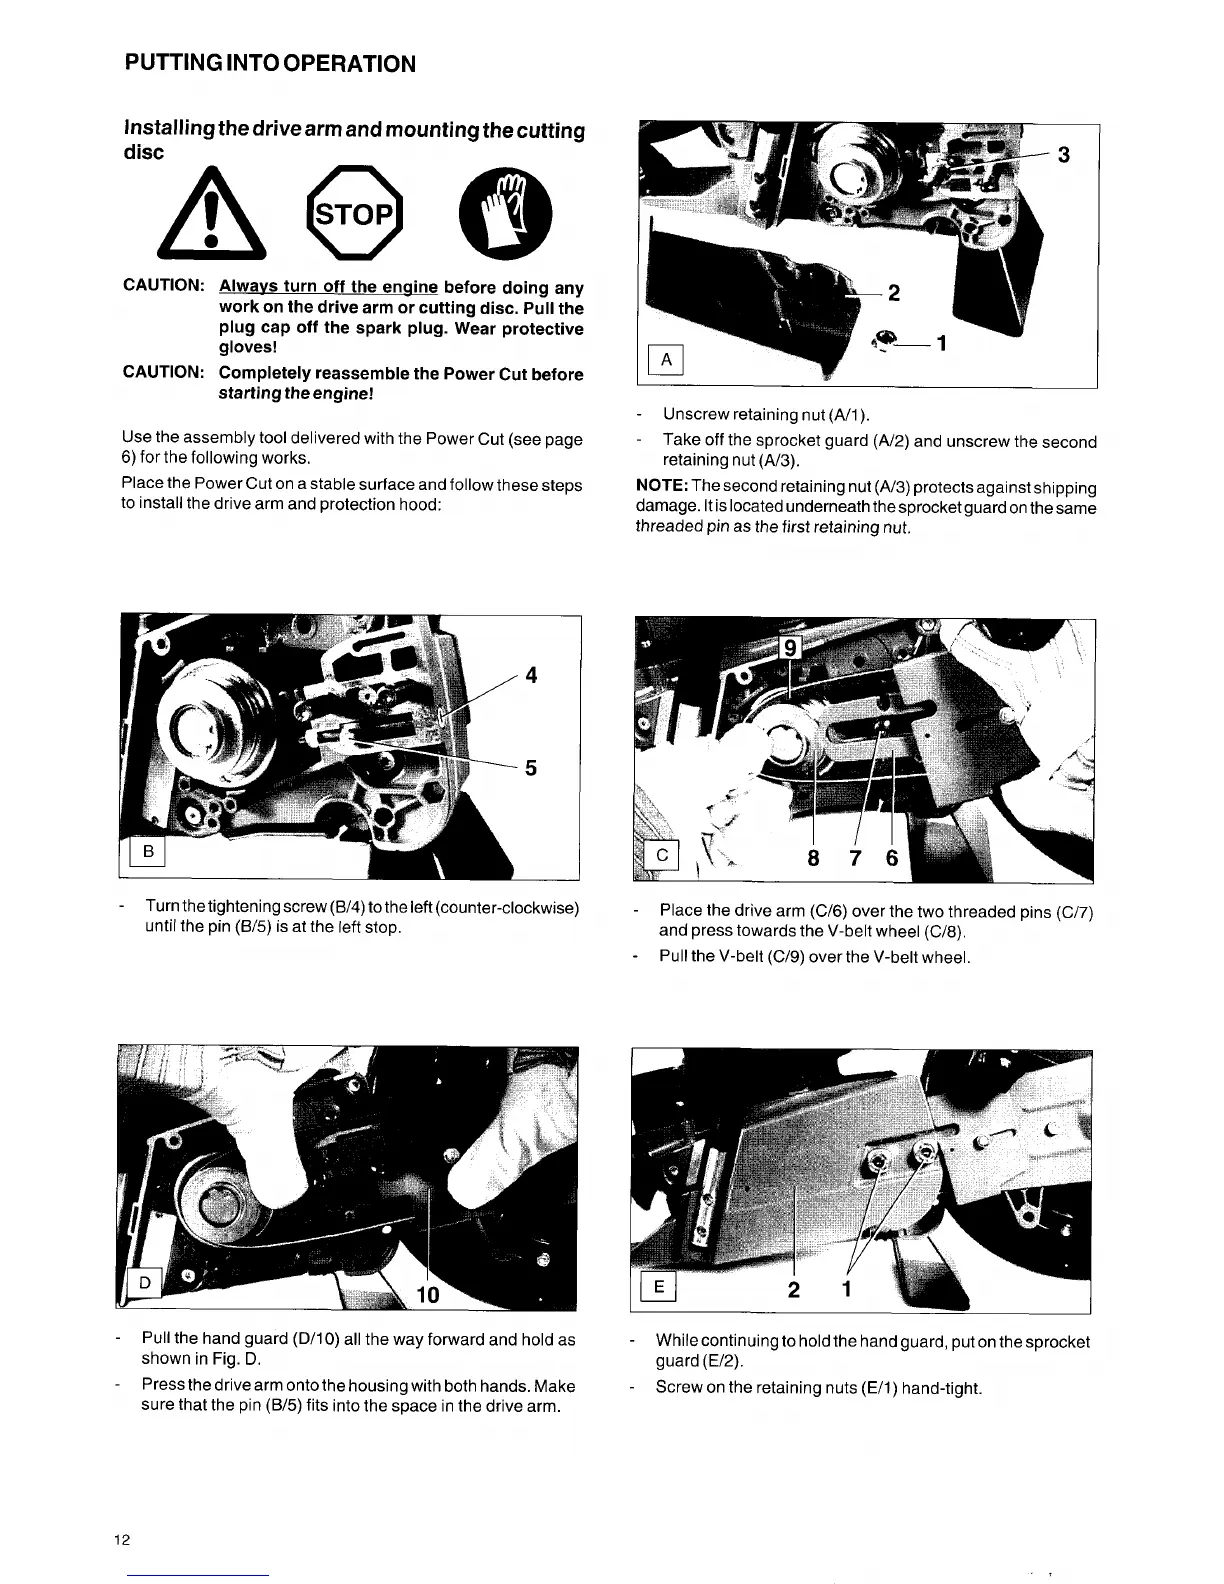
PUTTING INTO OPERATION
Installing the drive arm and mounting the cutting
disc
CAUTION: Alwavs turn off the enqine before doing any
work on the drive arm or cutting disc. Pull the
plug cap off the spark plug. Wear protective
gloves!
CAUTION: Completely reassemble the Power Cut before
starting the engine!
Use the assembly
tool
delivered with the Power Cut (see page
6) for the following works.
Place the Power Cut on a stable surface and follow these steps
to install the drive arm and protection hood:
-
Turn the tightening screw
(B/4)
to the left (counter-clockwise)
until the pin
(B/5)
is at the left stop.
I-
-
Unscrew retaining nut (Ah).
-
Take off the sprocket guard (A/2) and unscrew the second
retaining nut (A/3).
NOTE:
The second retaining nut
(A/3)
protects against shipping
damage. It is located underneath thesprocket guard on the same
threaded pin as the first retaining nut.
-
Place the drive arm (C/6) over the two threaded pins (C/7)
and press towards the V-belt wheel (C/8).
Pull the V-belt (C/9) over the V-belt wheel.
-
I
I
-
Pull the hand guard (D/10) all the way forward and hold as
shown in Fig.
D.
Press the drive arm onto the housing with both hands. Make
sure that the pin
(B/5)
fits into the space in the drive arm.
-
While continuing to hold the hand guard, put on the sprocket
guard
(E/2).
Screw on the retaining nuts (Ell) hand-tight.
-
-
12
 Loading...