15 ENGLISH
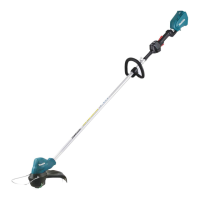
2. Place handle between handle clamp and handle
holder.Adjustthehandletoananglethatprovidesa
comfortable working position and then secure with hex
socket head bolts.
1
2
3
►1. Hex socket head bolt 2. Handle clamp 3. Handle
holder
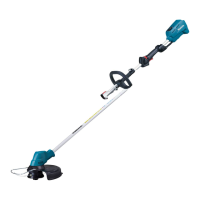
Attaching the barrier
For DUR190L and DUR191L (country specic)
If the barrier is included in your model, attach it to the
handle using the screw on the barrier.
1
2
►1. Barrier 2. Screw
CAUTION: After assembling the barrier, do
not remove it. The barrier works as a safety part
to prevent you from contacting the cutting blade
accidentally.
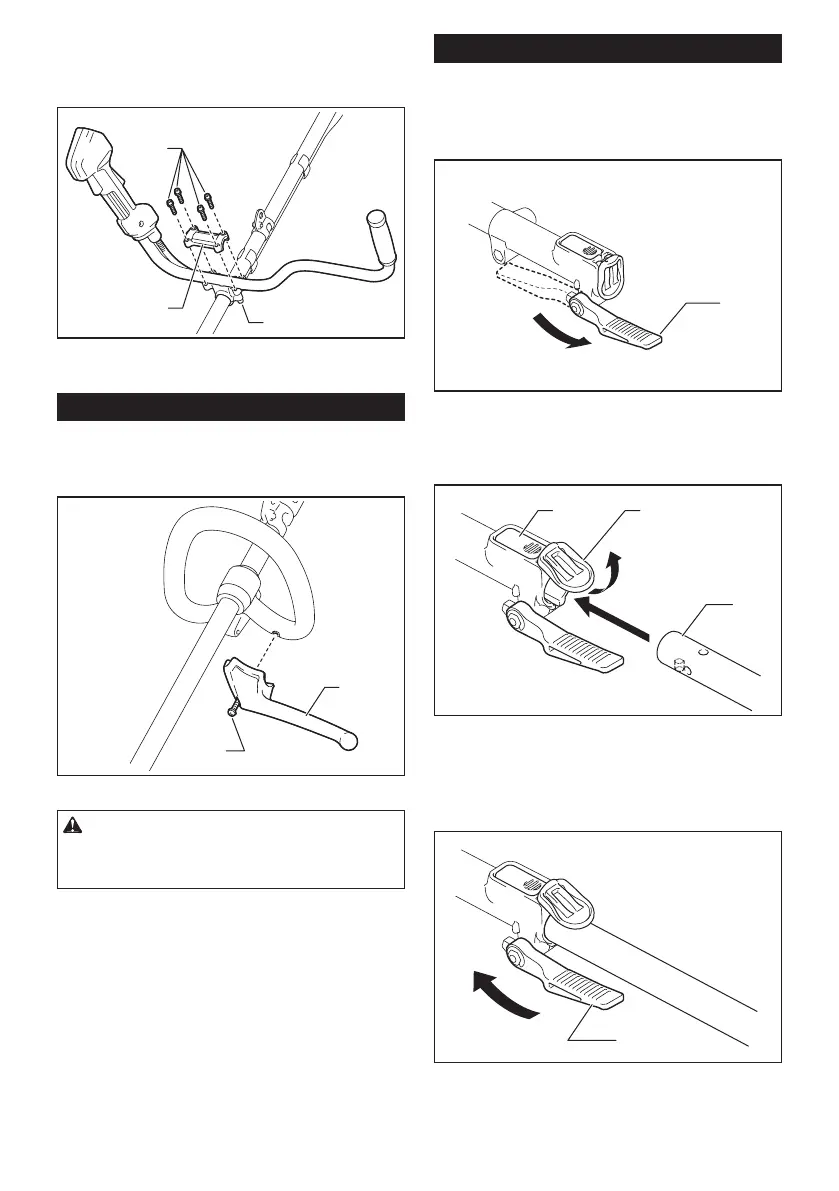
Mounting the attachment pipe
For DUR191U and DUR191L only
Mount the attachment pipe to the power unit.
1. Turn the lever to the direction of the arrow shown
inthegure.
1
►1. Lever
2. Pullupthejointcoverandinserttheattachment
pipe while aligning the protrusion on the pipe (cutting
toolside)withtheconcaveportionofthejointpart.
2
1
3
►1. Lock lever 2. Joint cover 3. Pipe
Make sure that the surface of the lock lever is parallel
to the pipe.
3. Turn the lever to the direction of the arrow shown
inthegure.
1
►1. Lever
 Loading...