11 ENGLISH
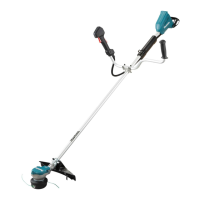
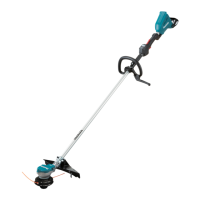
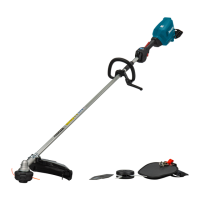
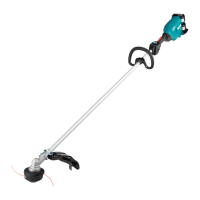
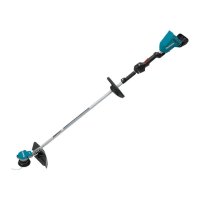
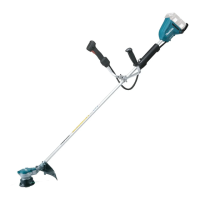
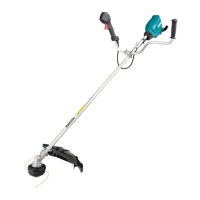
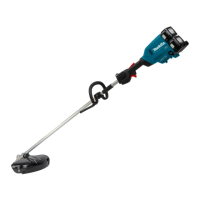
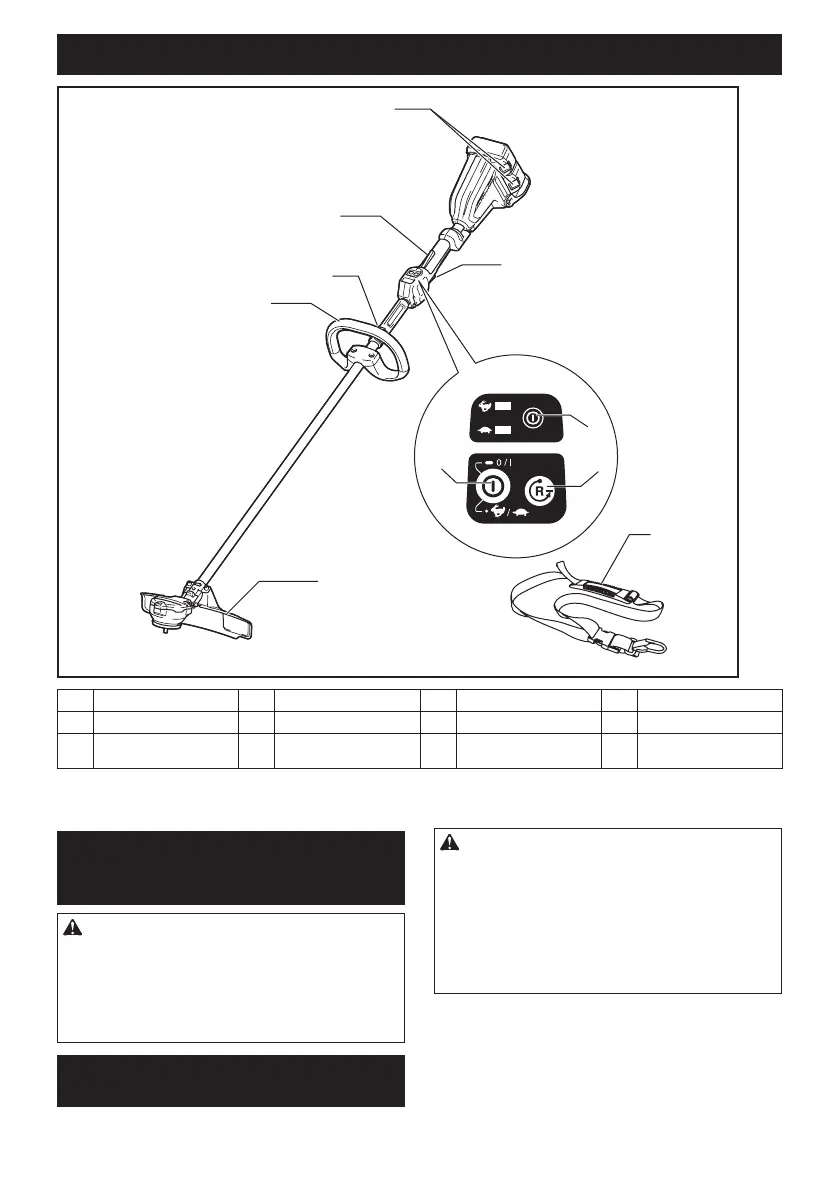
PARTS DESCRIPTION
1
2
3
4
5
6
8
7
9
10
1 Battery cartridge 2 Lock-olever 3 Switch trigger 4 Power lamp
5 Main power button 6 Reverse button 7 Hanger 8 Grip
9 Protector (cutting tool
guard)
10 Shoulder harness - - - -
* The shape of the protector varies depending on the country.
FUNCTIONAL
DESCRIPTION
WARNING:
• Always be sure that the tool is switched o
and the battery cartridge is removed before
adjusting or checking function on the tool.
Failuretoswitchoandremovethebattery
cartridgemayresultinseriouspersonalinjury
from accidental start-up.
Installing or removing battery
cartridge
►Fig.4: 1. Red indicator 2. Button 3. Battery cartridge
CAUTION:
• Alwaysswitchothetoolbeforeinstallingor
removing of the battery cartridge.
• Hold the tool and the battery cartridge rmly
when installing or removing battery car-
tridge. Failure to hold the tool and the battery
cartridgermlymaycausethemtoslipoyour
hands and result in damage to the tool and
batterycartridgeandapersonalinjury.
To remove the battery cartridge, slide it from the tool
while sliding the button on the front of the cartridge.
To install the battery cartridge, align the tongue on the
battery cartridge with the groove in the housing and slip
it into place. Insert it all the way until it locks in place
with a little click. If you can see the red indicator on the
upper side of the button, it is not locked completely.
 Loading...