22
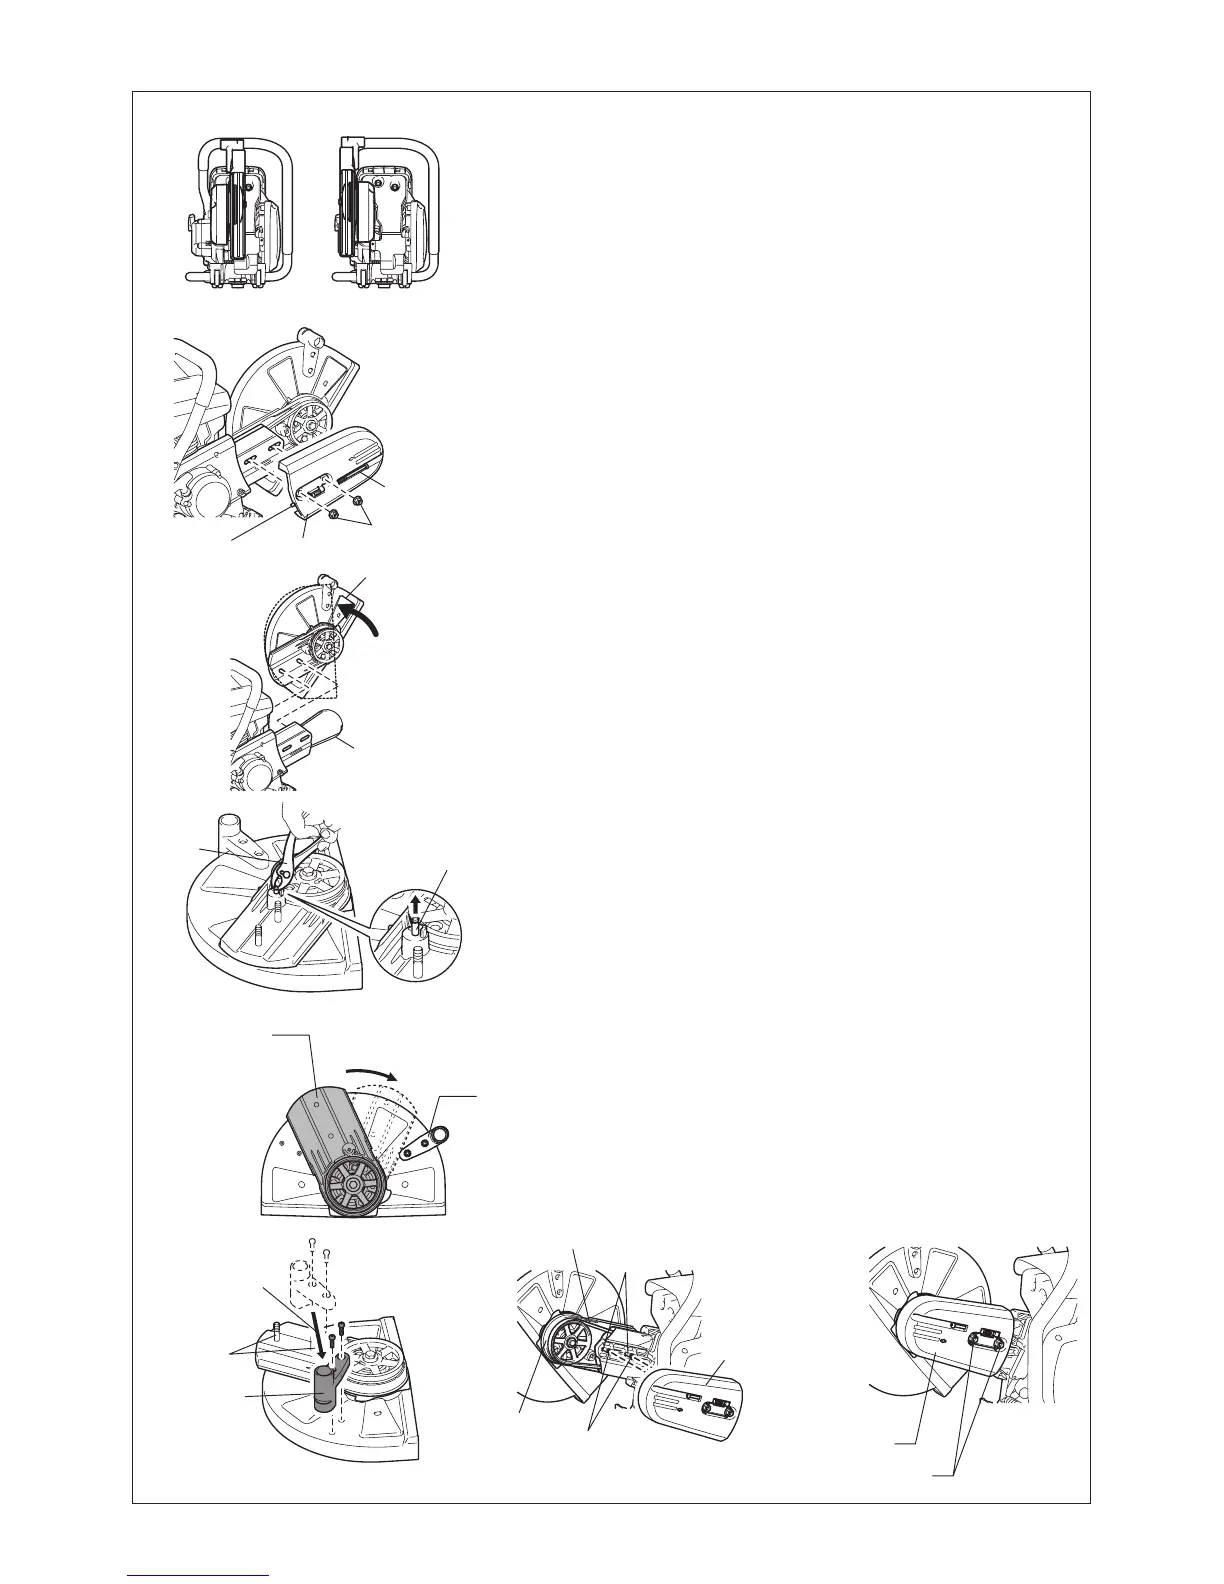
Changing the cutting attachment position
(central/side)
Mounting direction of hood
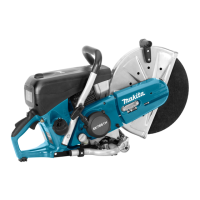
The Power Cutter’s cutting attachment is mounted in the •
direction shown in Fig. A. If desired, use the following procedure
to mount it in the direction shown in Fig. B.
Mounting in direction B
(1) Loosen tightening nut, and turn tension adjustment screw to
the left until the end of the screw is visible. (Fig. 1)
(2) Remove tightening nuts and remove belt cover. (Fig. 1)
(3) Rotate the hood to the broken line position. Remove V-belt
and then remove cutting attachment from the Power Cutter.
Reposition the grip. (Fig. 2)
(4) Pick up the lock shaft with a slotted screwdriver or a plier.
(Fig. 3)
(5) Rotate the arm until it contacts the grip and return the lock
shaft to the original position by hand. (Fig. 4)
Reposition the grip. (Fig. 5)
(6) Turn over the removed cutting attachment, pass bolt through
hole, and remount in direction B.
Remount the V-belt to the pulley. (Fig. 6)
(7) Mount belt cover. (Fig. 7)
Turn the tension adjustment screw to adjust the tension of the
V-belt. Once tension adjustment is nished, rmly tighten the
tightening nut.
Hex. nuts
Hood
V-belt
Lock shaft
V-belt
Pulley
Bolts
Belt cover
Belt cover
Hex. nut
Holes
Tension adjustment screw
Mounting direction
Belt cover
End of screw
A B
Fig. 1
Fig. 2
Fig. 3
Fig. 5 Fig. 6 Fig. 7
Plier
Relocate
Bolts
Grip
Arm
Grip
Fig. 4
 Loading...