9 ENGLISH
NOTE: Depending on the conditions of use and the
ambient temperature, the indication may dier slightly
from the actual capacity.
NOTE: The rst (far left) indicator lamp will blink when
the battery protection system works.
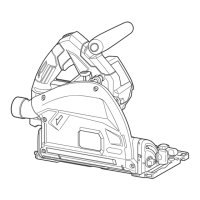
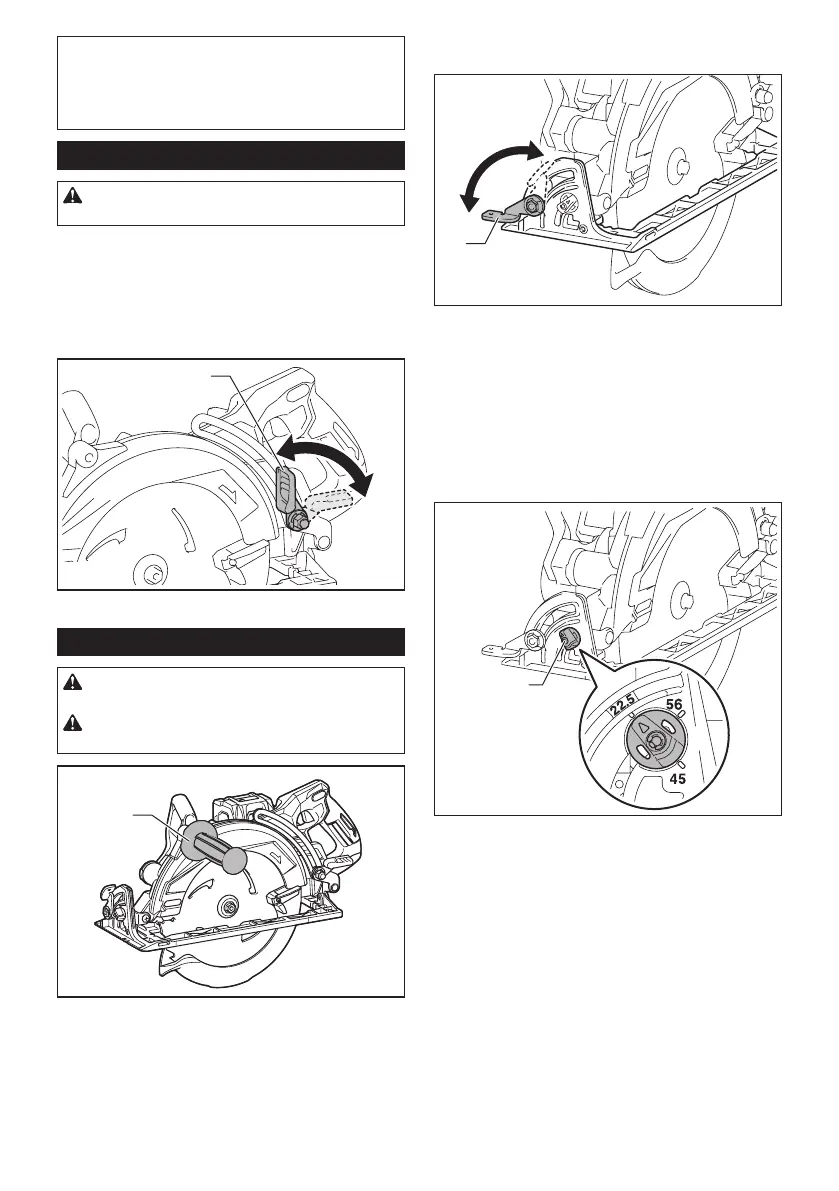
Adjusting depth of cut
CAUTION: After adjusting the depth of cut,
always tighten the lever securely.
Loosen the lever on the depth guide and move the base
up or down. At the desired depth of cut, secure the base
by tightening the lever.
For cleaner, safer cuts, set cut depth so that no more
than one blade tooth projects below workpiece. Using
proper cut depth helps to reduce potential for danger-
ous KICKBACKS which can cause personal injury.
1
► 1. Lever
Bevel cutting
CAUTION: After adjusting the bevel angle,
always tighten the lever securely.
CAUTION: Remove the side grip (handle)
when operating bevel cutting.
1
► 1. Side grip (handle)
Loosen the lever and set for the desired angle by tilting
accordingly, then tighten the lever securely.
1
► 1. Lever
Positive stopper
The positive stopper is useful for setting the designated
angle quickly. Turn the positive stopper so that the
arrow on it points your desired bevel angle (around
22.5°/45°/56°). Loosen the lever and then tilt the tool
base until it stops. The position where the tool base
stops is the angle you set with the positive stopper.
Tighten the lever with the tool base at this position.
1
► 1. Positive stopper
 Loading...