12
Turning On Instructions
CAUTION
Keep outdoor electric cooking appliance area clear and free from combustible materials, gasoline and
other flammable vapors and liquids.
CAUTION
Before each use check smoker/grill for any damaged or loose parts. Tighten any loose parts and replace
any damaged parts before using smoker/grill.
CAUTION
Make sure electric pan is empty and securely and completely in place before using the smoker/grill.
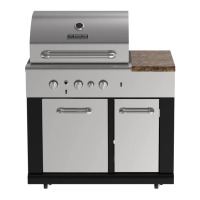
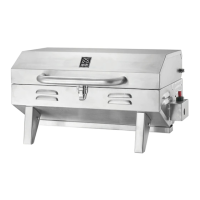
2. Make sure that temperature controller assembly is turned fully to
(Figures 5 and 6).
4. Plug the other end into a dry GFI (Ground-Fault Interceptor)
packaging.
Turning Off Instructions
(Figure 4).
2. Unplug the power cord from the wall outlet.
Smoking Instructions
CAUTION
Check to make sure the unit is free of debris
before use.
lid. Make sure to open the lid away from you. This will allow the
steam to escape away from you.
3. If using flavored wood follow instructions on flavored wood
packaging.
flavoring, such as hickory, pecan, apple, cherry, or mesquite. Use
for 20 minutes prior to use, or wrap each piece in foil and tear
several small holes in the top of the foil to produce more smoke
and prevent the wood from burning too quickly.
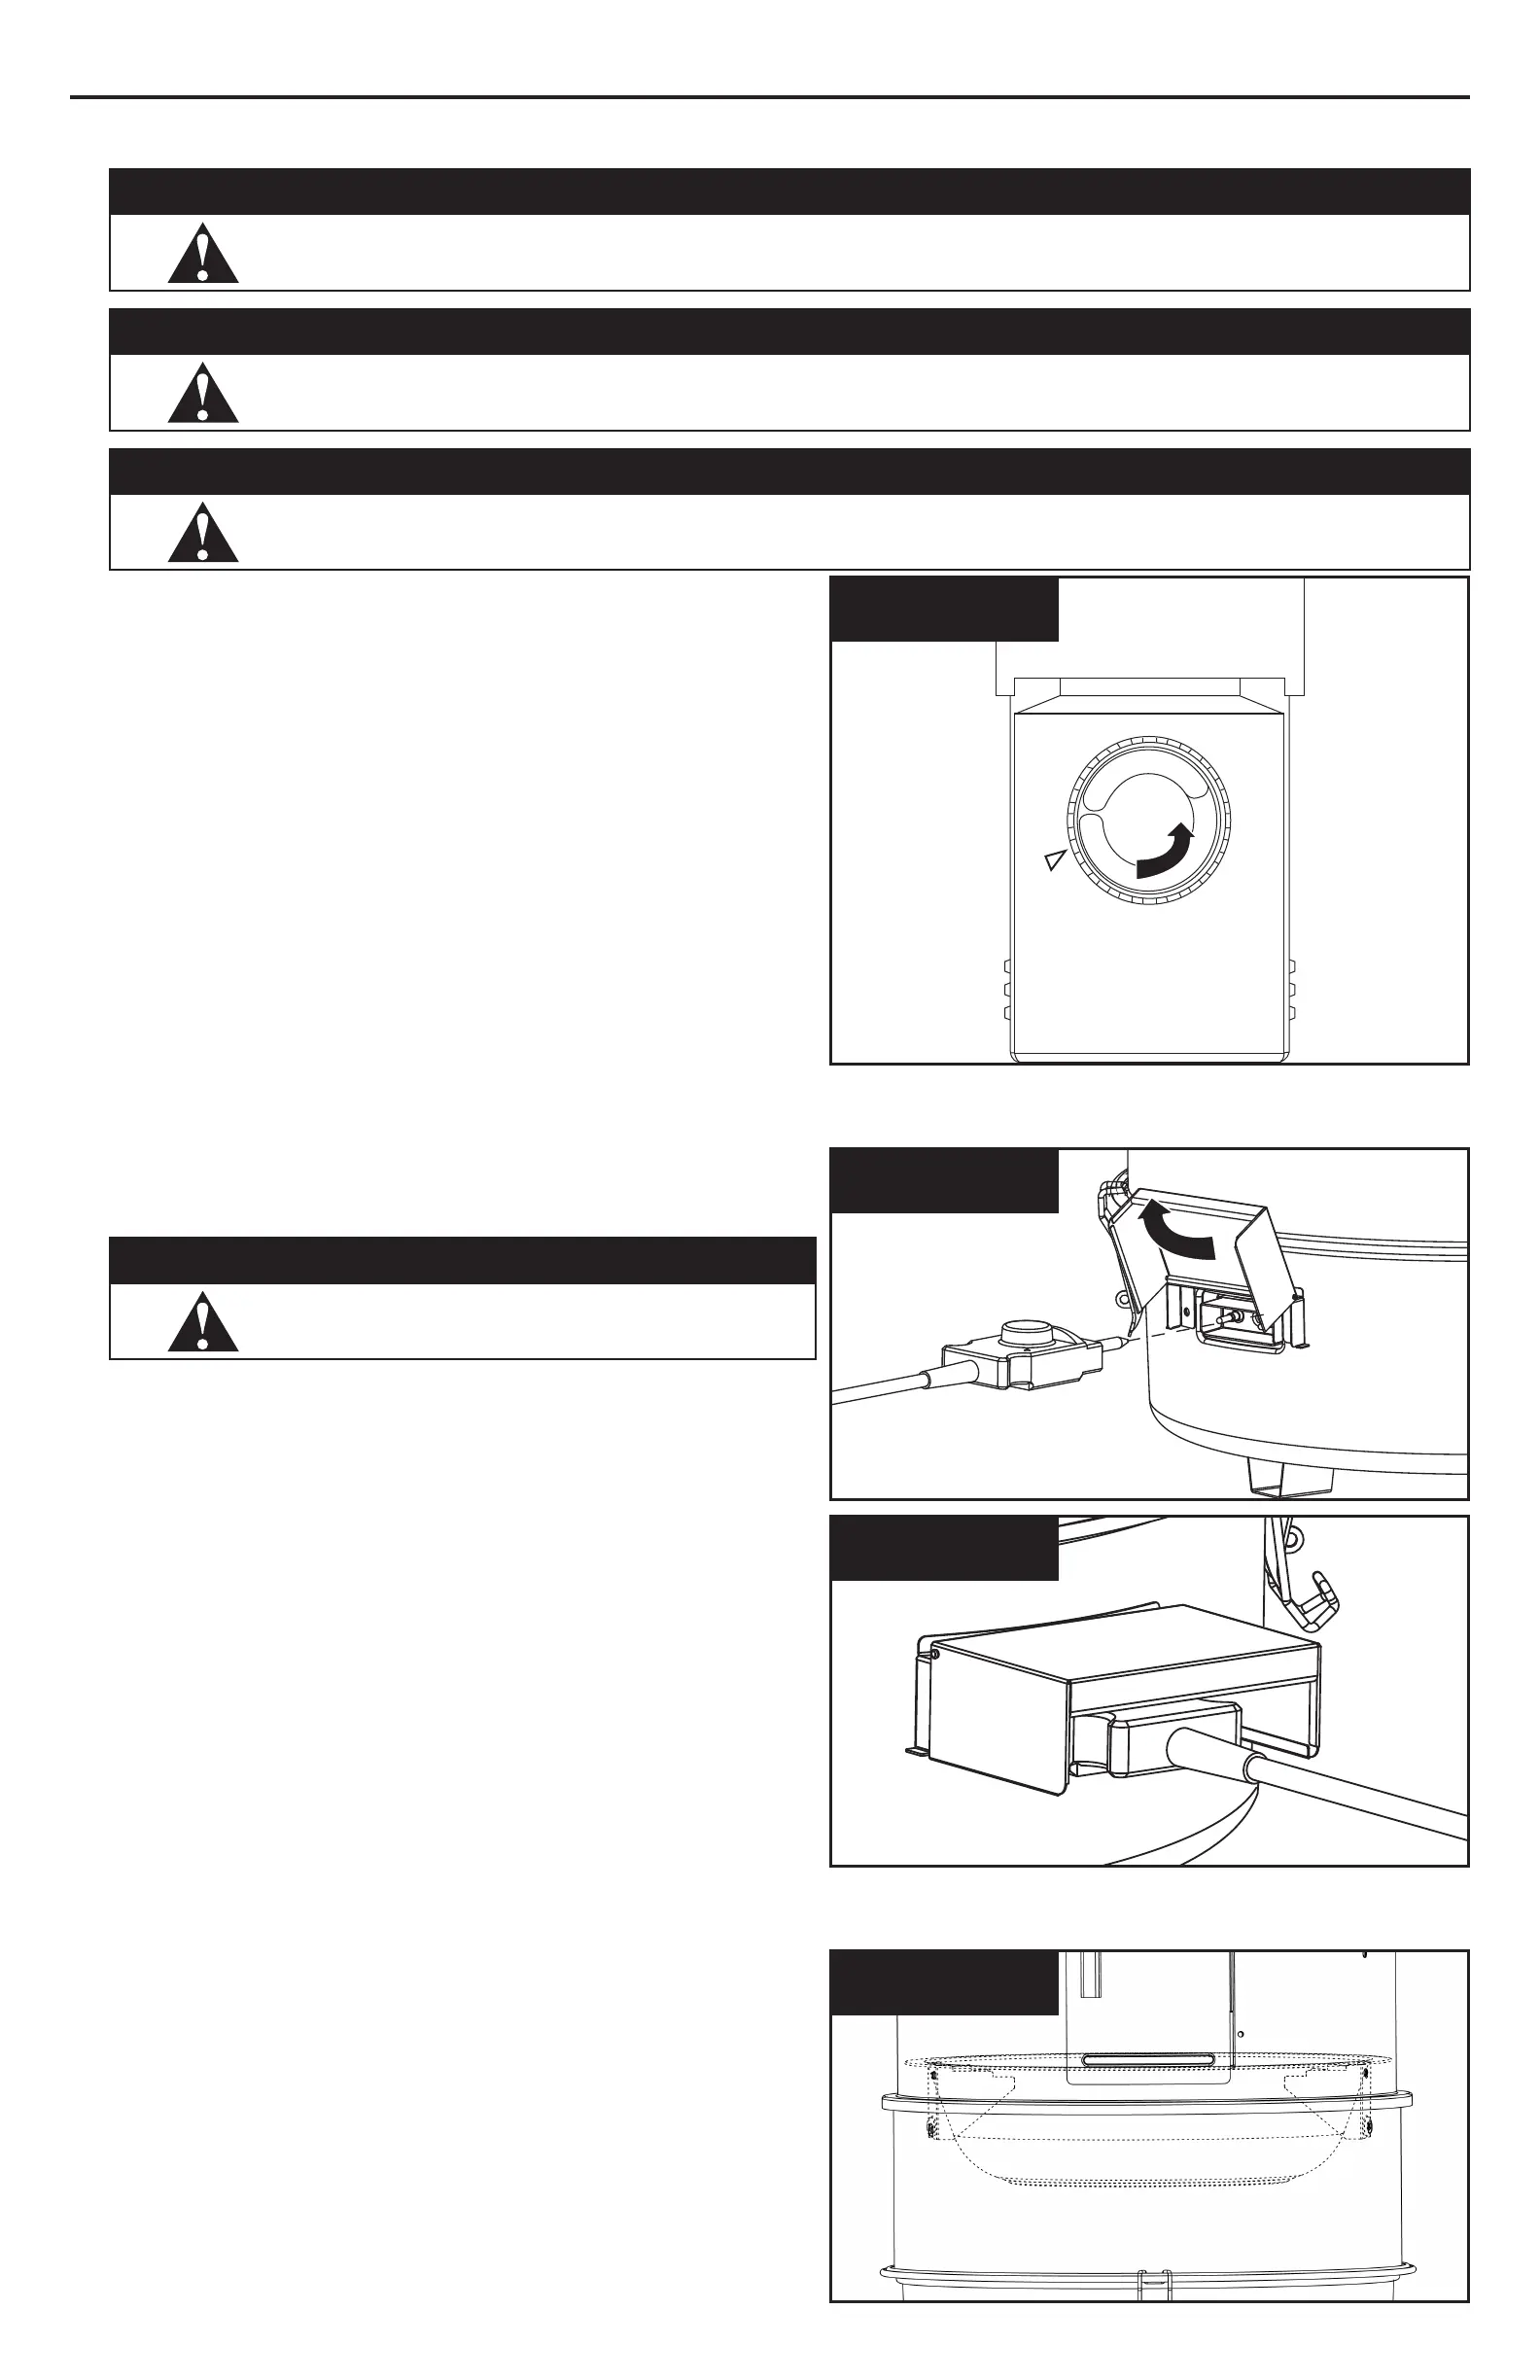
4. While wearing protective gloves, carefully place water pan on
water pan brackets. (Figure 7).
5. While wearing protective gloves, carefully fill water pan with water
or other liquid to 1 inch (2.54 cm) below the water pan rim
6. While wearing protective gloves, carefully place cooking grid on
the lower cooking grid supports. (Figures 10a, 10b, or 10c, p. 13).
7. While wearing protective gloves, carefully place food in a single
layer and evenly spaced on the lower cooking grid.
8. While wearing protective gloves, carefully place other cooking
grid on upper cooking grid supports.
(Figures 10a, 10b, or 10c, p. 13).
9. While wearing protective gloves, carefully place the food in a
single layer and evenly spaced on the upper cooking grid.
OPERATING INSTRUCTIONS
O
F
F
O
N
L
O
W
M
E
D
I
U
M
H
I
G
H
Figure 4
Position of controller is indicated by triangular mark.
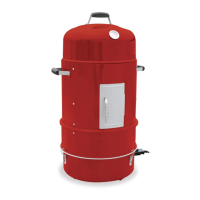
Figure 5
Figure 6
Raised lip of controller should be inserted until it is snug
against element bracket.
Figure 7
 Loading...