9
Lowes.com/masterforge
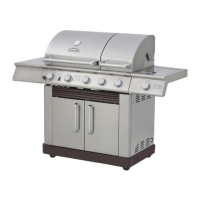
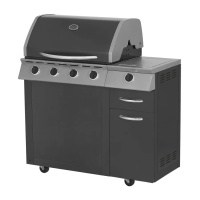
ASSEMBLY INSTRUCTIONS
WARNING: The grill should be assembled and placed on a at, level suface.
Compare the parts and hardware with the list and diagrams. Do not attempt assembly if
any part is missing or damaged.
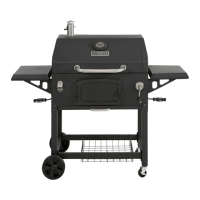
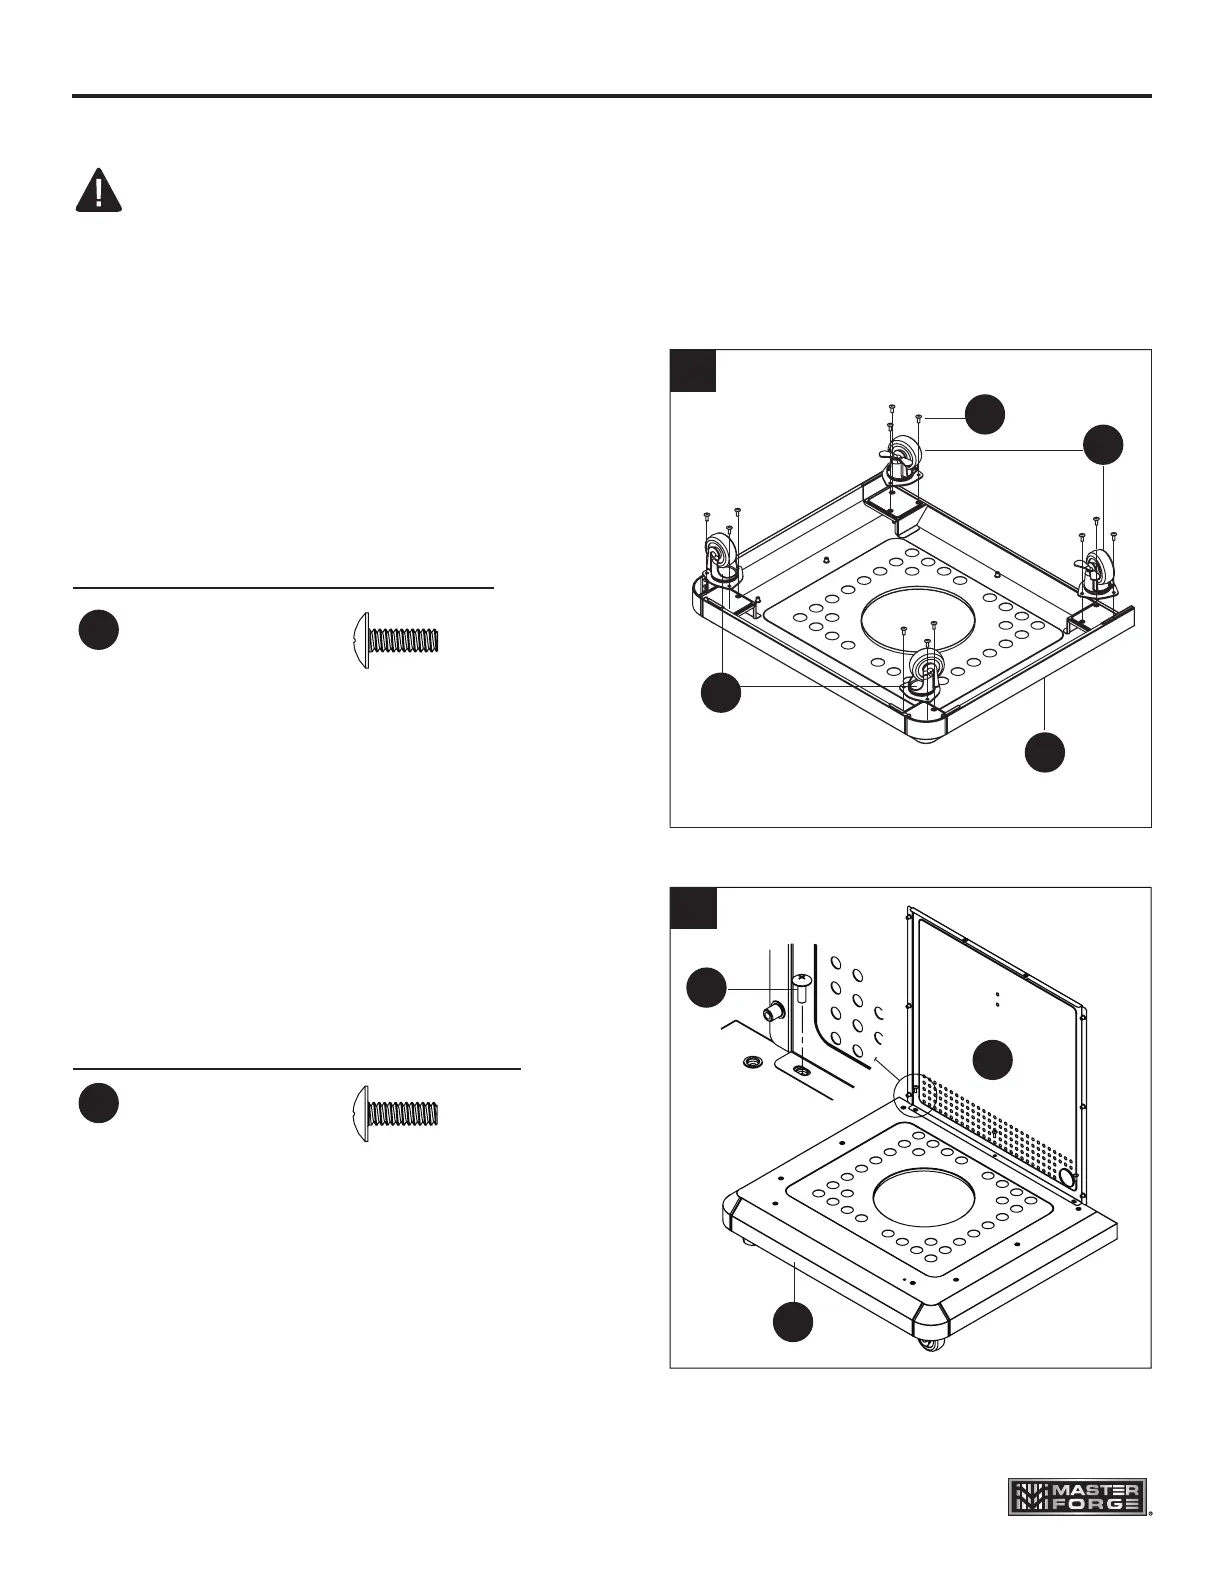
1. Attach the locking casters (Q) and the
casters (R) to the bottom panel (P)
using 12 screws (AA). When this process
is completed, turn the bottom panel over.
The two locking casters (Q) should be
at the back of the grill.
2. Align the holes in the rear panel (L)
with the holes in the bottom panel (P)
and insert screws (AA) into the aligned
holes.
Note: Do not tighten the screws
completely. Leave at least one full turn
on each. After all the screws have been
installed, go back and tighten them fully.
Hardware Used
Hardware Used
AA
3/16-24 x 1/2 in.
Screw
x 12
AA
AA
3/16-24 x 1/2 in.
Screw
x 3
1
AA
Q
P
R
2
P
L
 Loading...