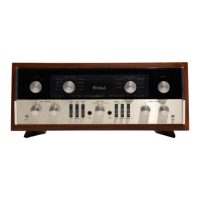
The PANLOC system of installing equipment con-
veniently and securely is a direct result of Mclntosh
research. By depressing the two PANLOC buttons
on the front panel, the instrument can be either lock-
ed firmly in place or it can be unlocked so that the
chassis can slide forward, giving you easy access to
the top and rear panels.
The trouble-free life of an electronic instrument is
greatly extended by providing sufficient ventilation
to prevent the build-up of high internal temperatures
that cause deterioration of component parts. You
should allow enough clearance so that cool air can
enter at the bottom of the cabinet and be vented
from the top. With adequate ventilation the instru-
ment can be mounted in any position. The recom-
mended minimum space for installation is 15 inches
(38.1 cm) deep, 17 inches (43.2 cm) wide, and 6 in-
ches (15.2 cm) high.
To install the instrument in a Mclntosh cabinet,
follow the instructions that are enclosed with the
cabinet. For any other type of installation, follow
these instructions:
1. Unpack from Carton
Open the carton and remove the PANLOC brackets,
hardware package, and mounting template. Remove
the C 33 from its plastic bag and place it upside
down on the shipping pallet, then unscrew the four
plastic feet from the bottom of the chassis.
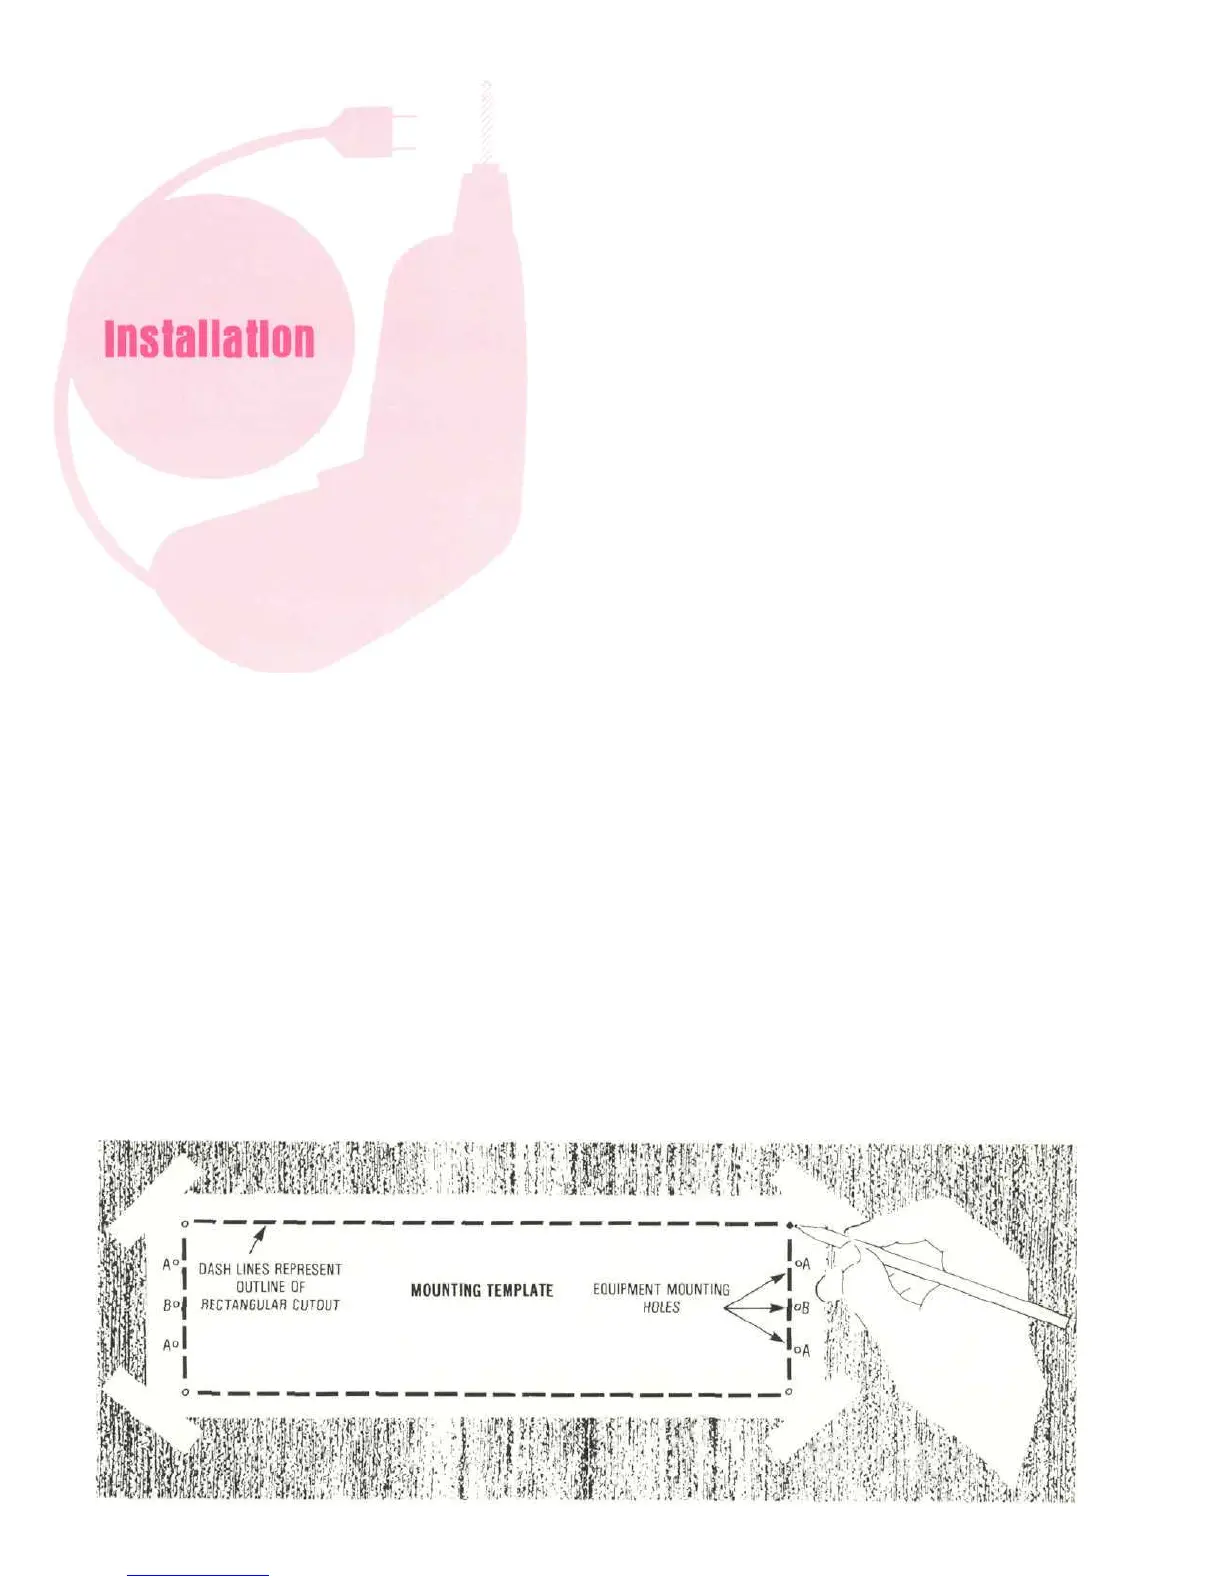
2. Mark the Cabinet Panel
Place the mounting template in the position on the
cabinet panel where the instrument is to be install-
ed, and tape it in place. The broken lines that repre-
sent the outline of the rectangular cutout also repre-
sent the outside dimensions of the chassis. Make
sure these lines clear shelves, paritions, or any
equipment. With the template in place, first mark the
six A and B holes and the four small holes that
locate the corners of the cutout. Then, join the four
corner markings with pencil lines using the edge of
the template as a straight edge.
3. Drill Holes
Use a drill with a 3/16 inch (5 mm) bit held perpen-
dicular to the panel and drill the six A and B holes.
Then, using a drill bit slightly larger than the tip of
your saw blade, drill one hole at each of two diago-
nally opposite corners. The holes should barely
touch the inside edge of the penciled outline. Before
taking the next step, make sure that the six A and B
holes have been drilled.
4. Saw the Panel Cutout
Saw carefully on the inside of the penciled lines.
First make the two long cuts and then the two short
cuts. After the rectangular opening has been cut out,
-4-
 Loading...