LEOPARD OPERATING INSTRUCTIONS
44
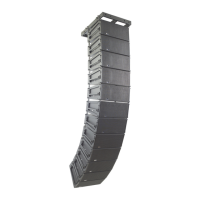
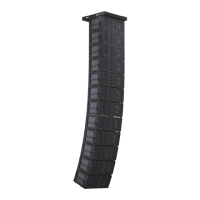
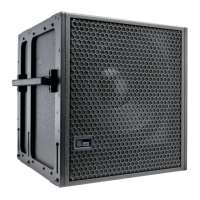
ULTRA WEATHER LEOPARD/900-LFC RAIN HOOD KIT
The ULTRA-weather-protected LEOPARD/900-LFC kit includes a quick-clip removable rain hood.
The Ultra Weather Protection LEOPARD/900-LFC Rain Hood Kit includes the following parts:
•LEOPARD/900-LFC Quick Clip Rain Hood with Splash Shield Assembly (PN 45.243.241.01)
•LEOPARD Rain Hood Baffle (PN 64.243.104.01)
•2 pan head Phillips 6-32 x 0.25-inch 316 stainless-steel screws (PN 101.405)
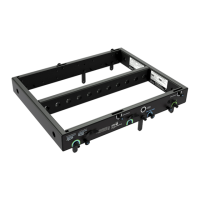
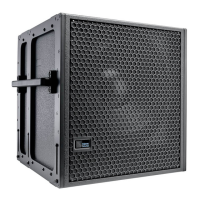
Rain Hood Baffle Installation
1.Gather the LEOPARD/900-LFC Rain Hood Baffle (PN 64.243.104.01) and the two pan head Phillips 6-32 x 0.25-inch stainless
steel screws (PN 101.405).
2.Turn the loudspeaker so that the rear is accessible.
3.Locate the two screw holes beneath the powerCON connectors on the user panel (left side of the loudspeaker).
4.Attach the Baffle in the orientation shown in Figure 27 using the two provided screws. The recommended torque value for
both screws is 10–12 in-lbs (1.1–1.4 N·m).
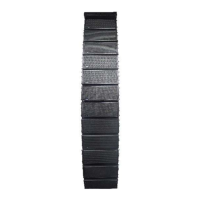
Routing Cables and Attaching Rain hood
1.After installing the baffle, install the necessary audio and power cables.
2.Attach the rain hood to the user panel, slipping it under the rain hood retainer flange at the top of the user panel.
3.Route the cables through the rain hood on either side of the baffle and through the bottom of the rain hood.
4.Push the rain hood flush against the loudspeaker.
5.Secure it to the loudspeaker by giving the two captive wing-head stud fasteners on either side of the rain hood a quarter turn,
so they fully lock.
Figure 27: Attaching Rain Hood Baffle to LEOPARD Loudspeaker User Panel
 Loading...