Installation
19
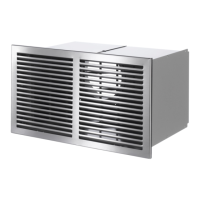
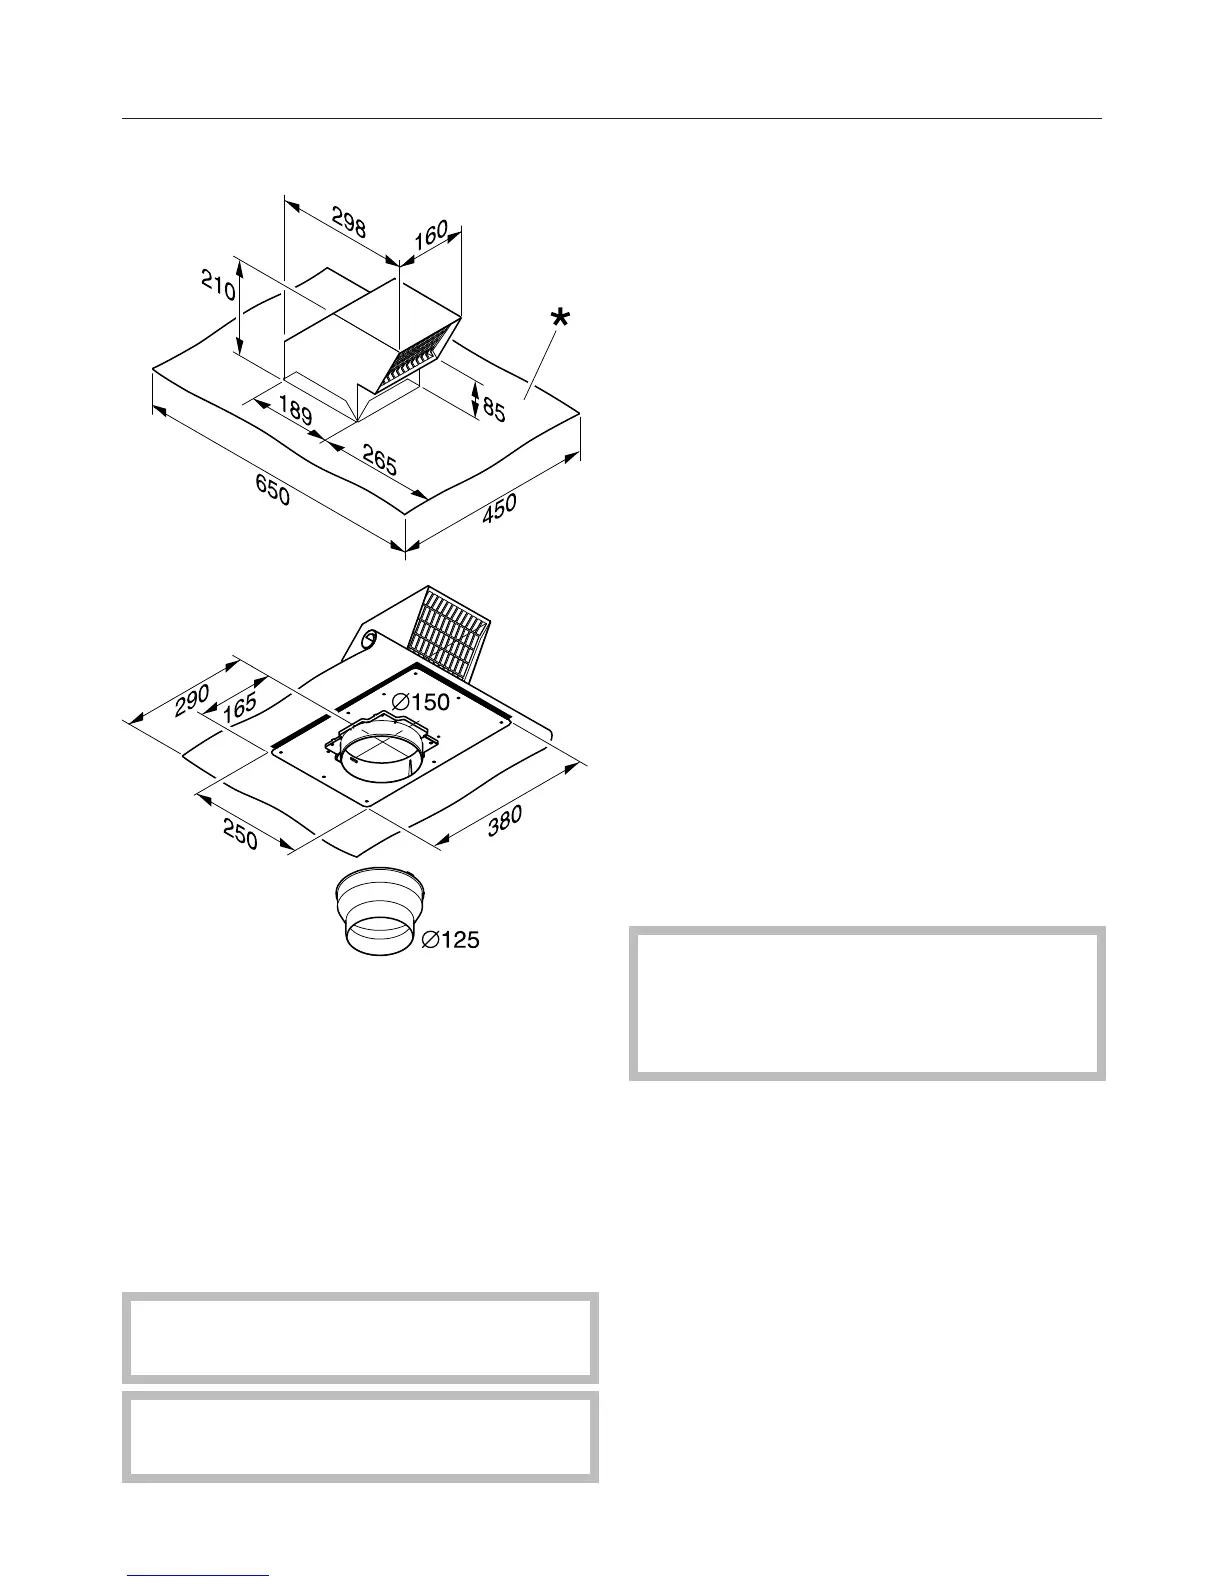
DDF 125/150
*Flashing
The DDF 125/150 roof vent is designed
for installing ducting through an angled
tile, slate or shingle roof. The slope of
the roof must be at least 22° to prevent
the ingress of the elements, such as
rain or snow.
Consult a roof tiler or roof plumber for
advice regarding other types of roofing.
Installation on a flat roof is not
possible.
Installation must only be carried out
by a qualified and competent person.
Remove the roofing around the
installation area.
Bend the flashing* upwards.
Position the roof vent on the roof with
the air outlet directed down the roof.
Secure the roof vent to the roof
substructure with the fixing plate.
Replace the roofing. Press down on
the flashing to ensure that it creates a
proper seal.
The flashing should be fitted under
the roofing at the top of the roof vent
and above the roofing at the sides
and the bottom of the roof vent.
The roof vent collar has a diameter of
150mm as standard.
If a diameter of 125mm is required a
reducing collar must be used.
Push the flexible ducting onto the
collar and secure it with a hose clip.
It has an integrated non-return flap.
When feeding the exhaust ducting
through the substructure of the roof,
be careful to ensure that any gaps
are sealed up properly afterwards.
 Loading...