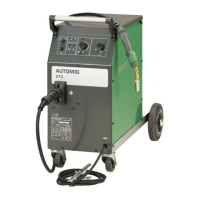
11
REPLACEMENT OF WIRE GUIDE LINER
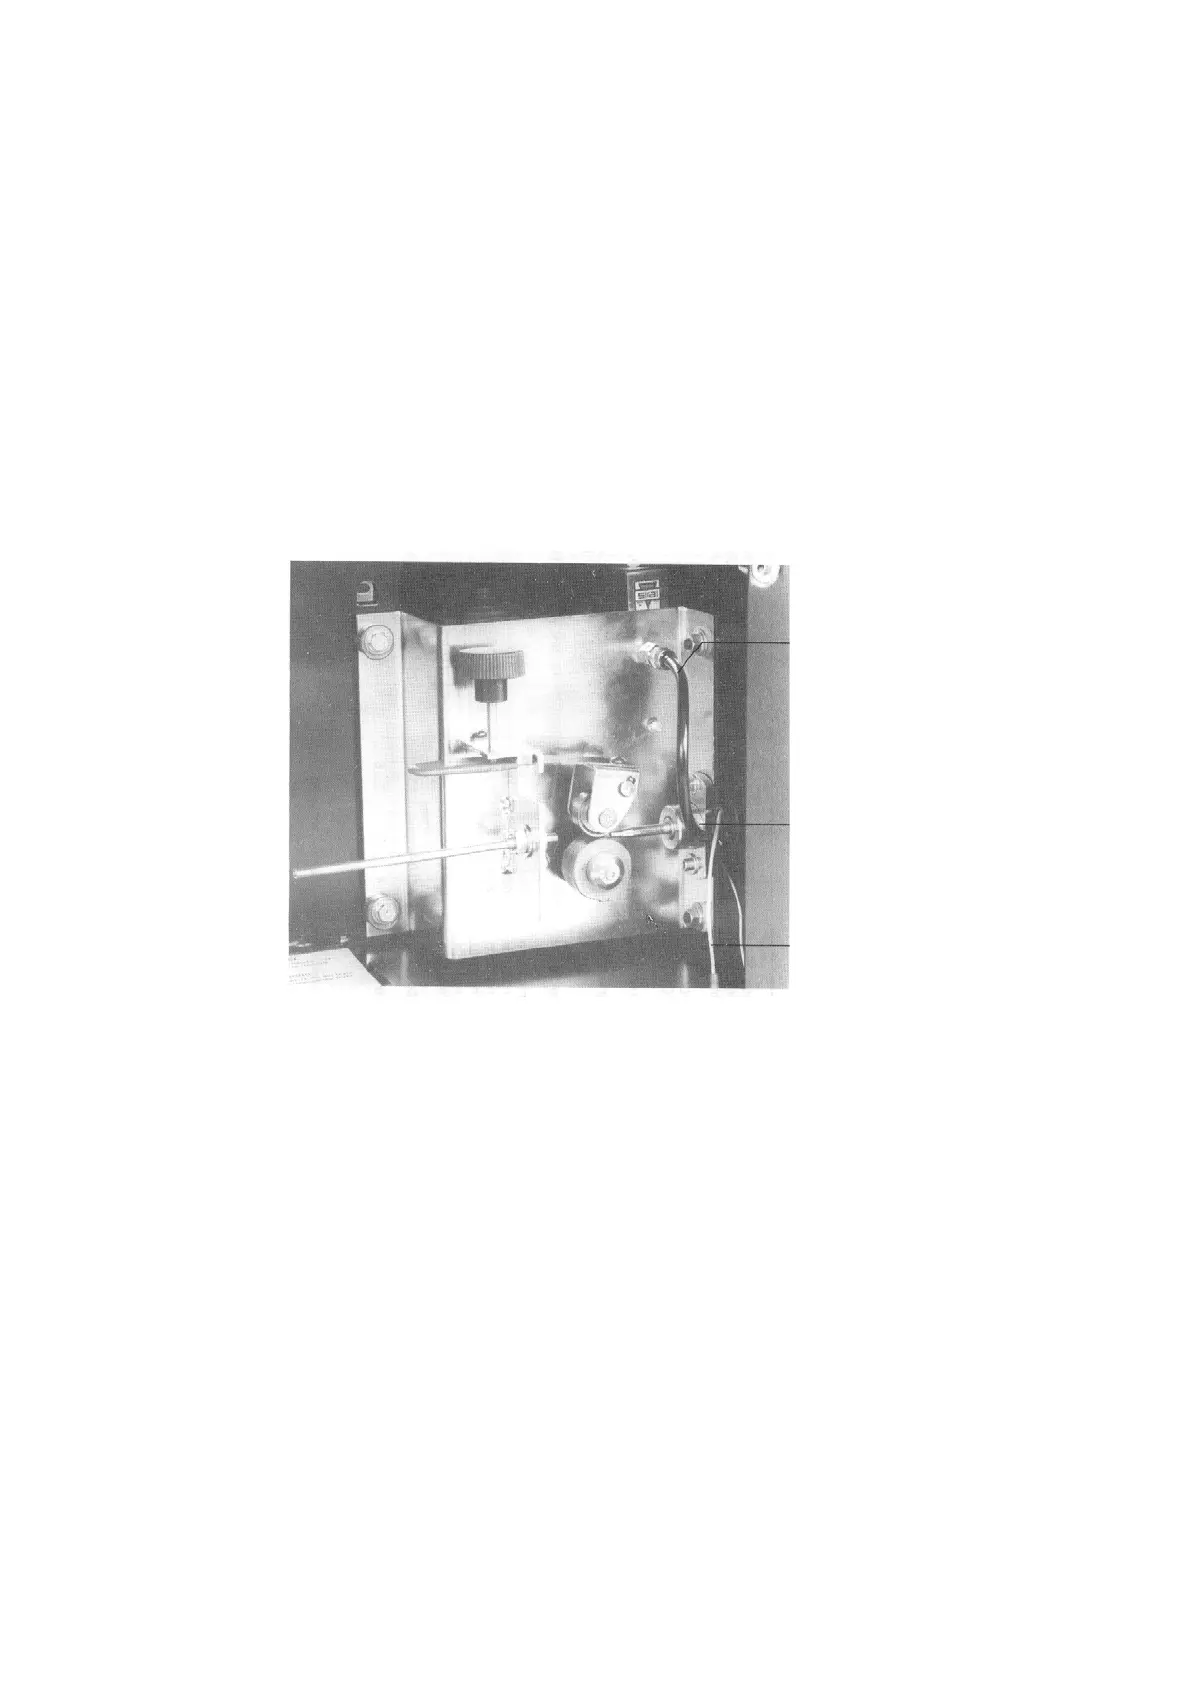
1. Unscrew the Allen screw, disconnect the gas hose and the control wire, pull out the welding hose.
2. Dismount the welding torch.
3. Unscrew the Allen screw for fixing the wire guide liner. The nozzle to which the wire guide liner has been
fixed can now be pulled out to the rear.
4. Push in the new wire guide liner. During the mounting the hose should be in as straight a line as possible.
5. Press home the nozzle and screw the Allen screw for fixing the wire guide liner.
6. Cut the liner so that it is in line with the outer edge of the connection nipple. If the wire guide liner is of
plastic, cut it with a sharp knife.
7. Mount the welding torch.
8. Connect the welding hose as explained page 5.
Gas hose
llenscrew
Control wire
 Loading...