EasyManua.ls Logo

Migatronic AUTOMIG2 i User Manual

Migatronic AUTOMIG2 i
76 pages
Go to English
To Next Page IconTo Next Page
To Previous Page IconTo Previous Page
Page #22 background image
22
Branchement et fonctionnement
1. Raccordement électrique
2. Interrupteur d’alimentation
3. Raccordement au gaz de protection
4. Raccordement de la torche de soudage
5. Torche de soudage
6. Raccordement de la pince de mise à la
terre
7. L’inverseur entre la torche 1 et la torche 2
8. Raccordement de la pince de mise à la
terre
2
4
5
6
Power
GAS
max. 6 Bar
1
3
F
F
F
5
Power
F
F
F
GAS
max. 6 bar
5
4
4
7
8
3
3
2
1
x4
Assemblage des pièces dans le dévidoir
Le réglage de la pression
sur le galet doit permettre
l’arrêt du fil au niveau du
tube de contact.
Question and Answer IconNeed help?

Do you have a question about the Migatronic AUTOMIG2 i and is the answer not in the manual?

Migatronic AUTOMIG2 i Specifications

General IconGeneral
Mains voltage3 x 400 V
Mains frequency50/60 Hz
Mains fuse16 A
Open circuit voltage16-36 V
Protection classIP21S
Wire Diameter0.6-1.0 mm
StandardsEN/IEC 60974-1, EN/IEC 60974-10

Summary

Connection and Operation

Unpacking and Initial Setup

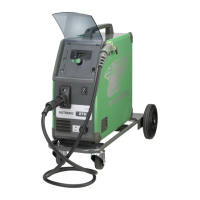
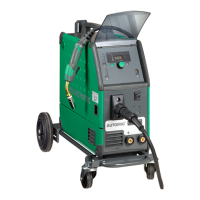
Steps for unpacking the welding machine and preparing it for use.

Welding Hose Connection

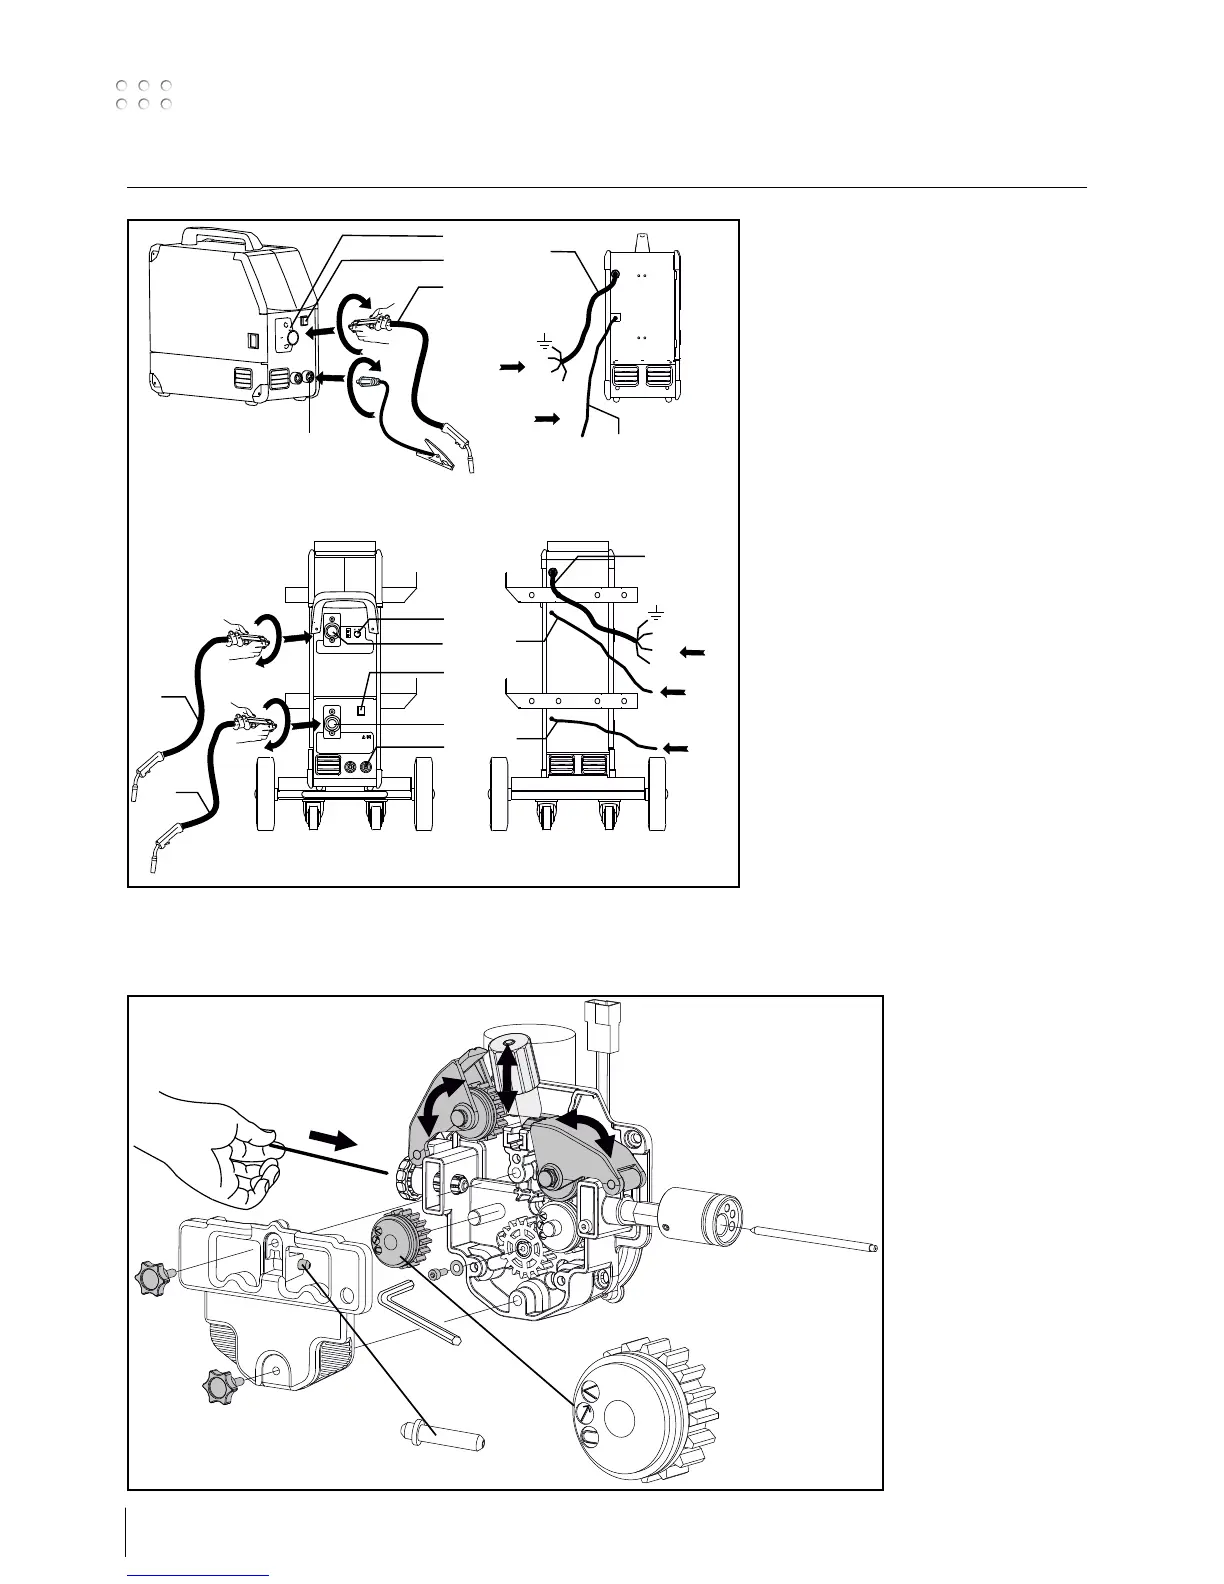
Instructions for connecting the welding hose to the machine.

Mains Connection

Procedure for connecting the machine to the power supply.

Wire Feed Unit and Adjustments

Wire Feed Unit Assembly

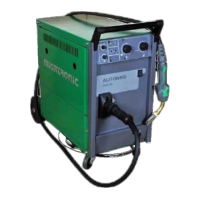
Details on assembling the parts within the wire feed unit.

Operational Procedures

Wire Brake Adjustment

Procedure for adjusting the wire brake for proper wire reel tension.

Operation and Troubleshooting

Error Code Troubleshooting

Guide to identifying and resolving machine errors based on error codes.

Special Functions

Technical Data

Power Source Specifications

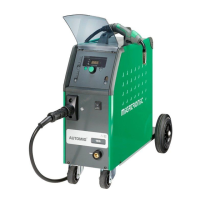
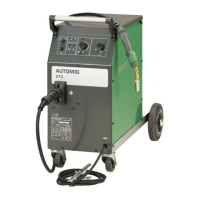
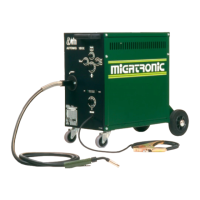
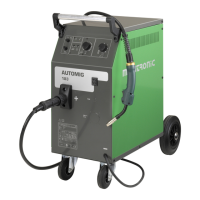
Detailed technical specifications for different AUTOMIG2 models.

Related product manuals