1.
2.
3.
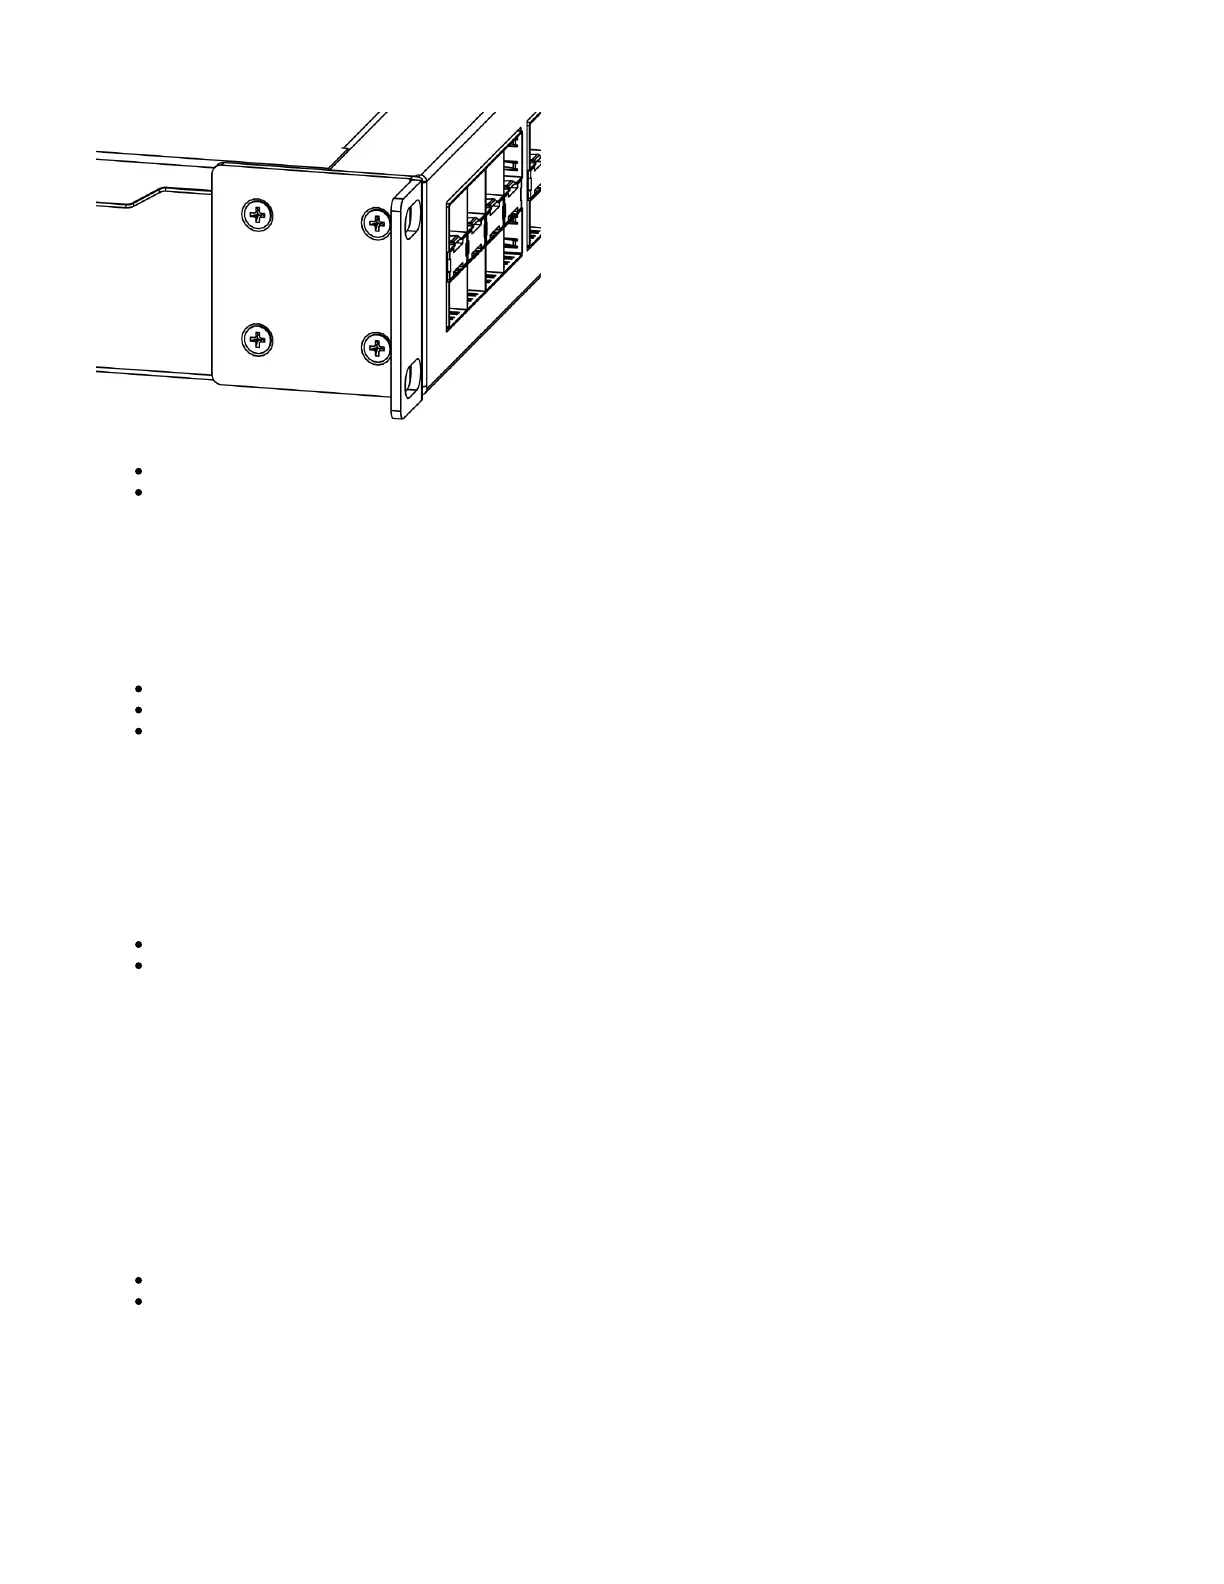
Place the device in a rackmount enclosure and align with the holes so that the device fits conveniently.
Tighten screws to secure it in place.
The device has no protection from water contamination, please ensure the placement of the device in a dry and ventilated environment.
We recommend Cat6 cables for our devices.
Mounting and configuration of this device should be done by a qualified person.
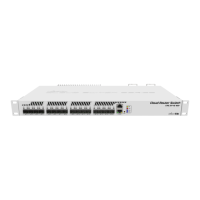
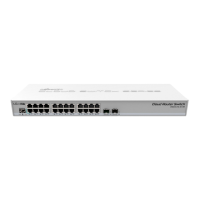
Extension slots and ports
24 of Gigabit Ethernet ports.
Two 10G SFP+ ports.
1x RJ45 console port (set at 115200bits/s, 8 data bits, 1 stop bit no parity).
Please visit wiki pages for MikroTik SFP module compatibility and configuration table: https://wiki.mikrotik.com/wiki
/MikroTik_SFP_module_compatibility_table
Powering
The device accepts power in the following ways:
Ethernet port accepts passive PoE 10-30 V DC .
Direct-input power jack (5.5 mm outside and 2 mm inside, female, pin positive plug) accepts 10-30 V DC.
The power consumption under maximum load can reach 24 W.
Connecting to a PoE Adapter:
Connect the Ethernet cable from the device to the PoE+DATA port of the PoE adapter;
Connect an Ethernet cable from your local network (LAN) to the PoE adapter;
Connect the power cord to the adapter, and then plug the power cord into a power outlet.
Booting process
The device supports booting RouterOS (for complete routing and switching configuration) or SwOS (for only using as a switch). By default, the device will
boot RouterOS, but you can reboot into the other operating system in the following ways:
From SwOS: In the System menu, click the "Boot RouterOS" button on the bottom of the page.
From RouterOS: in the System, RouterBOARD menu, click "Settings" and there select "Boot OS".
It is also possible to select the OS and configure other boot settings via the serial console menu.
Reset button
The RouterBOOT reset button has the following functions. Press the button and apply the power, then:
 Loading...