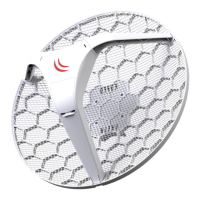
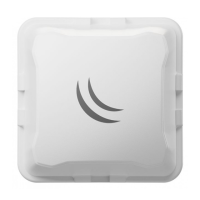
LHG series
The LHG is an outdoor wireless router with a built-in directional antenna. It can be used as a CPE or for point to
point links (use RouterOS wireless mode “bridge” to work as a single-client AP for point to point scenarios).
Assembly and mounting
1. Attach the two legs to the LHG case.
2. Snap the assembled LHG unit to the grid in the appropriate locations.
3. Fix the legs in place with two self thread screws (Use Phillips screwdriver
PH2).
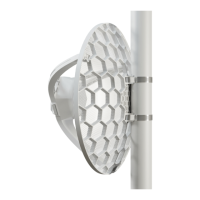
4. The device designed to be mounted on the pole using zip ties or steel clamp
as shown on the picture. Clamping diameter with provided steel clamps is 35
– 70 mm.
5. Optional: if required, before mounting the unit, you can insert the included 5-
degree adjustment adapter into the top or bottom slot where the mounting ring
is inserted. This will create an additional upward or downward angle when the
unit is tightened to a vertical pole.
The device includes a grounding connection (marked )⏚ which you should connect to the grounding installation of
the tower or building where the device will be used. This is to substantially reduce the risk of ESD and lightning
damage.
Warning! This equipment should be installed and operated with a minimum distance of 40 cm between the device
and your body. Operation of this equipment in the residential environment could cause radio interference.
Connecting
• Open the Ethernet door to connect an Ethernet cable to the Ethernet port, connect the other end of the
Ethernet cable to the included PoE injector.
• Plug the PoE injector into your network switch or ISP internet outlet.
• Plug the included power supply into the PoE injector to start up the device.
• Set LAN computer IP configuration to automatic (DHCP).
• Once connected to the wireless network, open http://192.168.88.1 in your web browser to start
configuration, since there is no password by default, you will be logged in automatically.
See mikrotik.com/products for the latest version of this document. Document #49249 Modified on: 02.JUL.2019