3.
4.
5.
6.
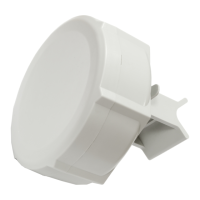
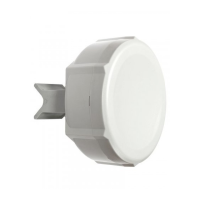
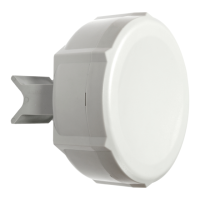
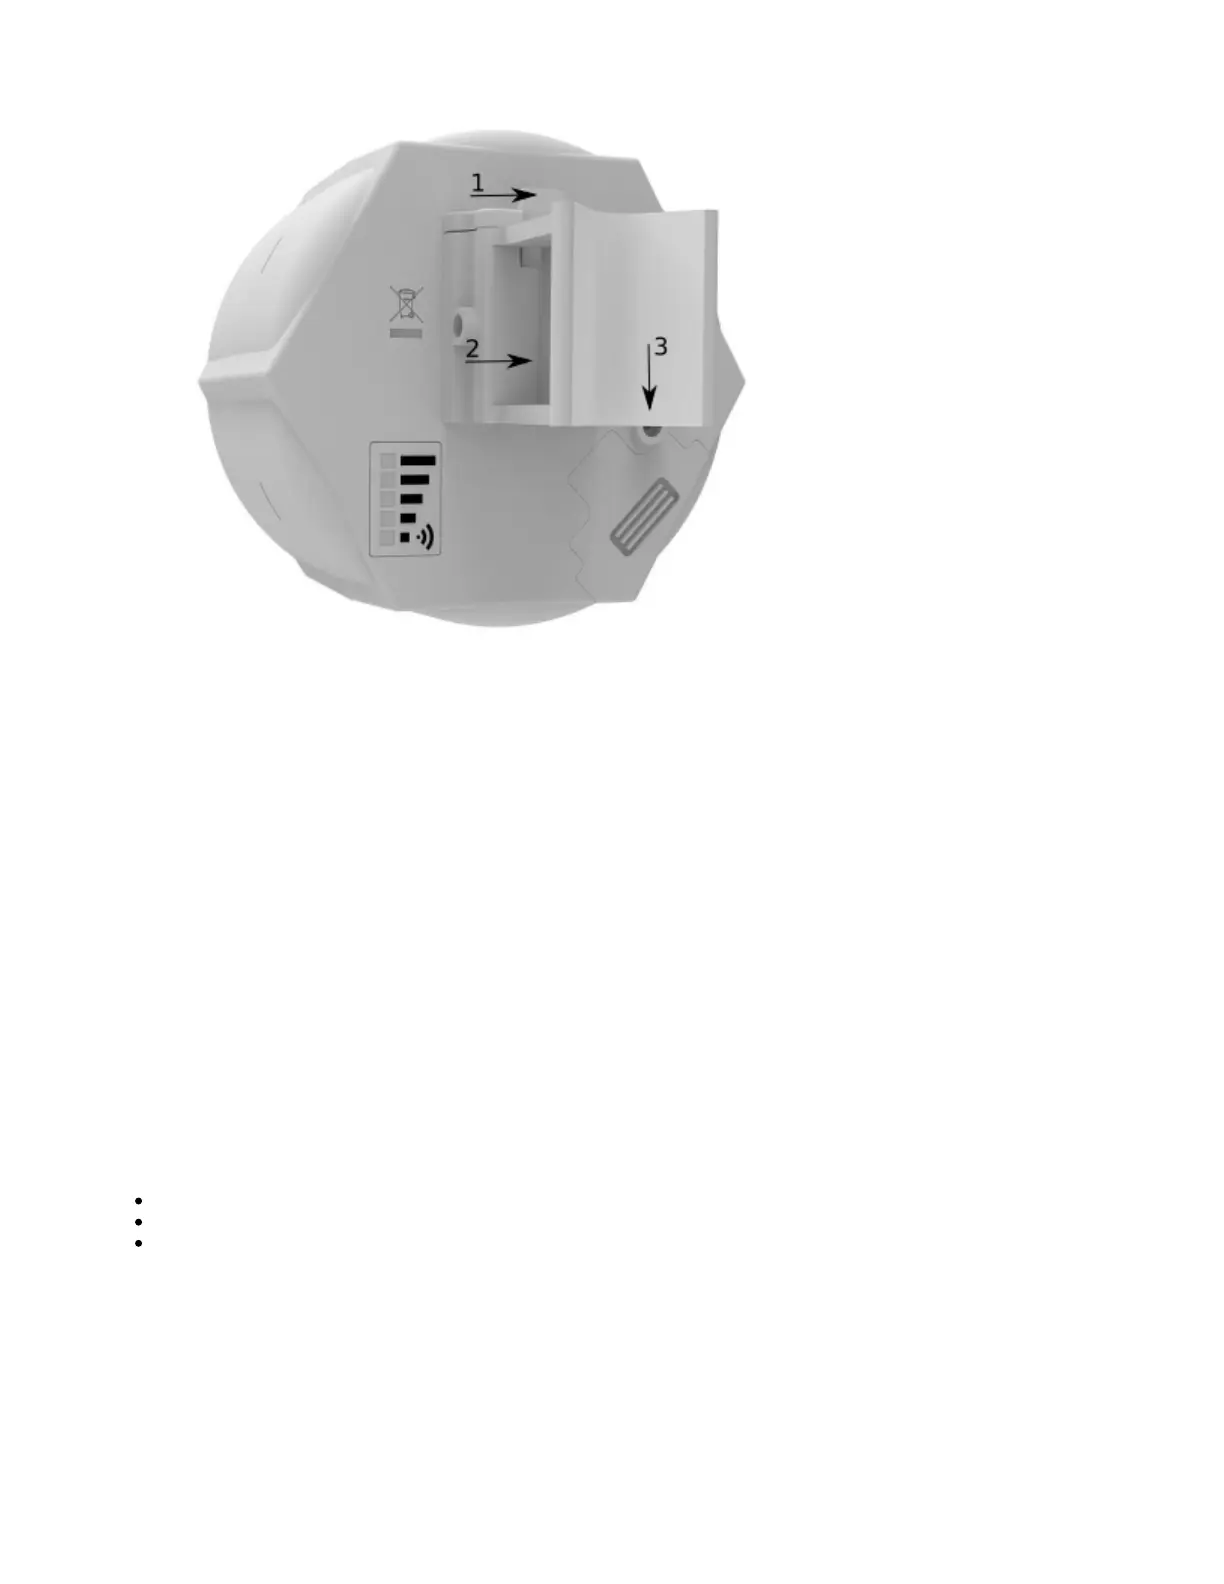
Attach the unit to a pole, with the Ethernet port pointing downward.
Use a PH2 screwdriver to tighten the rings when the alignment is complete.
Fix the Ethernet cable to the pole using zip ties, less than one meter from the unit, to avoid the cable being pulled out of the port.
Check mounting angle and positioning.
When using both Ethernet ports, make sure to cut a wider cable opening in the plastic door. You can use pliers to tear out the plastic piece that is
protecting the cable opening. When closing the plastic door, make sure to apply pressure, until it "clicks" into place.
Mounting and configuration of this device should be done by a qualified person.
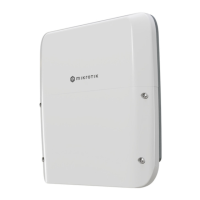
When mounting on the wall, please ensure that the cable feed is pointing downwards.
The IPX rating scale of this device is IP54. We recommend using Cat6 shielded cables.
Warning! This equipment should be installed and operated with a minimum distance of 20 cm between the device and your body.
Grounding
The installation infrastructure (towers and masts), as well as the router itself, must be properly grounded. The device includes a grounding wire attachment
screw behind the case door. Attach your grounding wire to the grounding screw, then attach the other end of the grounding wire to the grounded mast.
This is to substantially reduce the risk of ESD and lightning damage.
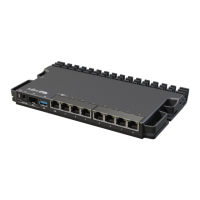
Buttons and Jumpers
The routerBOOT reset button has the following functions. Press the button and apply the power, then:
Release the button when green LED starts flashing, to reset RouterOS configuration to defaults.
Release the button when the LED turns solid green to clear all configuration and defaults.
Release the button after LED is no longer lit (~20 seconds) to cause a device to look for Netinstall servers (required for reinstalling RouterOS over
the network).
Regardless of the above option used, the system will load the backup RouterBOOT loader if the button is pressed before power is applied to the device.
Useful for RouterBOOT debugging and recovery.
The device includes a grounding connection behind the ethernet port door (a screw or a metal loop, depending on the model), which you should connect to
the grounding installation of the tower or building where the device will be used. This is to substantially reduce the risk of ESD and lightning damage.
Included parts
 Loading...