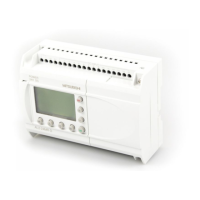
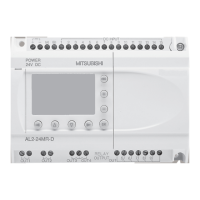
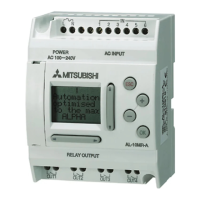
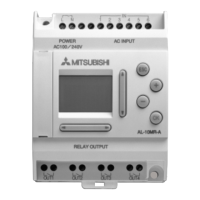
In this section of the lesson you have learnt how to set the time and date.
You’ve been introduced to the “OK”, “ESC”, UP (▲), DOWN (▼), LEFT (◄),RIGHT (►),
PLUS (+) and MINUS (-) buttons. Also, you have learnt how to browse and navigate the
Alpha’s menus. In the following sections you will use what you’ve learnt here to write a small
program on your Alpha using the keypad and LCD screen.
The program you will write here will set output (Out 1) after the input (In 1) has been set for 5
seconds. This program will use the Alpha’s Delay function block.
4.2 How to Enter Run, Stop and Programming Mode
To enter programming mode, the controller must be stopped. A rotating bar in the top right
hand corner of the LCD screen indicates the Alpha is running.
Enter the menu by pressing the “ESC” and “OK” buttons simultaneously.
If your Alpha is running, use the UP (▲) or DOWN (▼) buttons to find STOP. Press the “OK”
button. Press “OK” again. Your Alpha should now be stopped.
When you are satisfied your Alpha is stopped, you’re ready to start programming. Use the
UP (▲) or DOWN (▼) buttons to select ProgEdit and press the “OK” button.
This will place the controller into programming mode. By default, as soon as you enter the
ProgEdit submenu, the first Input (In 01) will flash on the display.
If you wish to use Input 2 (In 02) press the PLUS (+) button. By pressing PLUS (+) or MINUS
(-) buttons you are able to use any of your Inputs (In) or Outputs (Out), also Memory (M) bits,
Key (K) bits and others. Please see your Alpha’s Programming manual for a description of
these.
01
In
16:00 Fri
 Loading...


