EN-26
• The allowable range of the adjustment value in the keystone adjustment varies depending on the installation conditions.
• Images may not be projected in a shape of a regular rectangle or with its aspect ratio 4:3, depending on the installation
conditions of the projector and the screen.
• When the keystone adjustment takes effect, the resolution decreases. In addition, stripes may appear or straight lines may
bend in images with complicated patterns. They are not due to product malfunctions.
• Noise may appear on the screen during the keystone adjustment because of the type of the video signal being projected
and the setting values of the keystone adjustment. In such cases, set the keystone adjustment values in the range where
the image is displayed without noise.
• When the keystone adjustment is carried out, the image may not be displayed correctly because of the type of input
signal.
Magnifying and searching for details
If you need to find the details on the projected picture, magnify the picture. Use the direction arrow keys for
navigating the picture.
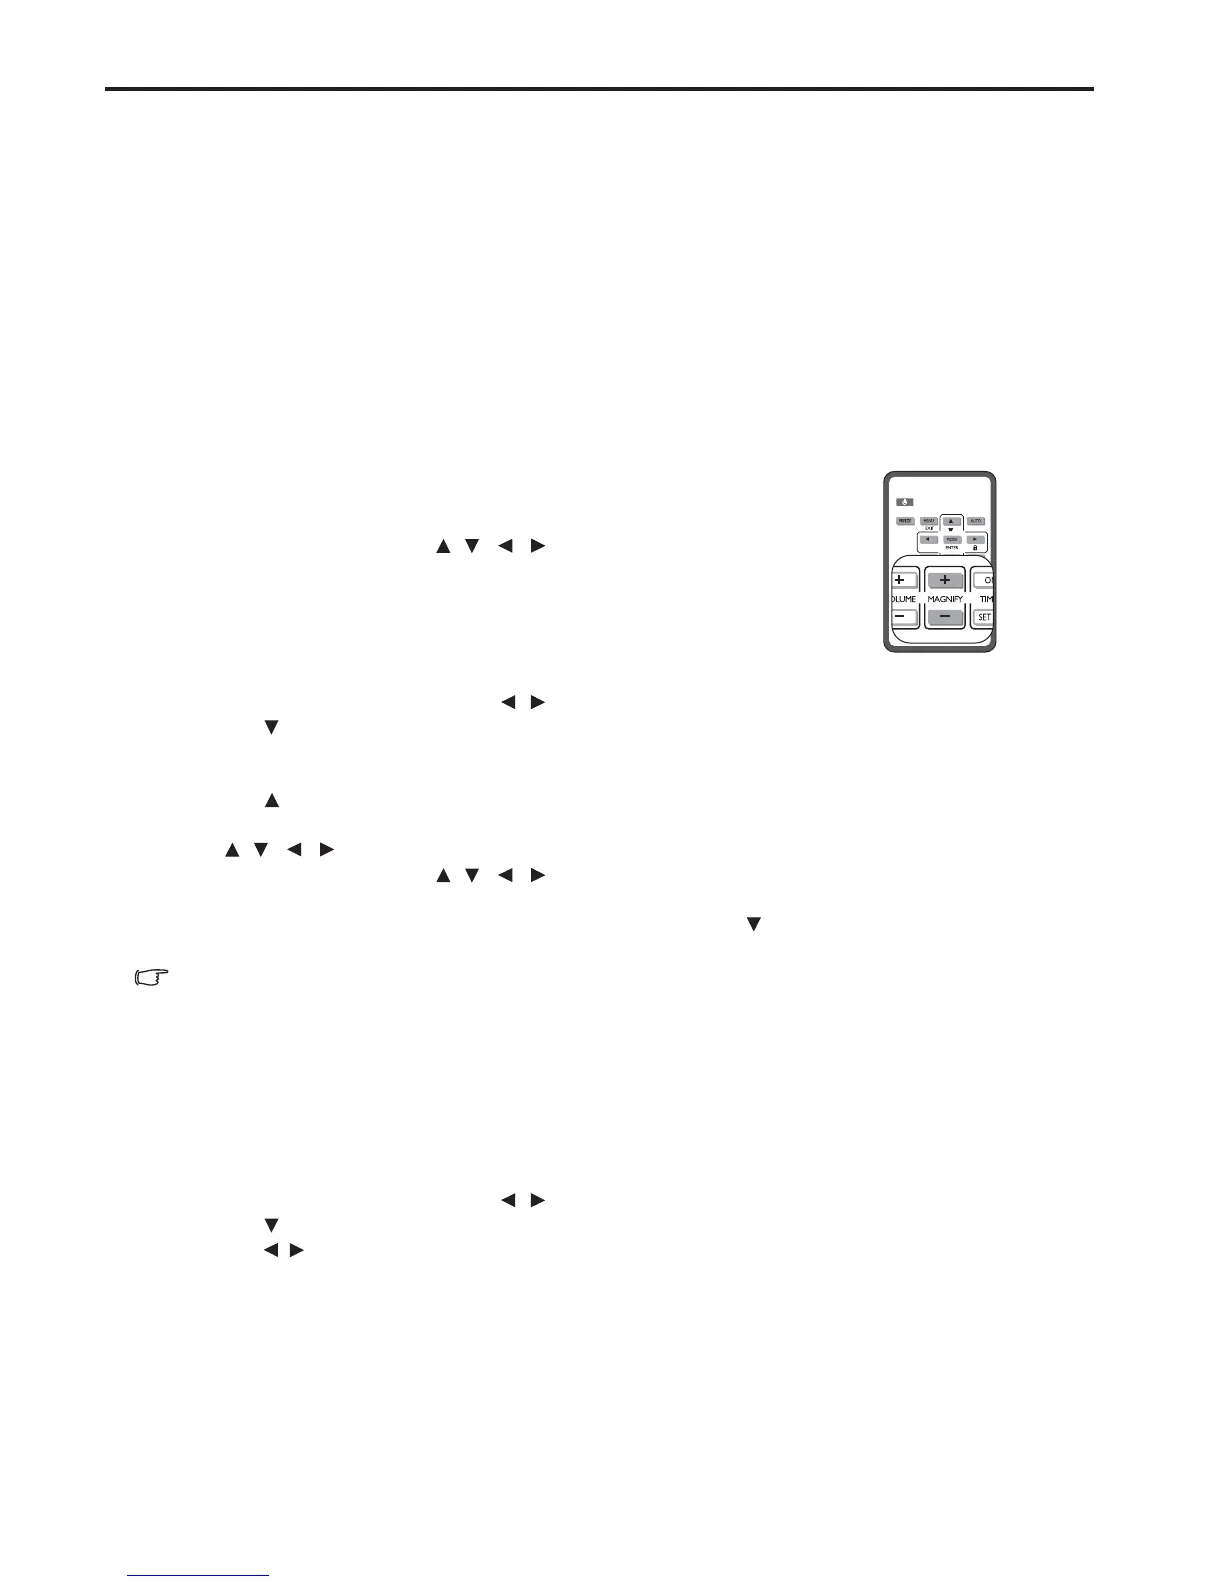
• Using the remote control
1. Press MAGNIFY +/- to display the Zoom bar.
2. Press MAGNIFY + to magnify the center of the picture. Press the key
repeatedly until the picture size is suitable for your need.
3. Use the directional arrows ( , , , ) on the projector or remote
control to navigate the picture.
4. To restore the picture to its original size, press AUTO. You can also
press MAGNIFY -. When the key is pressed again, the picture is further
reduced until it is restored to the original size.
• Using the OSD menu
1. Press MENU/EXIT and then press / until the DISPLAY menu is highlighted.
2. Press
to highlight Magnify and press MODE/ENTER. The Zoom bar is displayed.
3. Repeat steps 2-4 in the section of "Using the remote control" above. Or if you are using the projector control
panel, continue to the following steps.
4. Press on the projector repeatedly to magnify the picture to a desired size.
5. To navigate the picture, press MODE/ENTER to switch to the panning mode and press the directional arrows
( , , , ) to navigate the picture.
6. Use the directional arrows ( , , , ) on the projector or remote control to navigate the picture.
7. To reduce size of the picture, press MODE/ENTER to switch back to the zoom in/out functionality, and press
AUTO to restore the picture to its original size. You can also press repeatedly until it is restored to the
original size.
The picture can only be navigated after the picture is magnified. You can further magnify the picture while searching for details.
Selecting the aspect ratio
The 'aspect ratio' is the ratio of the image width to the image height. Most analog TV and computers are in 4:3 ratio,
and digital TV and DVDs are usually in 16:9 ratio.
With the advent of digital signal processing, digital display devices like this projector can dynamically stretch and
scale the image output to a different aspect than that of the image input signal.
To change the projected image ratio (no matter what aspect the source is):
1. Press MENU/EXIT and then press / until the DISPLAY menu is highlighted.
2. Press
to highlight Aspect Ratio.
3. Press / to select an aspect ratio to suit the format of the video signal and your display requirements.
 Loading...