EasyManua.ls Logo

NAD T773 User Manual

NAD T773
32 pages
To Next Page IconTo Next Page
To Previous Page IconTo Previous Page
Page #18 background imageLoading...
Page #18 background image
1818
1818
18
ABOUT THE ON-SCREEN DISPLAYS (OSD) AND FRONT-PANEL READOUT
CREATING AND USING PRESETS
The T 773’s simple but powerfully flexible system of “Presets” allows you to customize virtually every aspect
of your audio-video playback, and recall them with a single key-press. Every parameter of T 773 operation
that is available from the main <Setup> menu — input settings, level settings, delay settings, speaker
settings, and listening mode selection and adjustments — is stored, together, as a single Preset. You might
create one Preset optimized for pop music and another for classical, or Presets that recall each family
member’s favorite setup, or one for fully cinematic home-theater playback and another for late-night
movies, with each Preset’s surround mode, channel levels, and speaker-setup fine-tuned to a particular
scenario or preference.
CREACREA
CREACREA
CREA
TING PRESETSTING PRESETS
TING PRESETS
Creating a Preset consists simply of storing a complete set of all settings accessible from the main <Setup>
menu, including Tone Control settings. To save a collection of settings to a Preset, use the HTR 2 remote’s
[
/] keys to scroll to the to main <Save to Preset> item. Use [/] to scroll to the desired Preset’s line
[1-5]; <Stored> will be flashing. Now press the HTR 2’s [Enter] to store the Preset; <Stored> will be stop
flashing, confirming that the Preset has been stored.
NOTE: The selected Preset remains in force until you select a different Preset.
NOTE: It is strongly recommended to leave Preset 1 “empty”; that is, memorized with no changes at all
made to the calibrated values you have entered on all of the <Setup> menu lines. This will make returning
to your calibrated setup defaults easy.
RECALLING PRESETSRECALLING PRESETS
RECALLING PRESETS
You may recall a Preset at any time; the newly recalled Preset will replace the previous Preset (if any).
Presets can only be recalled using the HTR 2 remote:
Press the HTR 2’s square [A/V Preset] key (red dot), then press the numeric key 1-5 corresponding to the
desired preset.
NOTE: The [A/V Preset] key works as a momentary “shift” key: You must press it every time before invoking
a Preset via a numeric key.

Table of Contents

Question and Answer IconNeed help?

Do you have a question about the NAD T773 and is the answer not in the manual?

NAD T773 Specifications

General IconGeneral
BrandNAD
ModelT773
CategoryReceiver
LanguageEnglish

Summary

Safety Information

Graphical Symbols and Precautions

Explains graphical symbols and outlines general safety precautions for operating the appliance.

Installation Guidelines

Provides essential guidelines for safe and proper unit installation, covering heat, ventilation, and placement.

Critical Safety Warnings

Highlights crucial warnings regarding fire and electric shock hazards, emphasizing protection measures.

Safety Information

Electric Power Safety Guidelines

Details safe practices for connecting and using the unit's AC power, including polarization and cord handling.

Maintenance and Service Procedures

Outlines recommended maintenance and conditions requiring professional service for the unit.

Owner's Record Section

A dedicated section for users to record their unit's model and serial numbers for convenient reference.

Getting the Most from the NAD T 773

NAD's 'Music First' Design Philosophy

Explains NAD's core design principle focused on musical transparency and high-performance audio.

Unpacking and Setup

Unpacking Contents and Packaging Advice

Lists items included in the box and advises on saving packaging for safe transport.

Choosing an Optimal Location

Provides guidance on selecting a suitable location for the AV receiver, considering ventilation and line-of-sight.

Connecting AM Antenna

Assembling the AM Loop Antenna

Step-by-step instructions for assembling and positioning the AM loop antenna for optimal reception.

About the T 773

Key Technologies and Features

Details E.A.R.S., Matrix, DSP, ease of use, integration, second zone, and RS-232 capabilities.

About the T 773

System Upgradability Options

Explains how to perform software upgrades for the T 773 receiver.

HTR 2 Remote Control Introduction

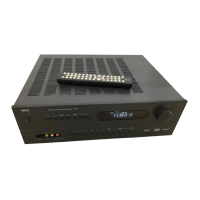
Introduces the HTR 2 remote control and its basic functionality for system operation.

Quickstart Guide

Step-by-Step DVD Movie Playback

Provides a quick guide to connecting and playing a DVD movie for immediate use.

Front Panel Controls Overview

Front Panel Buttons and Displays (Part 1)

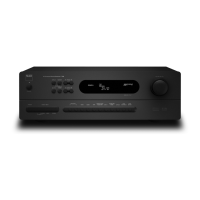
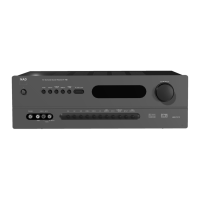
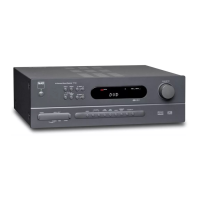
Details the functions of front panel controls numbered 1 through 11.

Front Panel Controls Overview

Front Panel Buttons and Displays (Part 2)

Details the functions of front panel controls numbered 12 through 21.

Rear Panel Connections Guide

Rear Panel Terminals Explained (Part 1)

Explains the purpose and connections for rear panel terminals numbered 1 through 8.

Rear Panel Connections Guide

Rear Panel Terminals Explained (Part 2)

Explains the purpose and connections for rear panel terminals numbered 9 through 19.

Setting Up the T 773

Initial Setup and Considerations

Covers initial room arrangement, component mapping, and remote control requirements.

Preventing Hum and Noise Issues

Offers solutions and considerations for troubleshooting and eliminating hum and noise in audio systems.

On-Screen Displays and Front-Panel Readout

OSD Navigation and Input Setup

Guides users on displaying, navigating OSD menus, and configuring audio/video inputs.

Input Configuration and Assignment

Details how to assign analog and digital audio inputs to video inputs within the setup menu.

On-Screen Displays and Front-Panel Readout

Speaker Setup and Advanced Options

Covers speaker configuration, distance settings, and advanced system options.

Listening Mode Selection

Explains how to select and adjust listening modes for different audio sources.

On-Screen Displays and Front-Panel Readout

Channel Balance and Speaker Distance Setup

Details procedures for calibrating channel levels and setting speaker distances for optimal sound.

Advanced Options Configuration

Explains specific advanced settings like DSP decoding, OSD background, and trigger options.

On-Screen Displays and Front-Panel Readout

Creating and Recalling Presets

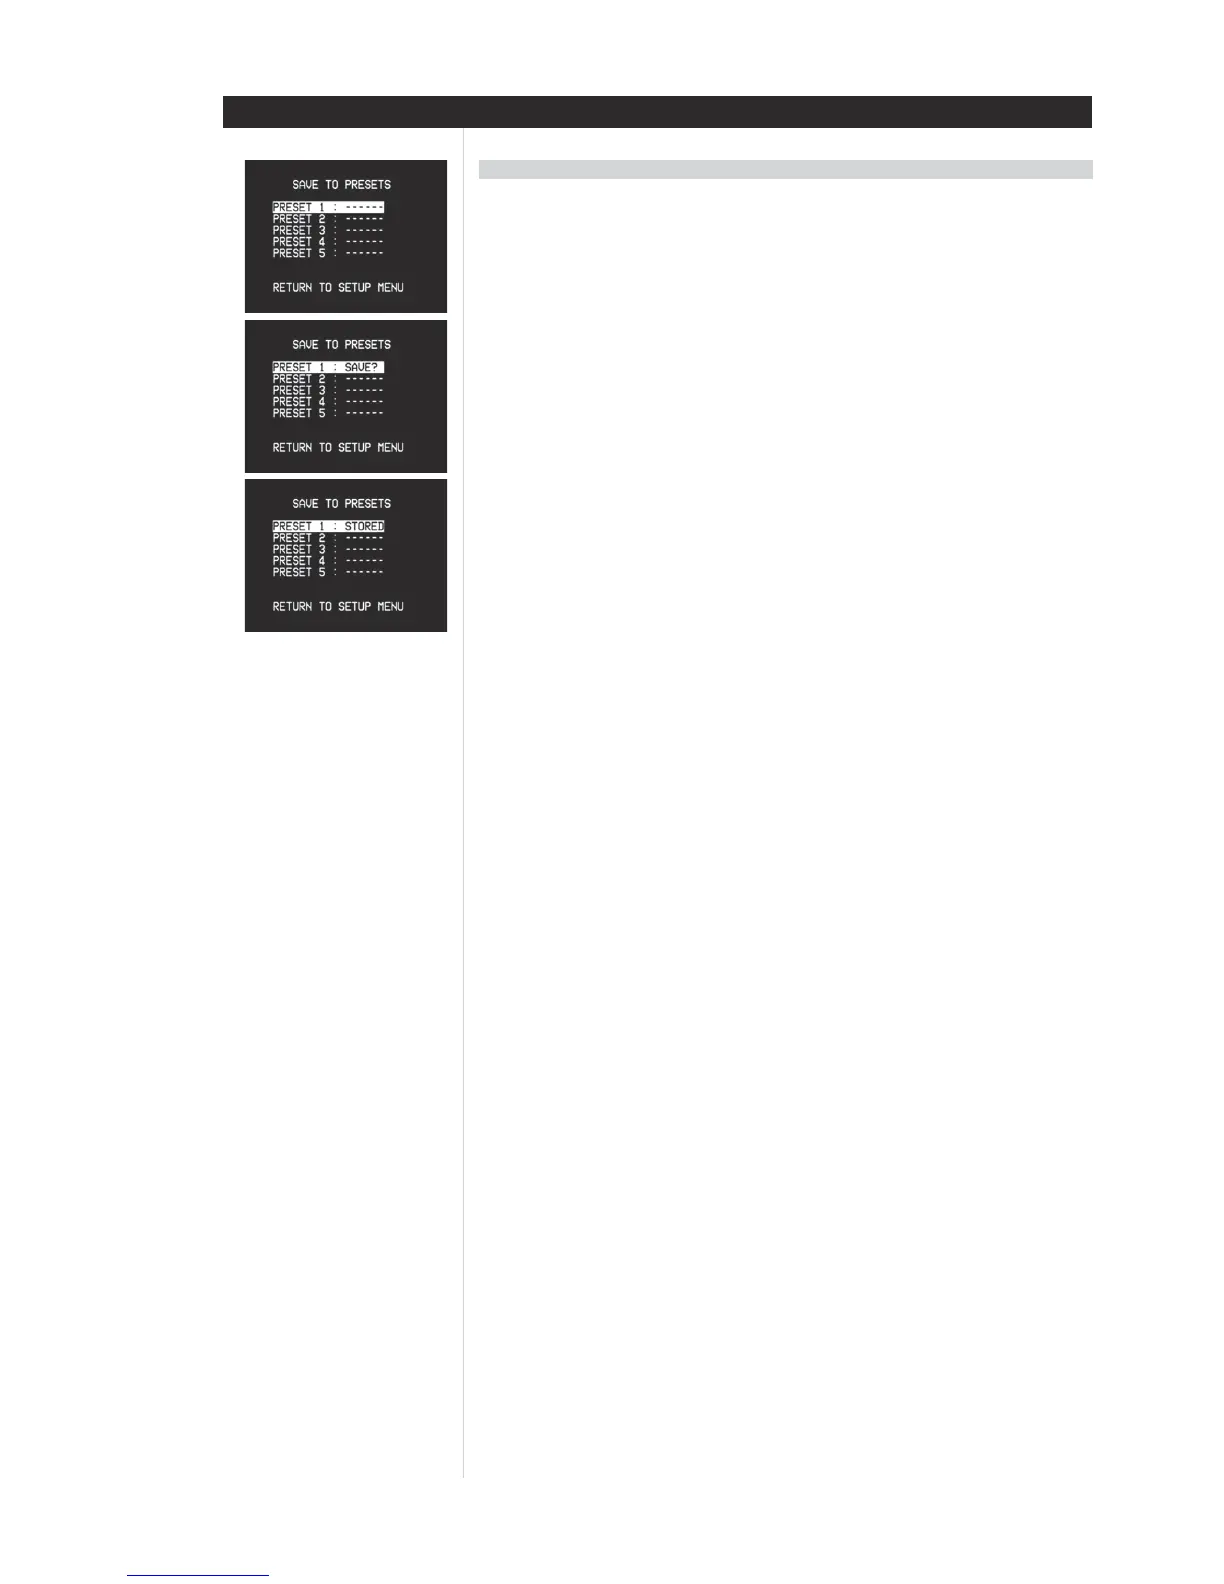
Guides on customizing and saving system settings into presets for easy recall.

Using the T 773

Source Selection and Volume Adjustment

Covers selecting audio/video sources, adjusting master volume, and muting sound.

Radio Listening and Antenna Setup

Instructions for using the built-in AM/FM tuner and connecting antennas.

Using the T 773

Tuning Stations and Setting Presets

Details how to tune radio stations and store them as presets.

FM Mute, RDS, and User Names

Explains FM mute function, RDS text display, and assigning user names to presets.

Using the T 773

DTS Digital Surround Sound Modes

Explains various DTS surround sound formats like DTS-ES and Neo:6.

Dolby Digital Surround Sound Modes

Details Dolby Digital formats, including Dolby Digital EX and its features.

Using the T 773

Dolby Pro Logic and Listening Modes

Explains Dolby Pro Logic, Pro Logic II, and introduces the T 773's listening modes.

Using the T 773

Stereo and Digital Signal Handling

Covers enhanced stereo modes and how digital audio signals are processed and displayed.

Selecting and Displaying Listening Modes

Guides on selecting listening modes and understanding signal mode displays.

Using the T 773

Adjusting Listening Mode Parameters

Details how to fine-tune parameters for specific listening modes like PLII and Neo:6.

Stereo and Dynamic Range Settings

Explains adjustments for stereo playback and dynamic range control for Dolby Digital.

Using the T 773

Surround Sound Channel Chart

A table mapping modes to available surround sound channels and speaker settings.

On-the-Fly Channel Level Adjustments

How to adjust channel levels without accessing the OSD menu.

Tone Control Adjustments

How to adjust bass and treble settings for the front channels.

Using the HTR 2 Remote Control

HTR 2 Remote Specifications and Control

Covers remote specifications and basic control of the T 773.

Learning Remote Control Commands

Step-by-step guide to teaching the remote new commands from other devices.

Using the HTR 2 Remote Control

Punch-Through and Macro Recording

Explains advanced remote functions like punch-through and macro creation.

Using the HTR 2 Remote Control

Remote Illumination, Reset, and Deletion

Covers key illumination timeout, factory reset, and deleting stored commands.

Loading and Managing Code-Libraries

Instructions for loading and managing code libraries for controlling other components.

Using the HTR 2 Remote Control

Remote Control Search Mode

Describes the search method for finding compatible remote control codes.

Checking and Managing Code Libraries

How to check current code-library numbers and manage them.

Using the ZR 2 Remote Control

ZR 2 Remote Functions and Zone Control

Overview of the ZR 2 remote and its capabilities for zone control.

Trigger Output Setup and Assignment

Guides on configuring and assigning the 12V trigger outputs for system automation.

Troubleshooting Common Issues

No Sound and Audio Problems

Addresses issues related to no sound from channels, subwoofers, and center speakers.

Digital Audio and Remote Control Issues

Covers problems with Dolby Digital/DTS signals and unresponsive remote controls.

Product Specifications

Amplifier and Preamplifier Specifications

Details technical specifications for the amplifier and preamplifier sections.

Tuner and Physical Specifications

Lists tuner section specs and physical dimensions/weight of the unit.

Related product manuals