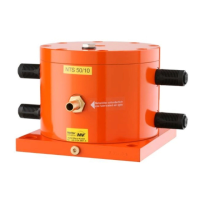
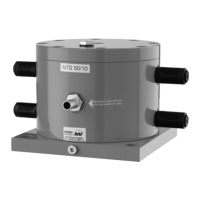
Check the function of the NTS.
Check the function of the mist lubricator. Refill oil if necessary (except for the NTS L).
Clean the filter of the maintenance unit and replace, if necessary.
If necessary, clean the surface of the NTS with a wet cloth to remove dust deposits.
* Observe the tightening torques (see Chap. Technical data, from page 4 on).
Check if there is enough pressure at the NTS. Check valve. A 3/2-
way valve is strictly required, so that the supply line to the NTS is
vented.
A leaky cover leads to standstill of the NTS. Tighten screws.
Observe recommended cross-sections (see Chap. Technical data).
Line between valve and
NTS > 3 m
Leads to a slow start and an eventual standstill of the piston in the
middle position. If necessary, put a controlled 3/2-way air valve
before the NTS.
Exhaust air throttled too
much
Open the throttle valve further. Clean silencer.
Thread of grommet is too
long
Check if the housing is deformed. In case of deformed housing,
have the NTS checked by
Netter
Vibration.
Tension during installation
Ensure a flat contact surface.
Missing ventilation of the
housing
Use a 3/2-way valve with adequate cross section.
Check fastening and housing screws.
Check the function of the mist lubricator.
Disassemble NTS and clean it.
Check piston and housing for visible wear. If wear is found, send
the NTS to
Netter
Vibration or replace it. Check mist lubricator.
Operating pressure too low
If necessary, increase the pressure. Check line cross-sections.
All parts of the NTS must be properly disposed of according to the material specifications.
The NTS can be properly disposed by
Netter
Vibration. The valid disposal prices are available on re-
quest.
Depending on the type, the following materials are built into the NTS:
Steel/stainless steel, aluminium, bronze (NTS BK), plastics.
Declaration of Incorporation
 Loading...