5
Spider
I
GB
F
D
E
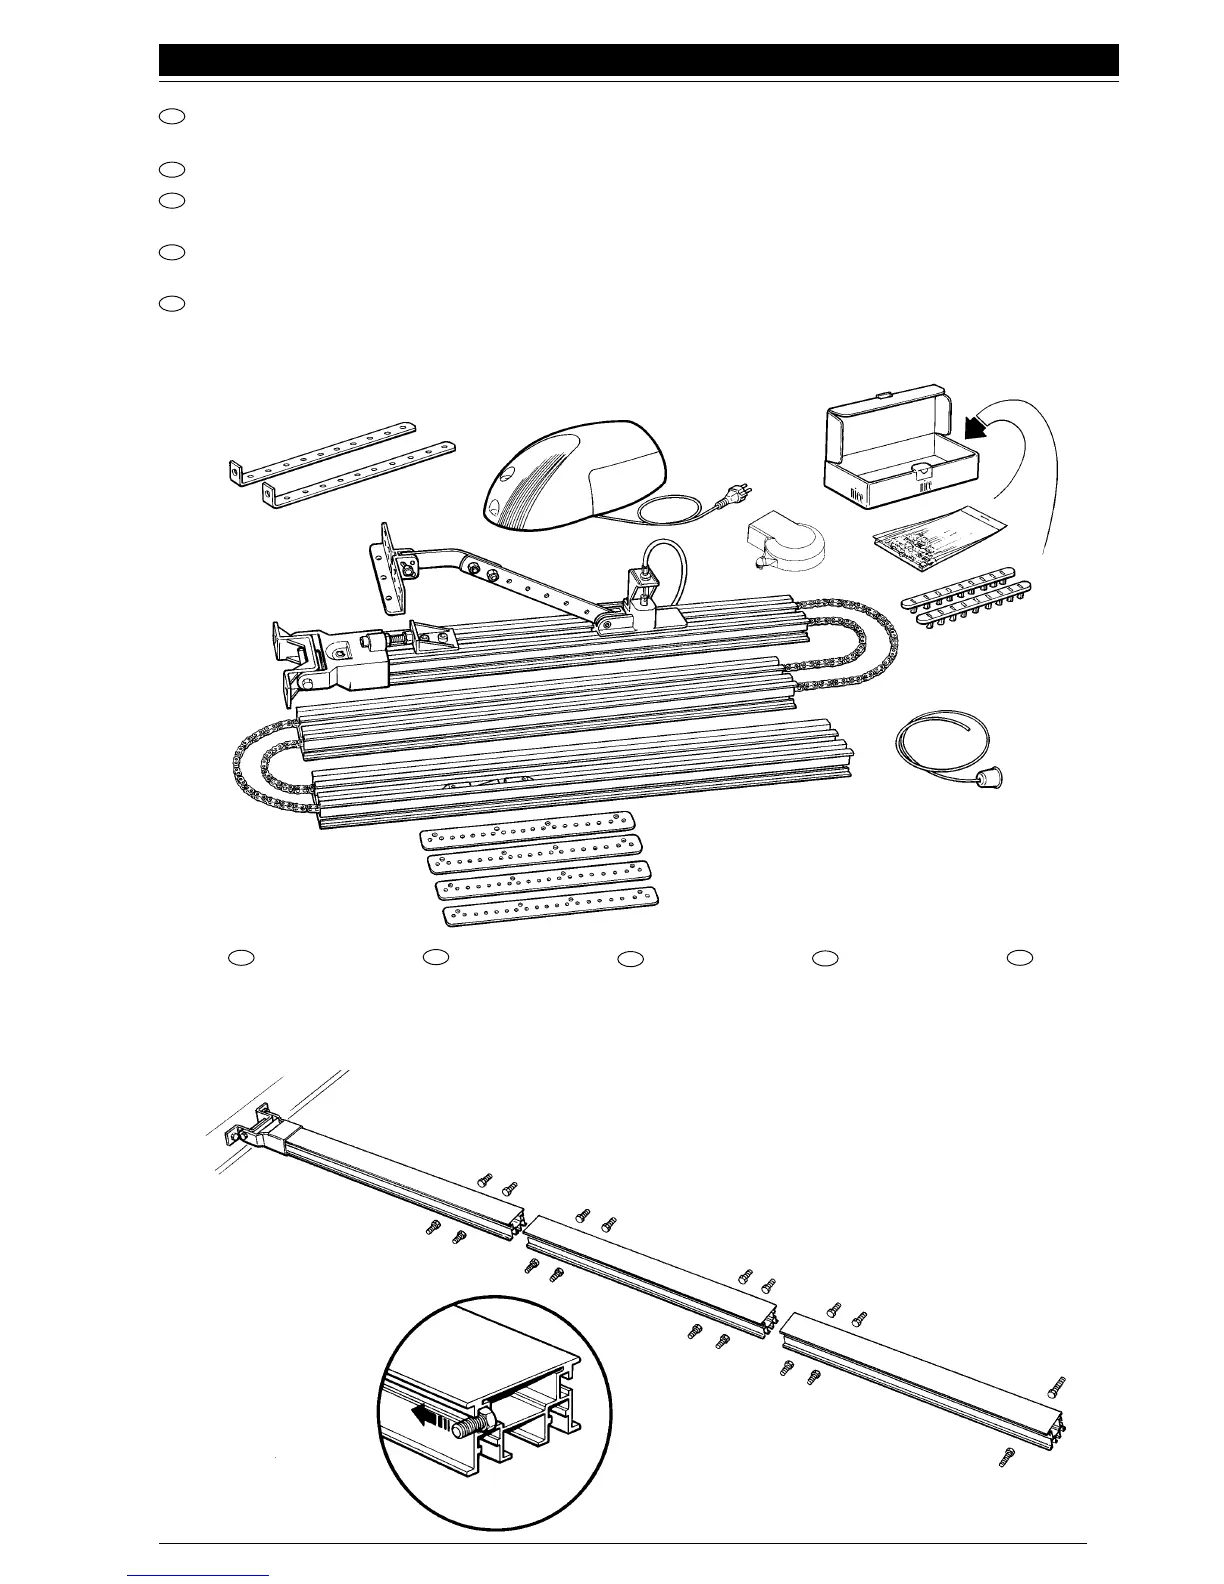
Lo SPIDER è stato progettato in modo da poterlo installare senza togliere il coperchio. Per l’assemblaggio seguire le pros-
sime descrizioni:
SPIDER is designed to be installed without removing the casing. To assemble it proceed as follows:
Le SPIDER a été projeté de manière à pouvoir l’installer sans retirer le couvercle. Pour l’assemblage, suivre les descrip-
tions ci-après:
Der SPIDER wurde so konstruiert, dass der Deckel bei seiner Installation nicht abgenommen werden muss. Für den
Zusammenbau nach den folgenden Beschreibungen vorgehen:
SPIDER ha sido proyectado para poder ser instalado sin quitar la tapa. Para el ensamblaje, siga las siguientes instruccio-
nes:
INSTALLAZIONE - INSTALLATION - INSTALLATION - INSTALLATION - INSTALACIÓN
GB
F
D
EI
Inserire le viti nella
feritoia come in figura 1.
Insert the screws in the
slot as shown in the
figure 1.
Introduire les vis dans
le fente comme sur la
figure 1.
Die Schrauben wie in
der Abbildung gezeigt
in den Schlitz
einschrauben 1.
Introduzca los tornillos
en las ranuras, como
muestra la figura 1.
1-
Fig. 1
Abb. 1

 Loading...