10
ninjakitchen.com
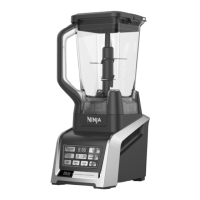
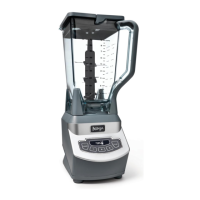
NOTE: Nutri Ninja
®
|
Ninja
®
Blender System with
AUTO-iQ
®
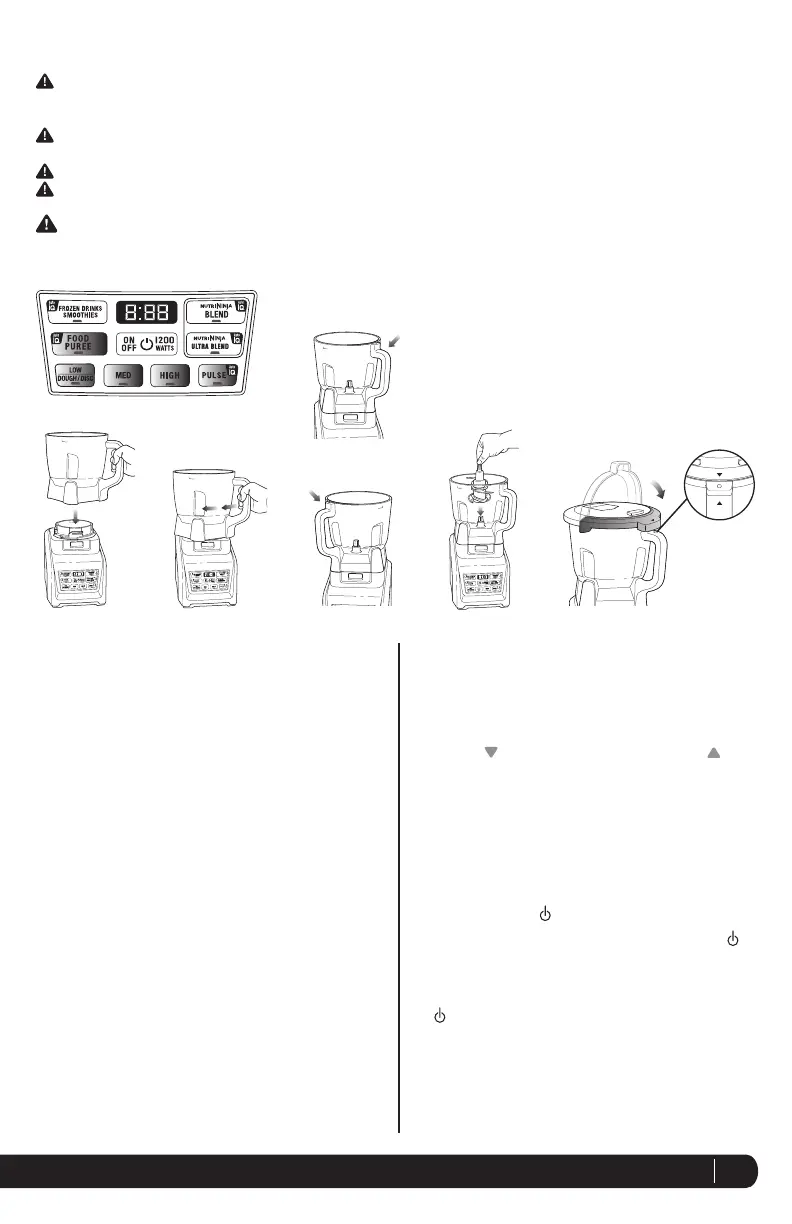
Technology can sense which jar is on
the motor base. The function lights will illuminate
depending on which jar is placed on the motor base.
(Fig. 1)
1 Review warning and caution statements above before
proceeding to number 2.
2 Place the motor base on a clean, dry, level surface such
as a counter or table top. Press down on the motor
base to make sure that the suction cups adhere to the
counter or table top.
3 Holding the desired blade assembly by the top of the
shaft, place it onto the drive gear inside the bowl.
Ensure that the blade assembly is seated properly and
is standing upright. (Fig. 2)
NOTE: The blade will fit loosely on the drive gear.
3 Align and lower the Processor Bowl onto the motor
base. (Fig. 3) Handle should be aligned slightly to the
right of the “LOCK” symbol on the motor base.
4 Rotate the bowl clockwise until it locks in place, you will
hear a click when the lock is engaged. (Fig. 4)
5 The bowl can be placed on the motor base two ways;
the handle can be on the front right corner or the front
left corner. (Fig. 5a, Fig. 5b)
6 Add the ingredients to the bowl, making sure that they
do not exceed the highest measured marking line on
the side of the bowl.
7 Holding the lid by the handle in the upright position,
place it on top of the Processor Bowl aligning the
triangle ( ) located on the lid with the triangle ( )
located on the Processor Bowl handle. (Fig. 6a) Press
the handle down until you hear a click. The triangles on
the lid and the Processor Bowl handle MUST be aligned
in order for the blender to turn on. (Fig. 6b)
NOTE: The 64 oz. bowl is not intended for blending
drinks. Do not overfill.
8 Plug the power cord into the electrical outlet and press
the power button ( ).
NOTE: As a safety feature, the power button ( )
will flash and the motor will not work if the bowl
and lid are not installed correctly. When the bowl
and lid are installed properly, the power button (
) will be solid, indicating that the appliance is
ready for use.
Assembly and Use of the Food Processor
ASSEMBLY
WARNING: Chopping Blade Assembly is sharp and not locked in place. Before emptying contents carefully
remove lid and Chopping Blade Assembly, holding it by the shaft. Failure to do so will result in risk of
laceration.
WARNING: Remove utensils prior to processing. Failure to remove may cause the bowl to be damaged or to
shatter, which may cause personal injury.
WARNING: Never leave the appliance unattended while in use.
CAUTION: Do not blend hot liquids, doing so may cause excessive pressure buildup, resulting in risk of the
user being burned.
CAUTION: Remove the lid from the bowl upon completion of processing. Some ingredients have the potential
to expand after blending resulting in excessive pressure buildup that can pose a risk of injury.
IMPORTANT: Make sure that the motor base is plugged in for use.
FROZEN DRINKS
SMOOTHIES
PUREE
PULSE
HIGH
MED
LOW /
DOUGH
AUTO
AUTO
AUTO
FROZEN DRINKS
SMOOTHIES
PUREE
PULSE
HIGH
MED
LOW /
DOUGH
AUTO
AUTO
AUTO
Fig. 1
Fig. 6b
Fig. 5 Fig. 6aFig. 2 Fig. 4bFig. 3
Fig. 4a
OR
 Loading...