11 12
ninjacoffeebar.com1-877-646-5288
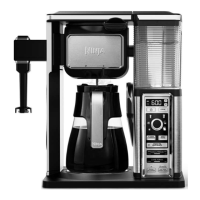
FILLING THE BREW BASKET WITH COFFEE
For best results, use the below measurements of ground
coffee for each size brew–the amount of ground coffee for
each size will remain the same for any brew type that you
select. For example, if you select Cup and Classic Brew, you
will use the same amount of coffee grounds as if you select
Cup and Specialty Brew.
CAUTION: The maximum capacity for ground
coffee is 6 rounded tablespoons or 3 Ninja Big
Scoops. Exceeding this amount or using fine
ground coffee may cause overflow.
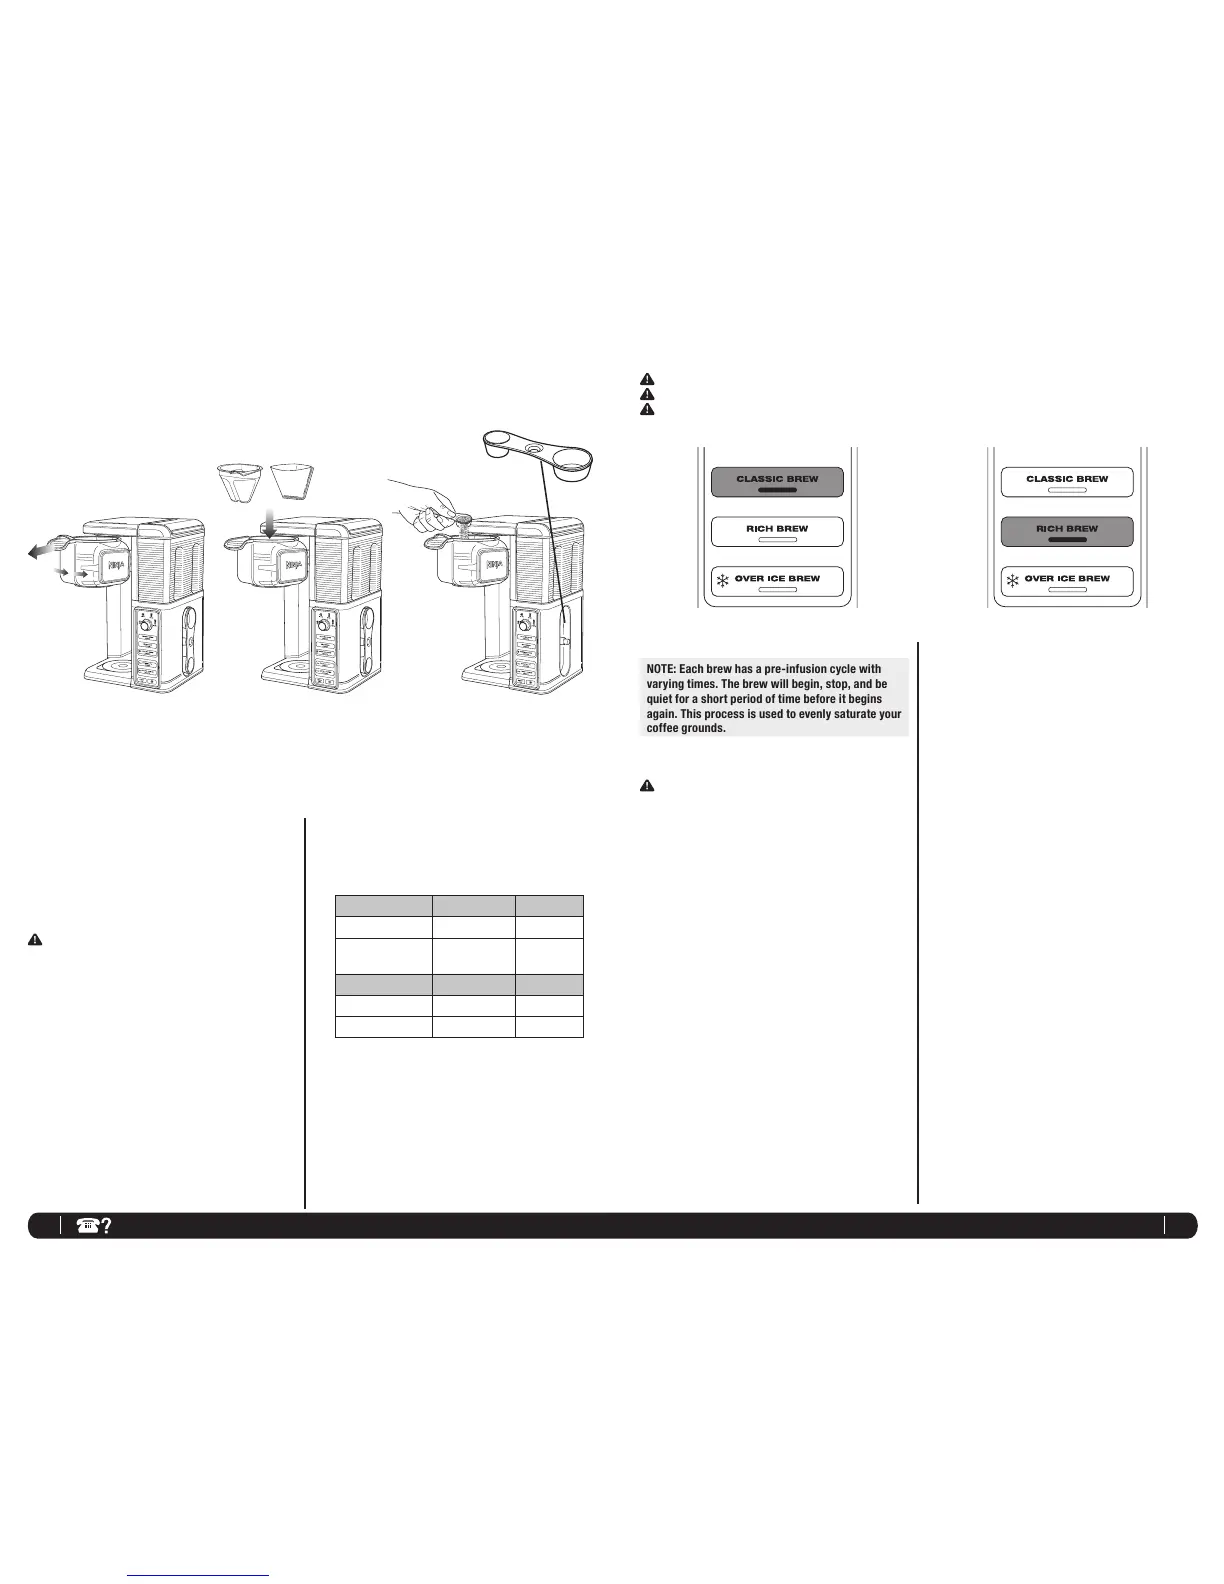
1 Open the brew basket by sliding it out of the brewer.
(Fig. 5)
NOTE: Check for any loose grounds that may be left in
the brew basket. Remove and rinse the brew basket if
needed.
2 Place the permanent filter or a #2 paper cone filter in
the brew basket. If using a paper filter, first ensure the
permanent filter is removed from the brew basket. Then
fold a #2 paper cone filter along the seams and insert
firmly into the brew basket. (Fig. 6)
3 Use the Ninja Scoop and follow the measurements
in the chart to fill the filter. These measurements are
based on level scoops—adjust to your preferred taste.
(Fig. 7) We suggest using a medium grind size if
grinding whole beans.
Serving Size Ninja
®
Scoop Tablespoons
Cup / Tall Cup 2–3 small scoops 2–3 Tbsp.
Travel Mug / XL Travel
Mug
2–3 big scoops 4–6 Tbsp.
One-Touch Brews Ninja
®
Scoop Tablespoons
4 oz. Specialty 2 big scoops 4 Tbsp.
8 oz. Cafe Forte 2 big scoops 4 Tbsp.
NOTE: Exceeding the recommended medium grind
size for whole beans may cause the brew basket to
overflow.
4
Slide the brew basket back into the brewer and click in place.
Preparing for Use - cont.
Fig. 5 Fig. 6 Fig. 7
or
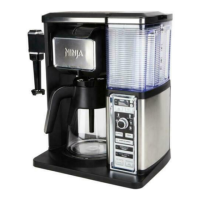
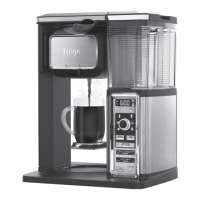
Lower the Multi-Serve Cup Platform down and center
the cup or mug on the platform. Please ensure that you
are using at least 12 oz. cup for the cup size, 14 oz. cup
for the tall cup size, 16 oz. travel mug for the travel mug
size and 20 oz. travel mug for the XL travel mug size.
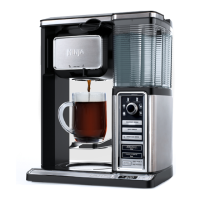
3 Press the CLASSIC BREW or the RICH BREW button
and the brew will begin. (Fig. 11, Fig. 12) Press the
CLASSIC BREW or RICH BREW button again or turn the
Multi-Serve dial to Off to cancel the brew.
NOTE: The brew will begin, stop, and be quiet for
a short period of time before it begins again. This
process is used to evenly saturate your coffee
grounds.
NOTE: Do not remove water reservoir, brew basket, or
vessel while brewing.
4 The Ninja
Coffee Bar
®
will beep to signal a completed
brew.
NOTE: Rich Brew will use slightly less water and yield
slightly less brewed coffee than Classic Brew.
CAUTION: HOT WATER Do not remove the brew basket or vessel while brewing.
CAUTION: STEAM Do not touch steam vents or the top of the brewer while brewing.
CAUTION: The brew basket is hot after brewing. Always allow the brewer to cool down before cleaning
.
BREWING COFFEE
NOTE: Each brew has a pre-infusion cycle with
varying times. The brew will begin, stop, and be
quiet for a short period of time before it begins
again. This process is used to evenly saturate your
coffee grounds.
NOTE: For a hotter coffee, rinse the coffee cup or mug with
hot water prior to brewing.
CAUTION: Ensure the cup or travel mug is
completely empty before starting a brewing cycle.
Starting a brewing cycle with coffee in the cup or
travel mug will cause an overflow.
SIGNATURE COFFEE: CLASSIC, RICH OR OVER ICE BREW
Classic Brew - For a smooth, balanced flavor.
Rich Brew - For a coffee that is richer than Classic Brew
and still smooth, with more room for milk and cream.
1 After filling the water reservoir and adding ground
coffee to the filter, be sure that the reservoir, basket,
and filter are securely in place.
2 Use the Multi-Serve dial to select the size of coffee you
would like to brew.
Fi g. 11 Fig. 12
 Loading...