7ninjakitchen.com6
1-877-646-5288
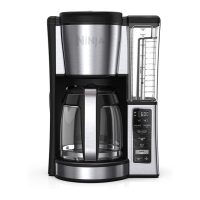
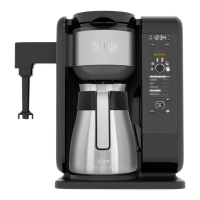
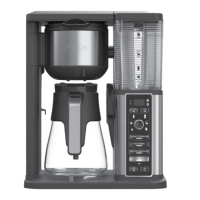
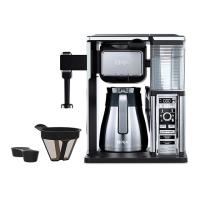
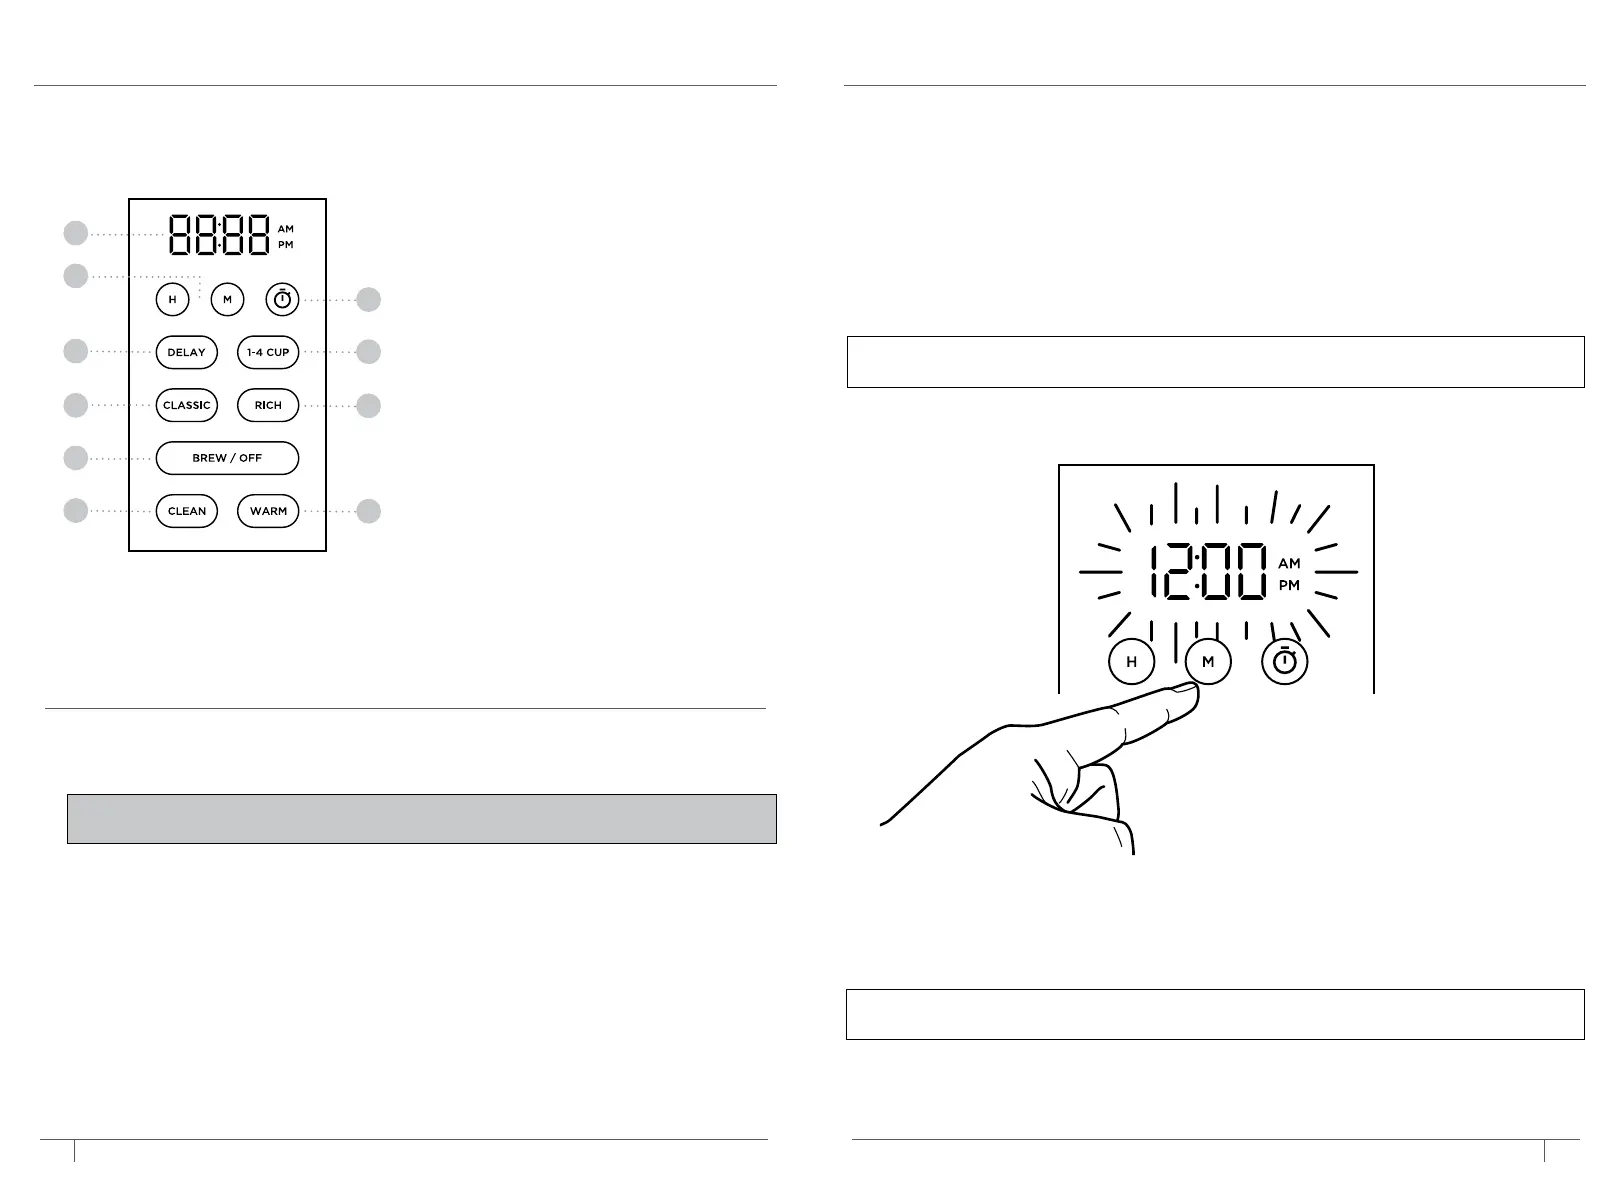
1 Programmable Digital Clock
2 Clock Hour and Minute Buttons
3 Freshness Timer Button
(not available on all models)
4 Delay Brew Button
5 1-4 Cup Brew Button
6 Brew Styles
(a) Classic Brew Button
(b) Rich Brew Button
7 Start Brew/O Button
8 Clean Cycle Button
9 Keep Warm Button
USING THE CONTROL PANEL PREPARING FOR USE
1
2
4
6a
3
5
6b
7
8
9
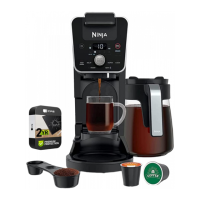
FEATURES OF THE NINJA PROGRAMMABLE
COFFEE MAKER
• 1-4 CUP Brew Brewing 4 cups of coee or fewer? When the 1-4 CUP button is
selected, the coee maker’s brew cycle will be optimized for brewing smaller
batches, resulting in the most flavorful coee�
• CLASSIC Brew Smooth, well-balanced flavor�
• RICH Brew For a richer coee but still smooth�
• Freshness Timer (Not available on all models) Lets you know how long your coee
has been waiting for you� Press the freshness timer once to show the amount of
time that has passed since brewing completed� The freshness timer counts up to a
maximum of 4 hours�
• Auto-O The unit will automatically shut o after 15 minutes of no interaction�
To manually shut o the unit, press and hold BREW/OFF for 3 seconds�
• Keep Warm Keep your brew at the ideal temperature for up to 4 hours�
The Adjustable Warming Plate will activate when a brew has started and is set to
remain on for 2 hours� Press WARM to turn it o�
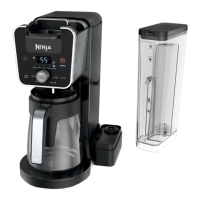
1 Remove all packaging material and stickers from the coee maker.
2 Wash the water reservoir, carafe, brew basket, and permanent filter in warm,
soapy water with a soft cloth. Rinse parts and dry thoroughly.
3 Plug in the power cord.
4 Fill the reservoir to the 14 cup line with fresh water and place it on the base.
5 Place the empty carafe on the base and prime the system by running a full carafe
on Classic brew with water only. After the cycle is complete, discard the water.
1 Plug the power cord into an electrical outlet and the digital clock will begin to flash.
2 Use the H and M buttons to set the clock to the current time. The AM or PM indicator
will illuminate on the right side of the display as you are setting the time.
3 When the desired time is reached, allow 5 seconds for it to set.
NOTE: We recommend fresh, cool, filtered water. Well water is not recommended.
SETTING THE CLOCK
BEFORE FIRST USE
NOTE: If you unplug the brewer or experience a power loss, you will need to reset the
clock the next time the brewer is powered on.
IMPORTANT: DO NOT fill the reservoir higher than the 4 cup line, as the unit will use
up the total amount of water in the reservoir regardless of the 1-4 CUP setting�
 Loading...