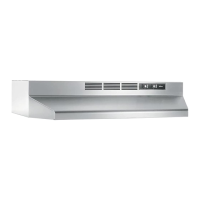
1. Using provided wire connectors, connect wires as follow: BLACK wire to BLACK wire (A),
WHITE wire to WHITE wire (B) and GREEN or BARE wire with GREEN-YELLOW wire (C).
2. Reinstall wiring box cover.
3. Plug back the small white connector inside the hood.
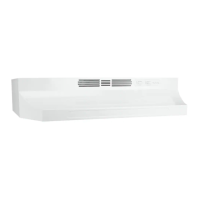
4. Reinstall bottom panel. Make sure both grease guides are aligned with the holes. Install
the grease pan.
5. Using long nose pliers, pull out the end of each grease guides (A). Then, set them in
such a way their flange slightly protrudes above the bottom panel surface (B).
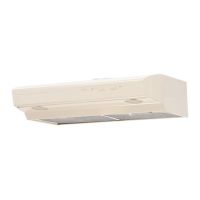
This hood uses (1) appliance bulb 120 V 40 W maximum (not included).
To access the bulb, unscrew the light diffuser retaining screw.
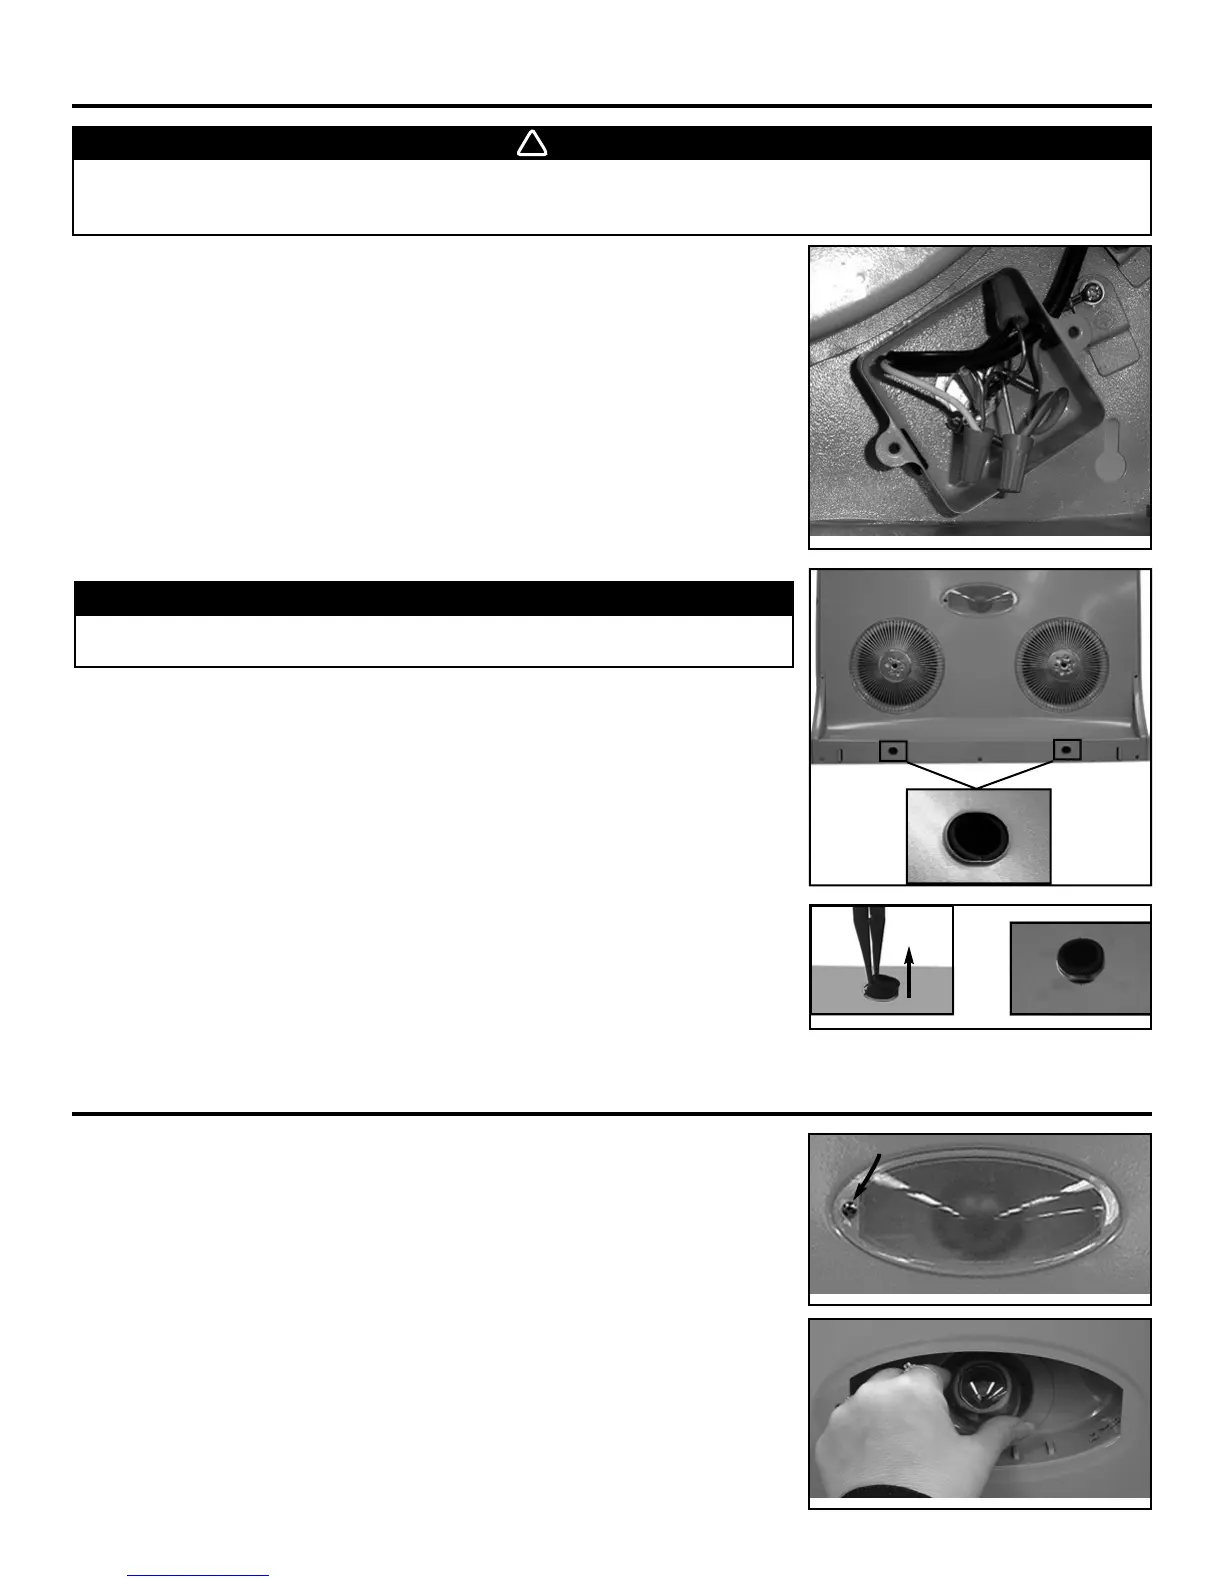
To remove, rotate the bulb counterclockwise.
Install the bulb by rotating clockwise in its socket holder.
Reinstall the light diffuser.
ELECTRICAL CONNECTION
WARNING
Risk of electrical shock. Electrical wiring must be done by qualified personnel in accordance with all applicable
codes and standards. Before connecting wires, switch power off at service panel and lock service disconnecting
means to prevent power from being switched on accidentally.
 Loading...