E3X-N
E3X-N
13
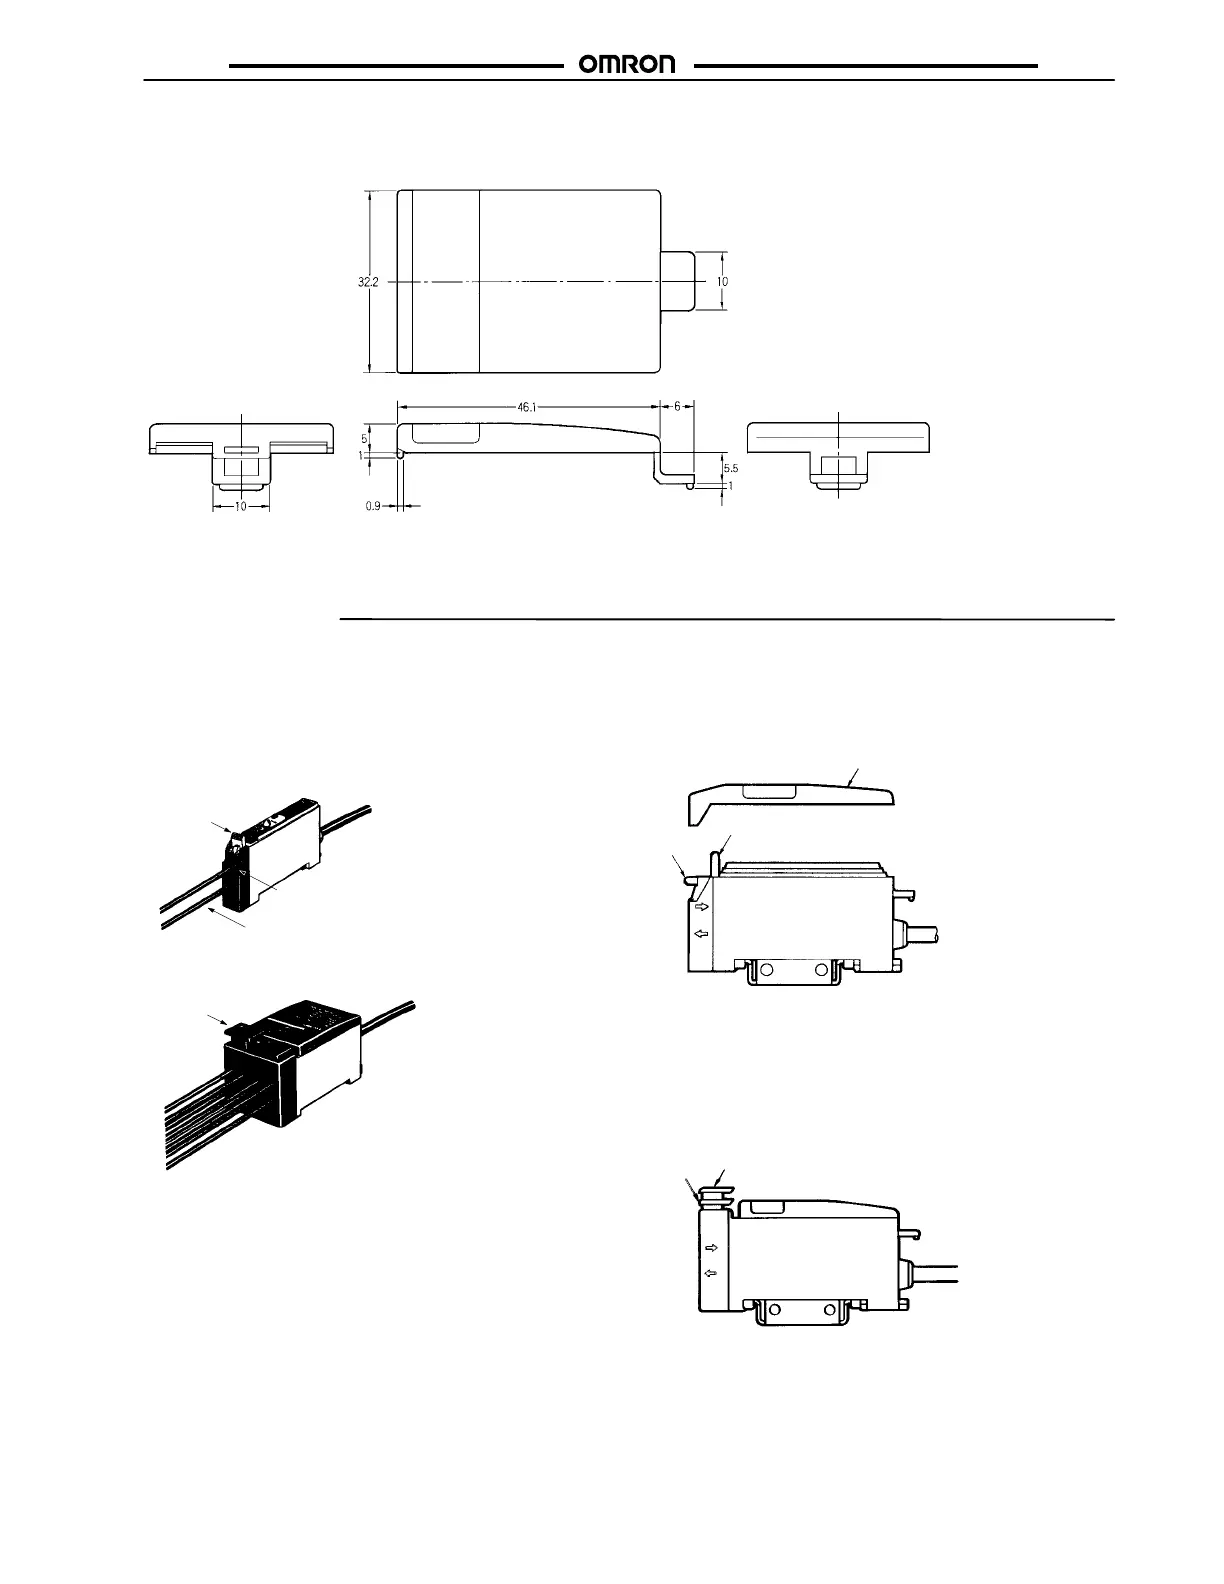
E39-G9 Replacement Protective Cover for E3X-NM
Installation
FIBER CABLE INSTALLATION
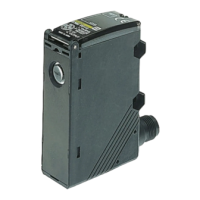
The E3X-N fiber amplifier has a snap-locking system. Connect or
disconnect the fibers, according to the following procedures:
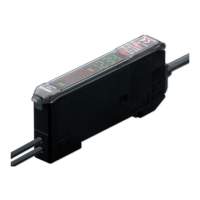
1. Connection
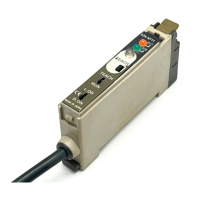
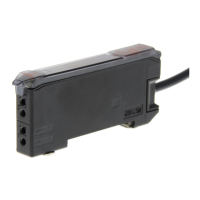
• E3X-NT
Lock lever
Fiber insertion mark
Fiber
E3X-NT
Remove the protection cover,
insert the fiber into the amplifier,
and then lower the lock lever until
a click sound confirms locking.
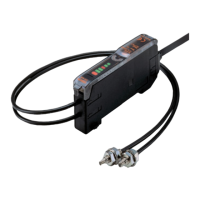
• E3X-NM
Lock button
After inserting the fiber into the
amplifier, press the lock button
until a click sound confirms locking.
After cutting the fibers using the Fiber Cutter (E39-F4), place an
insertion mark on the fiber so that it can be properly inserted into
the Amplifier. Insert the fiber into the Amplifier up to this insertion
mark.
2. Disconnection
• E3X-NT
Remove the protective cover, raise the lock lever, and then pull
out the fiber.
Protective cover
Unlocked
Locked
• E3X-NM
Press the lock button again. The lock will be released and the
button will pop up. Pull out the fiber. Do not forcibly pull up the
lock button. (Be sure to pull out the fiber only after confirming that
the lock has been released in order to maintain the fiber
characteristics.)
Unlocked
Locked
3. Precaution
When connecting or disconnecting fibers, lock the fiber or release
its lock under an ambient temperature range between –10°C
and 40°C.
 Loading...