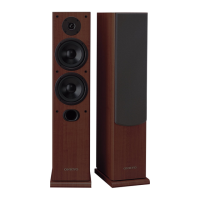
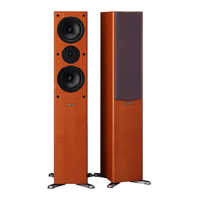
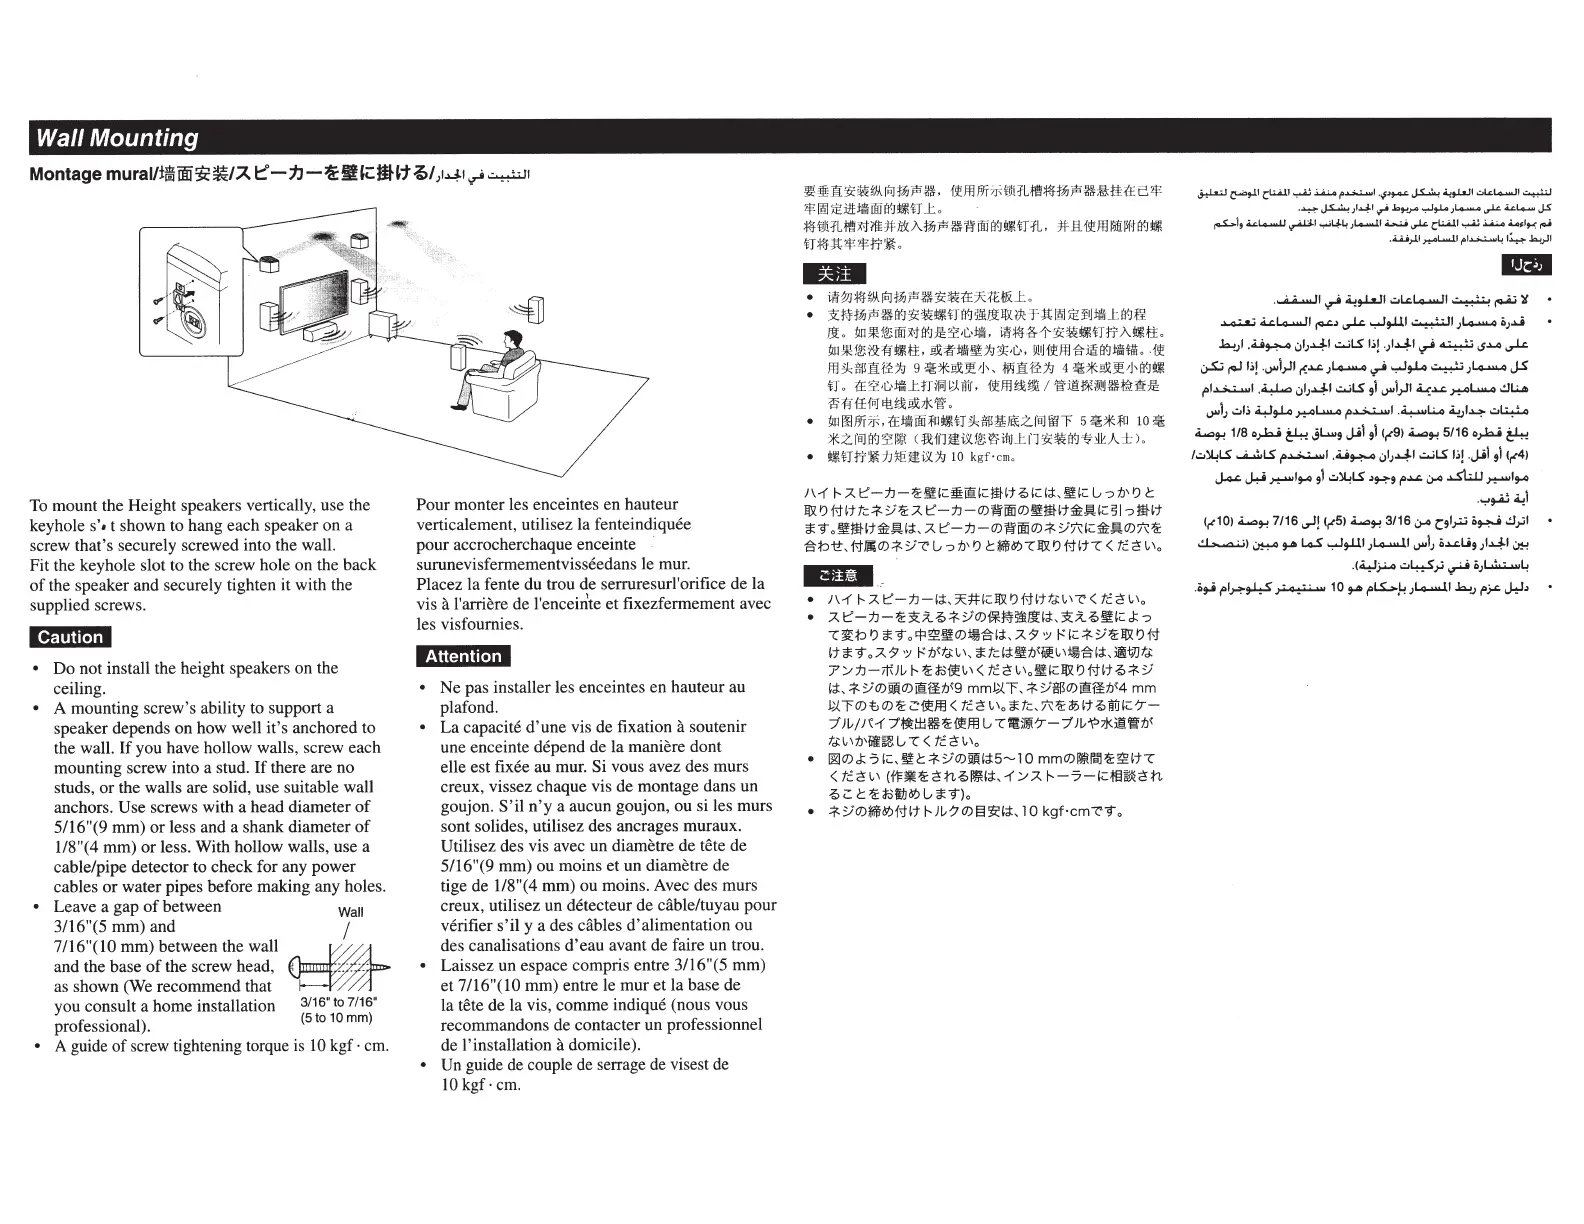
Wall
Mounting
To mount the Height speakers vertically, use the
keyhole
s'•
t shown to hang each speaker on a
screw that's securely screwed into the wall.
Fit the keyhole slot to the screw hole
on
the back
of
the speaker and securely tighten it with the
supplied screws.
ltmft!i.!ii
•
Do
not install the height speakers
on
the
ceiling.
• A mounting screw's ability to support a
speaker depends
on
how well it's anchored to
the wall.
If
you have hollow walls, screw each
mounting screw into a stud.
If
there are
no
studs,
or
the walls are solid, use suitable wall
anchors. Use screws with a head diameter
of
5/16"(9
mm)
or
less
and
a shank diameter
of
118"(4
mm)
or
less. With hollow walls, use a
cable/pipe detector to
check
for any power
cables
or
water pipes before making any holes.
•
Leave a gap
of
between
Wall
3/16"(5
mm)
and /
7/16"(10
mm) between the wall
~
and the base
of
the screw head,
.
as shown (We recommend that
1---
you consult a
home
installation
3116"
to
7/16'
professional). (
5
to
10
mm)
• A guide
of
screw tightening torque is
lO
kgf
·
em.
Pour
monter
les
enceintes en hauteur
verticalement, utilisez
Ia
fenteindiquee
pour accrocherchaque enceinte
surunevisfermementvisseedans le
mur
.
Placez Ia fente
du
trou
de
serruresurl'orifice
de
Ia
vis
a
l'arriere
de
!'enceinte
et
fixezfermement avec
les visfournies.
1!i
i
ffli1
it.J.
I
•
Ne
pas installer les enceintes en hauteur au
plafond.
•
La
capacite d
'u
ne vis
de
fixation
a
soutenir
une enceinte depend de Ia maniere dont
elle
est
fixee
au mur.
Si
vous avez des murs
creux, vissez chaque vis de montage dans un
goujon.
S'
il
n'y
a aucun goujon, ou si les murs
sont solides, utilisez des ancrages muraux.
Utilisez des vis avec un diametre
de
tete
de
5/16"(9
mm)
ou
moins
et
un diametre de
tige
de
l/8"(4
mm)
ou
moins. Avec des murs
creux, utilisez
un
detecteur
de
cable/tuyau pour
verifier
s'il
y a des
cables
d'alimentation
ou
des canalisations
d'eau
avant
de
faire
un
trou.
• Laissez un espace compris entre
3116"(5
mm)
et
7/16"(10
mm)
entre
lemur
et
Ia
ba
se de
Ia
tete
de
Ia vis,
comme
indique (nous vous
recommandons
de
contacter un professionnel
de !
'i
nstallation
a
domicile).
• Un
guide de couple de serrage de visest de
lO
kgf
·em.
-
~-~--~-
~··
~fflfi~
·~
---~
-
M~~B~
$iiji)EJ!tJillTJii(!':J
~H
.L
••~M~~n•A•~•woo~•n~
.
~
#~
m•~~•
H
:f!HPt~rr~
.
•••
.
-~--~-~
-~
- ~
~~-~
.
~
M·~-
~~··H~~~~
~~X~
)E~·~
~-
~
.~
-ETJii~
~~
~~-.
m•
&
~ ~
-·
HrrA.tt
.
~*E&W.
tt.d#
·M~~~. ~
~ffl*B~··
·~
ffl~
E
B*
~g·*·~
~-MB*~ 4·*·~~
~·
~tJ.
~~·L.·
l!lt~
tl
i1lili;!.
Jl'u
.
f:t
ffltU!\1
1
'1fitl:
l*i9!~•~
:llt~
S'W
f
ffnJ~~-7](~
.
•
~uOOJifrii'
,
~
•rliito•n
~fl!l~Jt\:zJo
Hl'
f
f
5
li<*l0
10
~
*Z.I'
Bl~
~IW-
<flt
ffltl!i-
5Uf!;~i1Hrl'ii:&
~~
~kA.J:
>.
•
•nrr~tJJ<JiJ
!
i)(
~
10
kgf
·
cm
.
1\
-(
I<Z
1::'
-
:IJ
-~l\!,<:i!:iilH<:IJH:t~'<:';l:
,
/l(L:
u?
t.l
' I)<:
IIJ<IJ
f;H:tt
c~Y~
:;z,
1::'-:IJ-O)~[!ij
O)l\!
!i
H
:t;iH~
.,
<:s
l
-:>!iH1
3:9
ollliH1
~~,;t.
:;z,
1::'-:!J-
O)~
[IijO)~Y~';::~~
O)~
~
ti:b
tt.
f"<J
J!O)~YC'
u?
t.l'IJ cl!i'i
<l'l<:IIJ<
IJ
MW<::
<
t.:
~
~
'
o
••
c
1\-f
1--
:;z,
1::'
-:IJ-(;I:
,;R#'<:::IIl<
IJf;:t(HH'C'
<
tc<!~
'o
;z.I::'-:IJ-~~~~~YO)·M~-~~~~-~~?
<:R:b
iJ
3:~~~-0)~t;~;z,~
~~
~~Y~IIl<IJM
(]3;9
oA
~
'Y
~f.l{;IJ:
~\,
3:f;:(;j:I§I
f.l
{
~l,\~
I'§J
(
;I:,~~
fd:
7/:IJ-J!{J~
f.
~;j;)~l,
l(
f
~~~
\o
!II<::IIJ<I)f;:t(j~~
Y
,;1:,
~YO)BJ!
O)@fff.J19
mmi;{'f,
~Y$0)@fff.l14
mm
J..
j'fO)
'f.,
0)
~
i:'~ffl
<
tt~
~'o
3:tc,
~~65(j~JiiJ(
;:?-
-
7'MI~-f/~tl:\~~~ffluT1!11:~7-/J~t->7.1<~'ftH
t"~'f.J
'
lii'~u
<:
<
t.:~
~,0
~0)~?
(
;::,
I§I<:~V'O)llfi(;l:5~
1
o
mm0)111ltr.,~~'1<:
<
tt<!~o'
(t'F~~<!n~~,;t
.
-f::,;;z,
1--
-7-
(
<:::ffl~~n
~
<:
C
~;j;)I!J<I'J
U
ao9
)o
~
YO)j\ijj
il')f;:t(jf.J~?O)EI~(;I:,
10
kgf·cmC'9
o
~~
l
~l~.i.Lo...o~
I
V~~~"-:!,J..a.J
I
.:.
LL
L4...-J
I
~
·
~~
J
I
4
1
~.Jg,..J""'~,..Lt
J
L..o...-.o~<LLL..o.,.....
JS
,..S:...It
"l.-U
~
~
~L4-4JL.......J.
I
~
~
ct.o..U
I
~~
41
1...:_..i
.
.u.a~
t
~t...
••.
u
p
l
~
4
'
~
J::.,.,
~
'
~I~
~,J..s..l
l
.:.Ld._..l
l
~~)I
~
4t...-.i
l
<"-''
.,..L:.
.,.J,..UI
.:..;..W
I
;
~
io;..>..i
.b....;f
•
.U~
ch•~
'
..
:
...
as
J;
!
-;1
41
~
~
.s.....,
.,..L:.
~,..;
J;!
-
vul,JI
f-"-';~
~
.,..1,.4
~
;
~
J.S
,.,~,
.
4..,..l..o
.;1;41
..:.;IS
,1
vul,JI
.L_:.u.
,...ol.......4
.!!La
vu
1;
.:.J;
.o..,l,J..o,...ol.......41"~'
.~~..;...,
.;..J,.~
.:.~
.......
~
1/8
·~
~
jLw,
J.i1
,1
(
f9)
.......
~
5/16
·~
~
/.:.:I41S
~IS
I"~
I
.
..UH-4
.;1;
41
..:.;IS I;!
.J.il
,l
!f41
~
J,.i
,.......,,...,
,1
.:.:I41S
·~'I"""'
.;,..o
.....s;Lu
,.......
,
,...,
.
..,~~
~
(,...1o,
.......
~
7t16
.,..1!
(,...5,
.......
~
3/16""""
o'~
·~
.!.1_,.;
1
~~
~
~
Lo.S
.,.J,..UI ;Lo-w.ll
vul;
o.u.Li, ;
14
1
~
.(.o..Jj..i.o
.:.4-;S,.;
~
o;L...:..i....w
4
.
o,..;
~"'~,.J..,..S'
...............
10
~
I"L.L.i-!
;Lo-w.ll .b...J
f'~
J..,..l
•
 Loading...