8
STEP 2: WATERING DURATIONS
To set the duration for each station/zone assigned to “Program B”
please do the following:
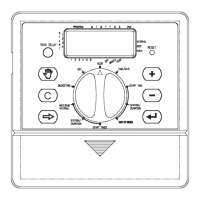
• Turn the rotary dial to the STATION DURATION position
in “Program B”. The display will show a “B” and MINS. [See
Figure 6]
• Press the NEXT key until the cursor blinks over the first sta-
tion assigned to “Program B”. Using the “Watering Plan” as
our example, this would be station 5. [See Figure 2]
• Press and hold the or key to enter the watering duration
and press the ENTER key. You should see a “B” over the
Station just programmed. [See Figure 6]
• Following the steps above to set the watering duration for each
remaining station assigned to “Program B” (30 min for station
5 and 30 min for Station 6 our example).
• To skip a station, press the NEXT key.
• To erase previously programmed watering durations, press the
CLEAR key.
STEP 3: ASSIGNING WATERING INTERVALS
• Turn the rotary dial to WATERING INTERVAL. The cursor
will blink to the left of the word Interval. [See Figure 7]
• Press and hold the or keys to select the number of days
between watering. Example: If you want to water once every 10
days, set the interval at 10.
• To activate the watering interval, press ENTER. Example: If
an interval of “3” is entered today, the timer will water for the first
time today, and then again every “3” days.
• To select odd or even day watering, press NEXT. The cur-
sor will move to either the odd or even setting, then press
ENTER.
• To erase a schedule, press CLEAR. To enter a new schedule,
press NEXT.
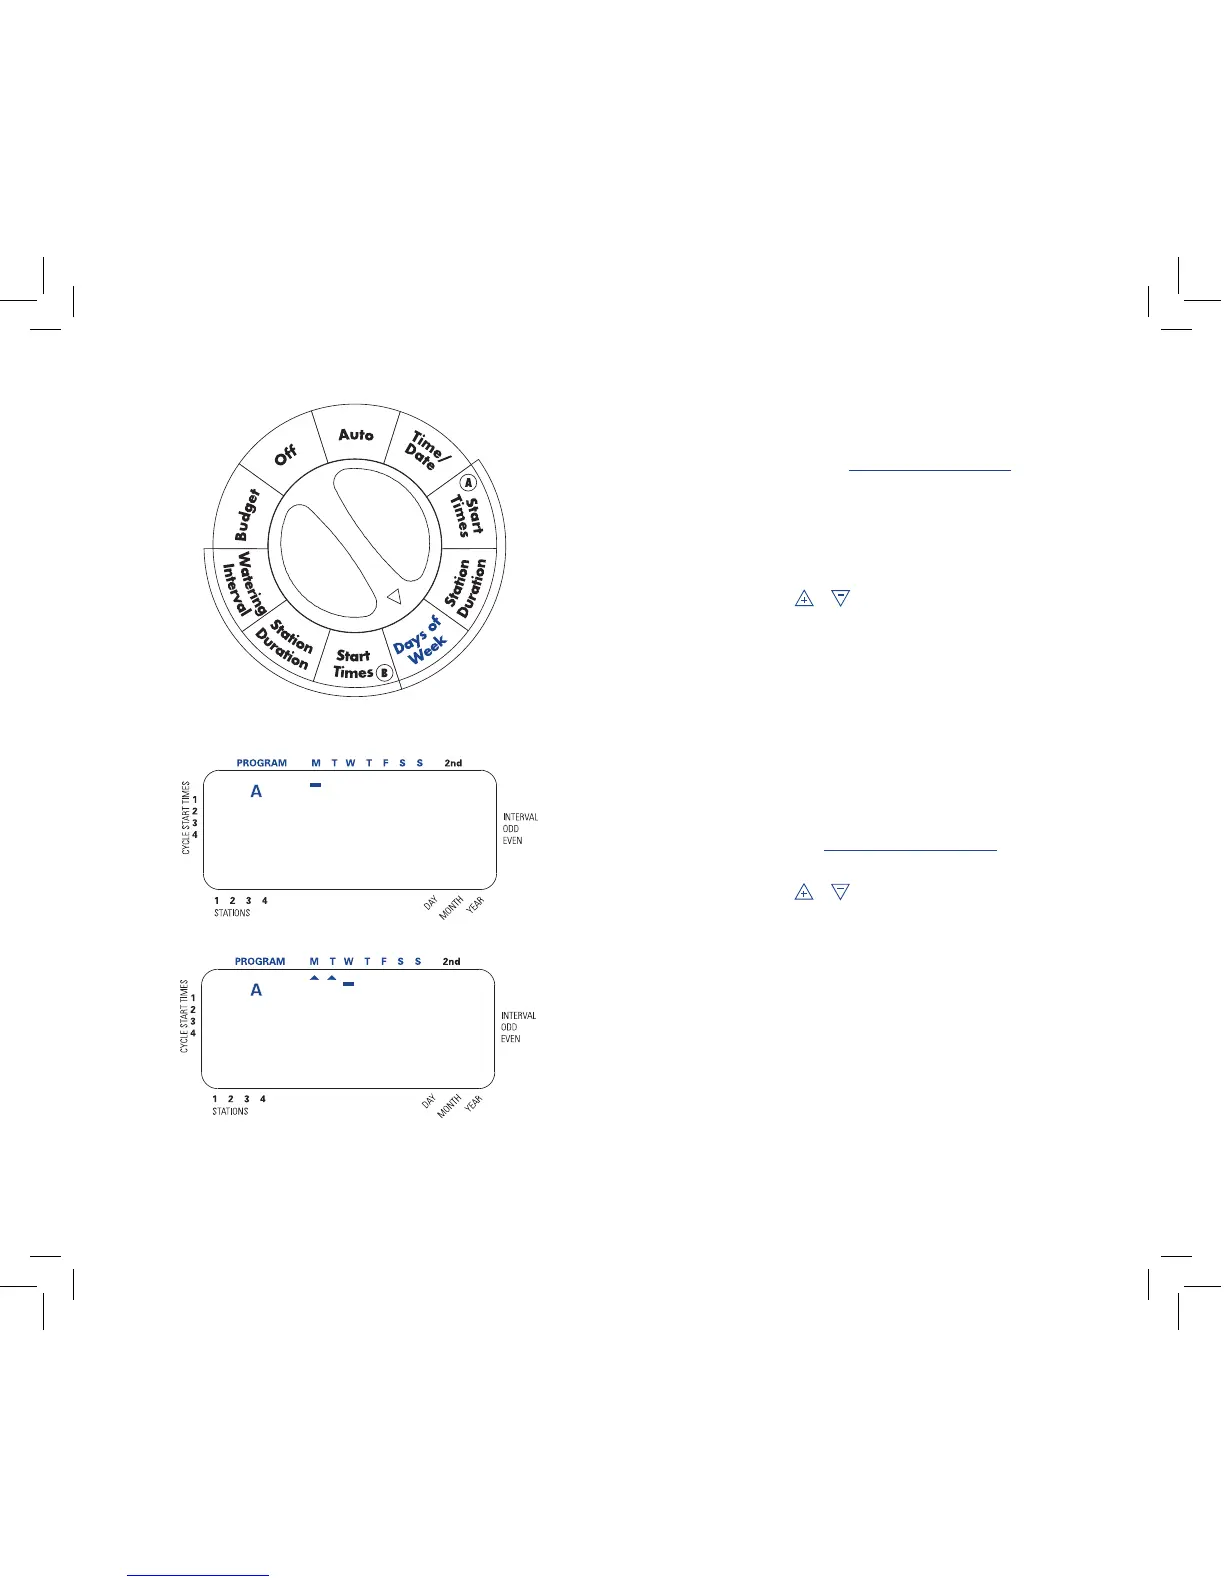
Figure 5: LCD Display with Watering Days
NO DAYS ASSIGNED
ENTERING WATERING DAYS
 Loading...