Programming the Timer can be accomplished in just a few basic steps. Before
you begin programming, it is important to install the battery, set the time of
day and date, and establish a watering plan.
Install the Batteries
The Timer requires two AA batteries to maintain the time and date in case of
AC power loss. In a typical installation, fully charged batteries should provide
sufficient power for approximately one year of operation.
Remove the terminal cover.
Insert two AA batteries into the battery compartment.
Return the terminal cover to its closed position.
Weak or missing batteries can cause the time and date to be erased after a
power failure. If this happens, you will need to install fully charged batteries
and re-enter the time and date. All other program settings will be maintained
in non-volatile memory. The display will show "LO BAT" when it is time to
replace the battery.
Set the Time of Day and Date
If this is the first time the Timer has been programmed, you should press the
small recessed button labeled
RESET. Pressing RESET does not affect the factory
installed fail-safe program [See Figure 2].
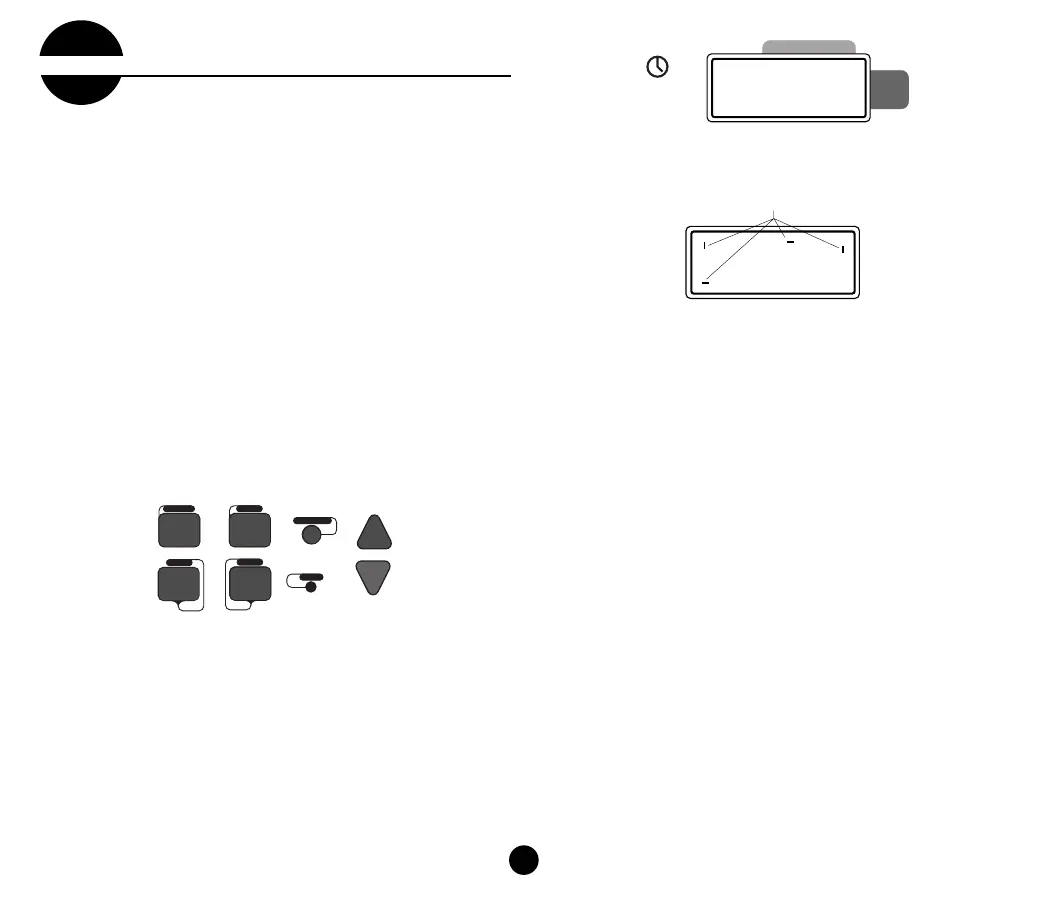
FIGURE 2: Programming Keys
Tu rn the rotary dial to the TIME/DATE position [See Figure 3].
12:00 AM will appear in the display with three arrows pointing to the year,
month, and day.
Use the + and - keys to set the correct time of day. When the correct time
of day is reached, press the
ENTER key to lock in the time. To increase or
decrease more rapidly, hold down either the + or – keys until the display
goes into rapid advance mode.
A blinking cursor will appear below the arrow for the year, month, and
date when programming [See Figure 4].
Use the + and – keys to set the correct year, then press
ENTER.
Use the + and – keys to set the correct month, then press
ENTER.
Use the + and – keys to set the correct date, then press
ENTER.
FIGURE 3: LCD Display with Surrounding Information
FIGURE 4
Caution: If a watering schedule is not entered into the Timer, the factory installed
fail-safe program will turn on each station every day for 10 minutes.
To avoid accidental valve activation, either turn the rotary dial to
OFF or enter a
watering schedule.
Establish a Watering Schedule
To help you visualize how best to program the Timer, it might be helpful to
make a watering plan on paper. This will help you establish which days and
times you want to water.
▼▼▼▼
AM
▼
▼▼▼
▼▼▼▼▼▼ ▼▼▼▼▼▼
▼▼▼
▼
Cursor
5:00
INTERVAL
ODD
EVEN
M TWT F S S 2nd
1
2
3
4
123456789101112
ZONE
PROGRAM
CYCLE
START TIMES
DAY
MONTH
YEAR
AM
▼▼▼
12:00
NEXT
CLEAR
MANUAL
RAIN DELAY
ENTER
RESET
2
2
section
Getting Started
WTM210729 57962-24 rE.qx 6/11/01 1:43 PM Page 2
 Loading...