3
OWC Envoy Pro
Device Setup
2.2 Enclosure Assembly
NOTE: The assembly process is identical for both versions of the OWC Envoy Pro, but the black
connector has a slightly different appearance in the Envoy Pro for PCIe drives. The pictures used in
the assembly steps use the Envoy Pro for SATA drives.
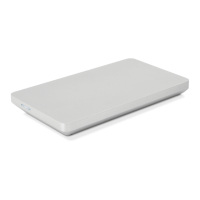
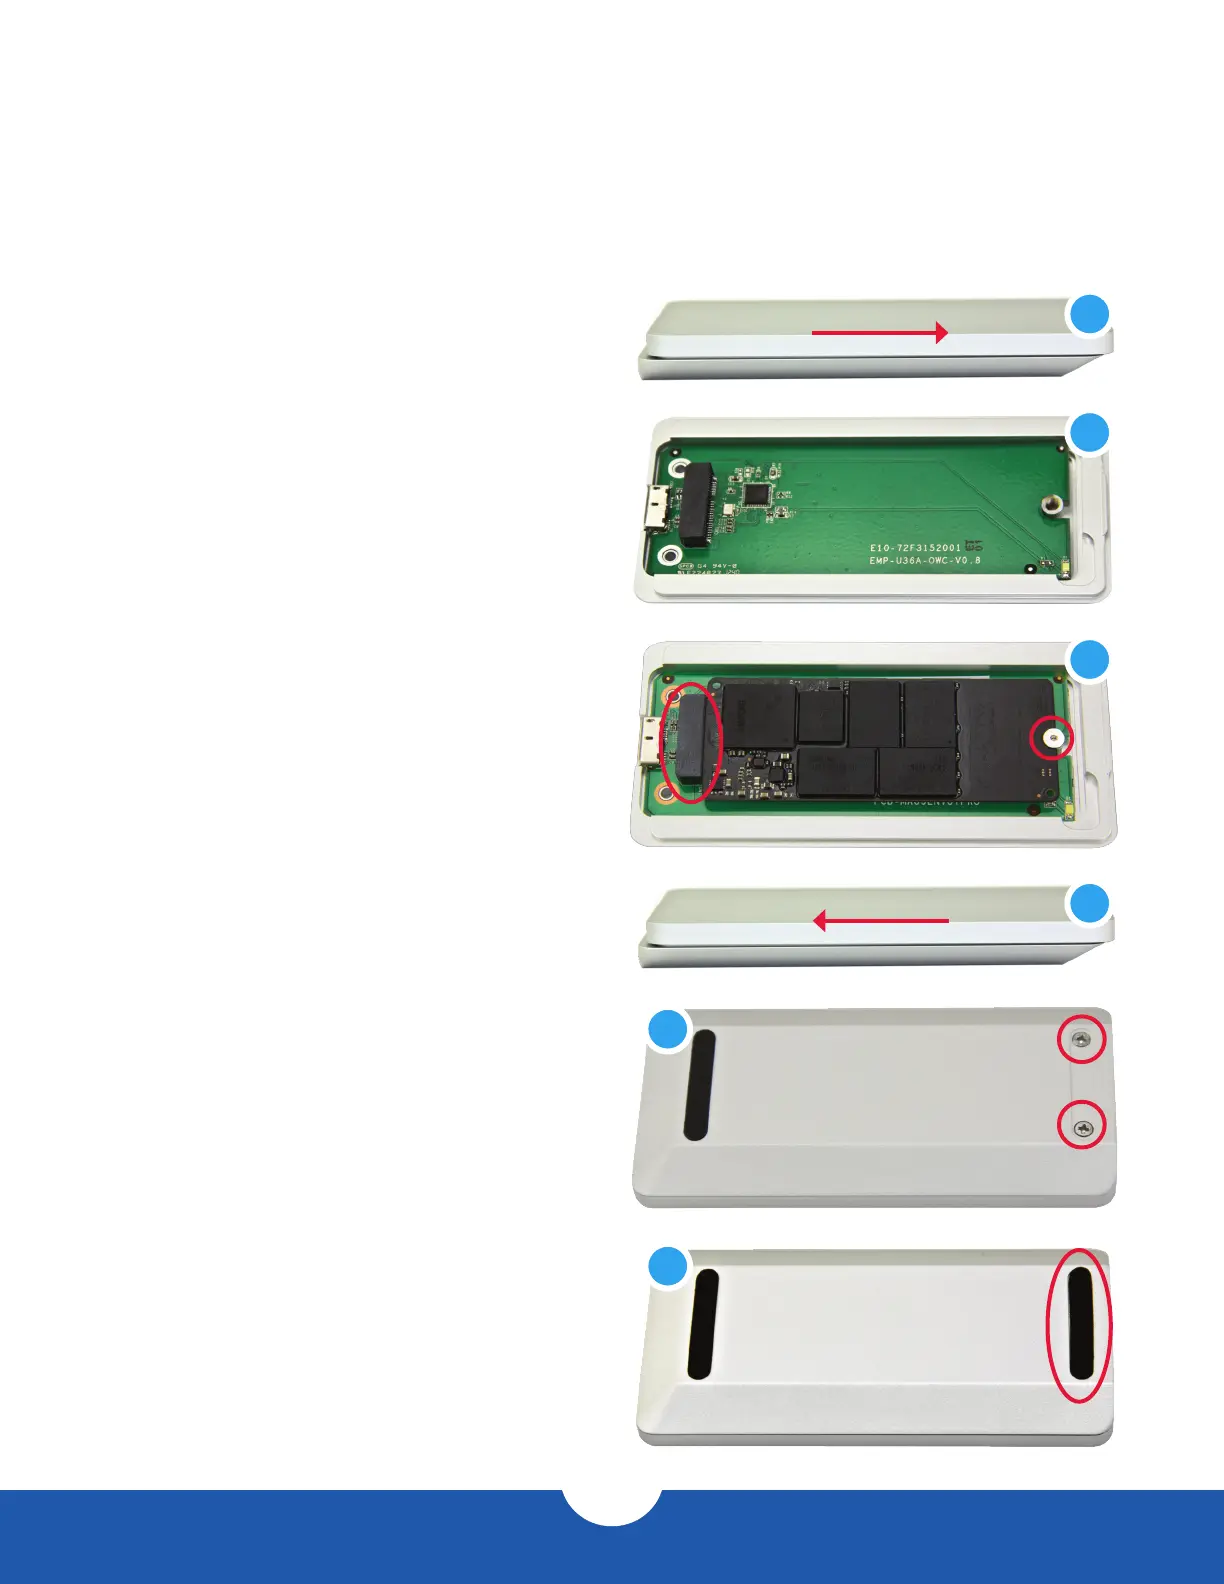
1. Remove the Envoy Pro from its packaging. Slide the top
cover in the direction shown below, then lift up and set
the cover aside.
2. Inside the enclosure, there is a green circuit board.
Notice also the black connector at left, and a screw hole
at far right.
3. Insert the SSD into the black connector. The connector
is notched so that the SSD ts using only one
orientation. Next, use the short Torx T5 screw to hold
the SSD in place (circled above-right). Do not over-
tighten the screw.
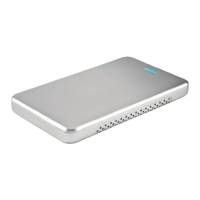
4. Replace the top cover and slide it in the direction shown
in red, until it is ush with the bottom cover.
5. Flip over the Envoy Pro. Insert the two long Torx T5
screws into the screw holes (circled in red) and fasten
them.
6. Remove the backing on the adhesive rubber foot and
place the sticky side of the foot in the groove to cover
the screws.
The assembly process is now complete. You can begin
using the Envoy Pro right away. If you need to format the
SSD inside the Envoy Pro, see Section 3.1 to view our
recommended formatting tips.
1
2
3
4
5
6
 Loading...