04DEVICE SETUP
DEVICE SETUP
2.1 INSTALLATION OF M.2 DRIVE(S)
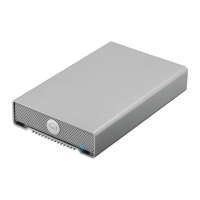
This section describes the process of installing one or more
M.2 drives into the OWC U2 Shuttle. NVMe drives with a 2280
form factor and M-key connector are required. Other M.2 drive
types are not supported.
1. Remove the device from the retail packaging and set
it on a static-free work surface.
2. Remove the four cover screws at the locations shown
(there are two on each side).
3. Lift the cover off the device and set it aside.
4. Based on the number of M.2 drives you wish to install,
remove the screws from the corresponding drive posts
(highlighted), then set them aside.
5. For each SSD, align the M-key connector on the drive with
a connector on the PCBA and carefully seat the drive
in the connector. Minimal force is required. If a drive does
not seat correctly, do not apply more force. Remove the
drive, re-align it, and try again. Note: once seated
it is normal for each drive to sit at an angle.
6. For each SSD, hold the end of the M.2 drive down against
the corresponding drive post, then re-affix the screw you
removed earlier, to secure the drive in place.
7. Re-seat the cover, making sure that it sits flush with
the shuttle chassis on all sides. While maintaining a
modest amount of downward pressure on the cover,
re-affix the four screws you removed in Step 2 to secure
it. IMPORTANT: when the cover is seated and affixed
correctly, the tops of the “fins” on the cover will sit flush
with the top edges of the chassis. This reduces the
potential for installation issues when working with the
U.2 NVMe Interchange System.
This completes the drive installation process.
- To install with Mercury Helios 3S and U.2 NVMe
Interchange System, go to Section 2.2.
- To install in a ThunderBay Flex 8, skip to Section 2.3.
- To install in Mercury Pro U.2 Dual, skip to Section 2.4
3
5
7
4
6
 Loading...
