98
10.3. Installing and removing the optional tray
10.3.1. Installing optional tray
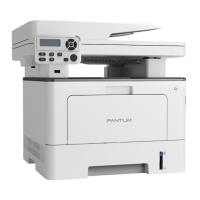
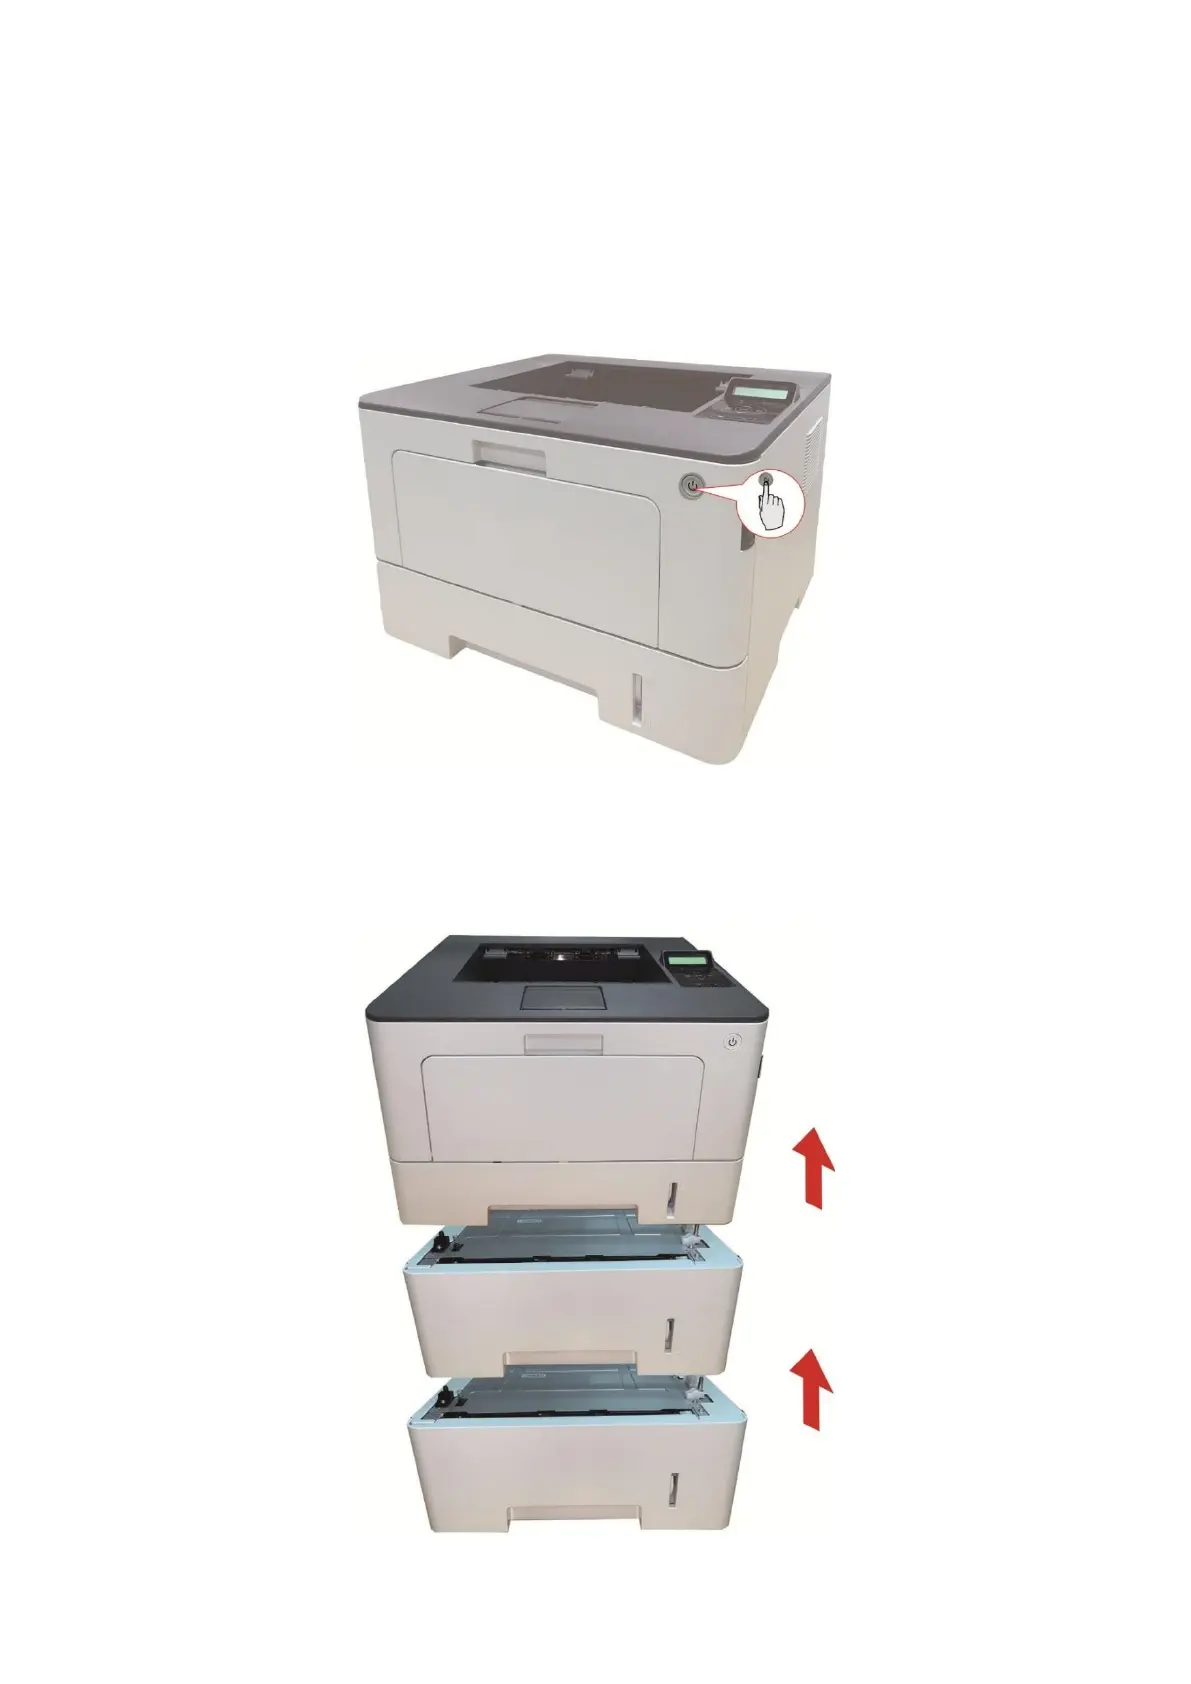
This printer supports the use of optional trays, and can hold up to 2 optional trays. Each tray can
hold up to 550 pieces of 80g/m² paper.If you want to buy optional trays, please contact the local
dealer who has purchased the printer.
1. Turn off the printer.
2. Unplug the power cord from the electrical outlet, and then unplug the power cord from the
printer.
3. Unpack the optional tray, and then remove all packaging materials.
4. Make sure the printer body and optional trays are placed correctly, as shown in the figure below.
5. Plug the power cord into the printer and turn on the power.
 Loading...