14
GB CY
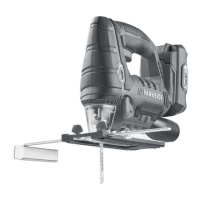
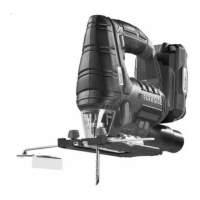
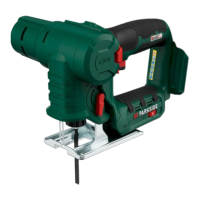
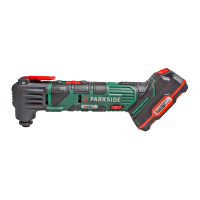
Removing the slide shoe
1. Press the slide shoe (20) on the notches
(20a) from the baseplate (5).
2. Pull the slide shoe (20) forward, away
from the baseplate (5).
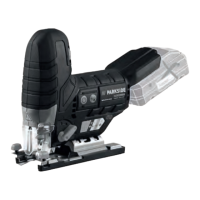
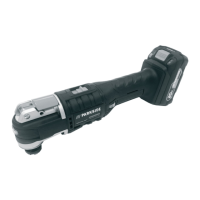
Removing/inserting the
rechargeable battery
1. To remove the battery (22) from the
device, press the release button (23)
on the battery and pull the battery (22)
out.
2. To insert the battery (22), push the bat-
tery (22) along the guide rail into the
device. You will hear it click into place.
Only insert the battery once
the battery-operated tool is
fully ready for use.
Checking the
charge status of the
rechargeable battery
The battery charge status indicator (22a)
signalises the state of charge of the battery
(22).
Press the button (22a) on the battery. The
state of charge of the battery is displayed
by illuminating the 3-colour LED lights of
the state of charge display.
3 LEDs light up (red, orange and green):
Battery is fully charged.
2 LEDs light up (red and orange):
Battery has a residual charge.
1 LED lights up (red):
Battery has to be charged
Only charge the battery (22) when
the red LED on the charge status
indicator (22a) is on.
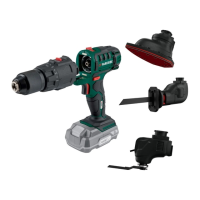
Recharging the battery
Allow a hot battery to cool before
charging.
Only charge the battery (22) when
the red LED on the charge status
indicator is on.
The charging time is around 1 hour.
1. Remove the battery (22) from the ap-
pliance, as necessary (see „Removing/
inserting the battery“).
2. Insert the battery (22) in the charging
compartment of the battery charger
(24).
3. Plug the battery charger (24) into a
mains outlet.
4. When the battery is fully recharged un-
plug the battery charger (24) from the
mains.
5. Remove the battery (22) from the
charger (24).
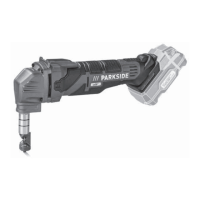
Installing/changing the
saw blade
Wear protective gloves when
attaching the saw blade.
Risk of injury when touching the
saw blade.
Only saw blades with a
T-shank mount (single lug
shank) such as the supplied
saw blades (16/17) can be
used.
Installing the saw blade
Make sure that the saw blade holder is
free of splinters or other material residue.
 Loading...