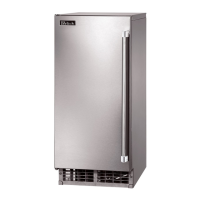
19
7) Tighten the four M4×25 pan head screws installed in step 5. See Fig. 19.
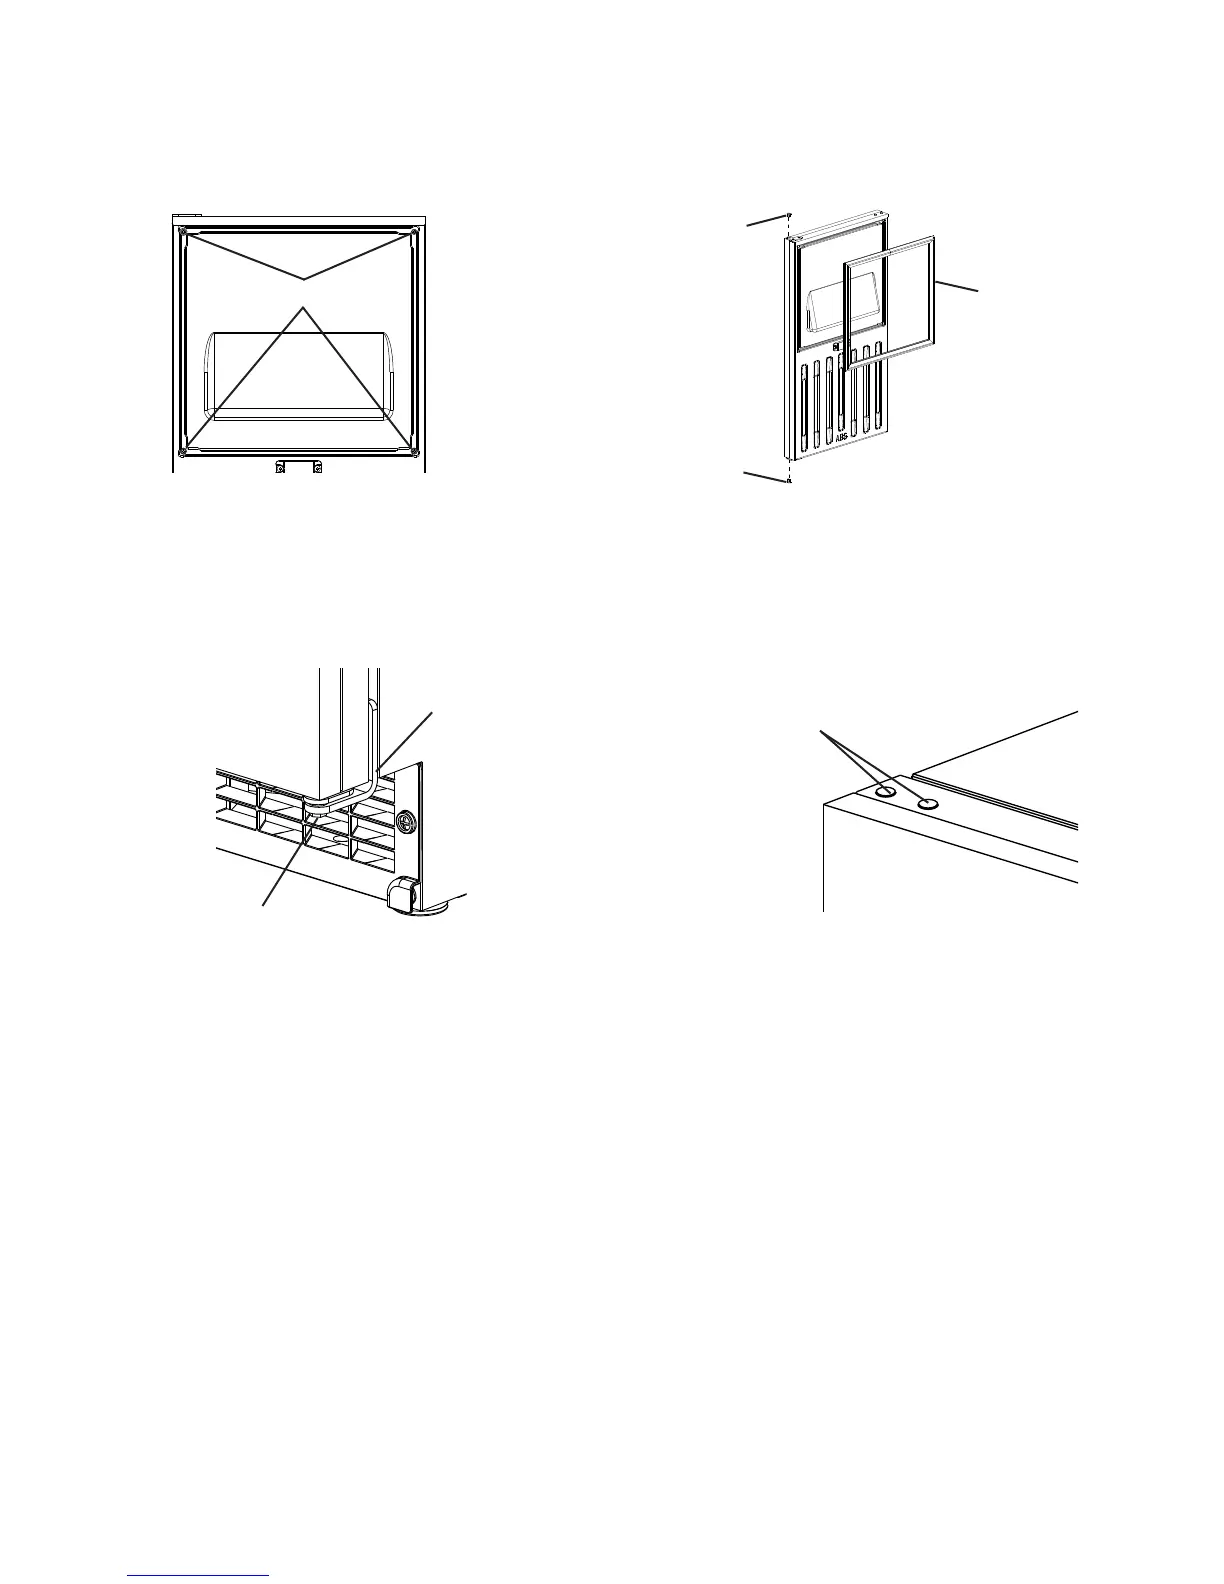
8) Replace the door gasket in its proper orientation. Reinsert the bushings into hinge (C1)
and hinge (C2) (the hinges attached to the door). See Fig. 20.
Canoe Clips
Fig. 19
Tighten the screws.
Bushing
Bushing
Gasket
Fig. 20
9) Attach the door to hinge (A), then continue to maintain a hold on the door. Screw the
hinge stop pin into hinge (B) until it is tight. See Fig. 21.
10) Insert the 2 canoe clips included in the accessory bag into the holes on top of the door.
See Fig. 22.
Hinge Stop Pin
Hinge (B)
Fig. 21 Fig. 22
Door
 Loading...