EasyManua.ls Logo

Pfaff Embroidery Machine User Manual

Pfaff Embroidery Machine
6 pages
To Next Page IconTo Next Page
To Previous Page IconTo Previous Page
Page #3 background imageLoading...
Page #3 background image
7:3
A
Embroidery Mode - Preparations
creative vision™ Embroidery collection
Page through the creative vision™ Embroidery
collection for designs and fonts.
The design number, stitch count (number of
stitches in the design) and the design size are
displayed next to each design. The suggested
thread colors for each color number are shown.
Connect the embroidery unit
There is a covered socket behind the free-arm, see
picture. The cover will open automatically when
connecting the embroidery unit.
1. Slide the accessory tray off.
2. Slide the embroidery unit onto the free arm
of the machine until it plugs rmly into the
socket. If needed, use the level adjusting feet
so that the machine and embroidery unit are
even. If the machine is turned off, turn it on.
3. A pop-up tells you to clear the embroidery
area and remove the hoop for positioning.
Touch OK. The machine will calibrate and
the embroidery arm will move to the ready
position. This calibration will set your
embroidery functions each time you slide on
the embroidery unit.
Make sure not to calibrate the machine with the
embroidery hoop attached as this can damage the
needle, presser foot, hoop and/or the embroidery
unit. Be sure to clear all materials from around the
machine before calibrating so that the embroidery
arm does not bump into anything while calibrating.
Remove the embroidery unit
1. To store the embroidery unit in the embroidery
case, move the embroidery arm to park
position by selecting park position on the
screen in either embroidery edit or embroidery
stitch-out.
2. Press the button at the left, underneath the
embroidery unit (A) and slide the unit to the
left to remove it.
3. The cover of the socket closes automatically.
4. Store the embroidery unit in the original
packing material, place in the soft carrying bag.
Question and Answer IconNeed help?

Do you have a question about the Pfaff Embroidery Machine and is the answer not in the manual?

Pfaff Embroidery Machine Specifications

General IconGeneral
BrandPfaff
CategorySewing Machine
TypeEmbroidery Machine
Stitch OptionsVaries by model
Built-in DesignsVaries by model
USB PortYes
LCD ScreenYes
Automatic Thread CutterYes
Needle ThreaderYes
Maximum Embroidery AreaVaries by model
SpeedVaries by model
WeightVaries by model
DimensionsVaries by model

Summary

Embroidery Preparations

Embroidery Unit Components

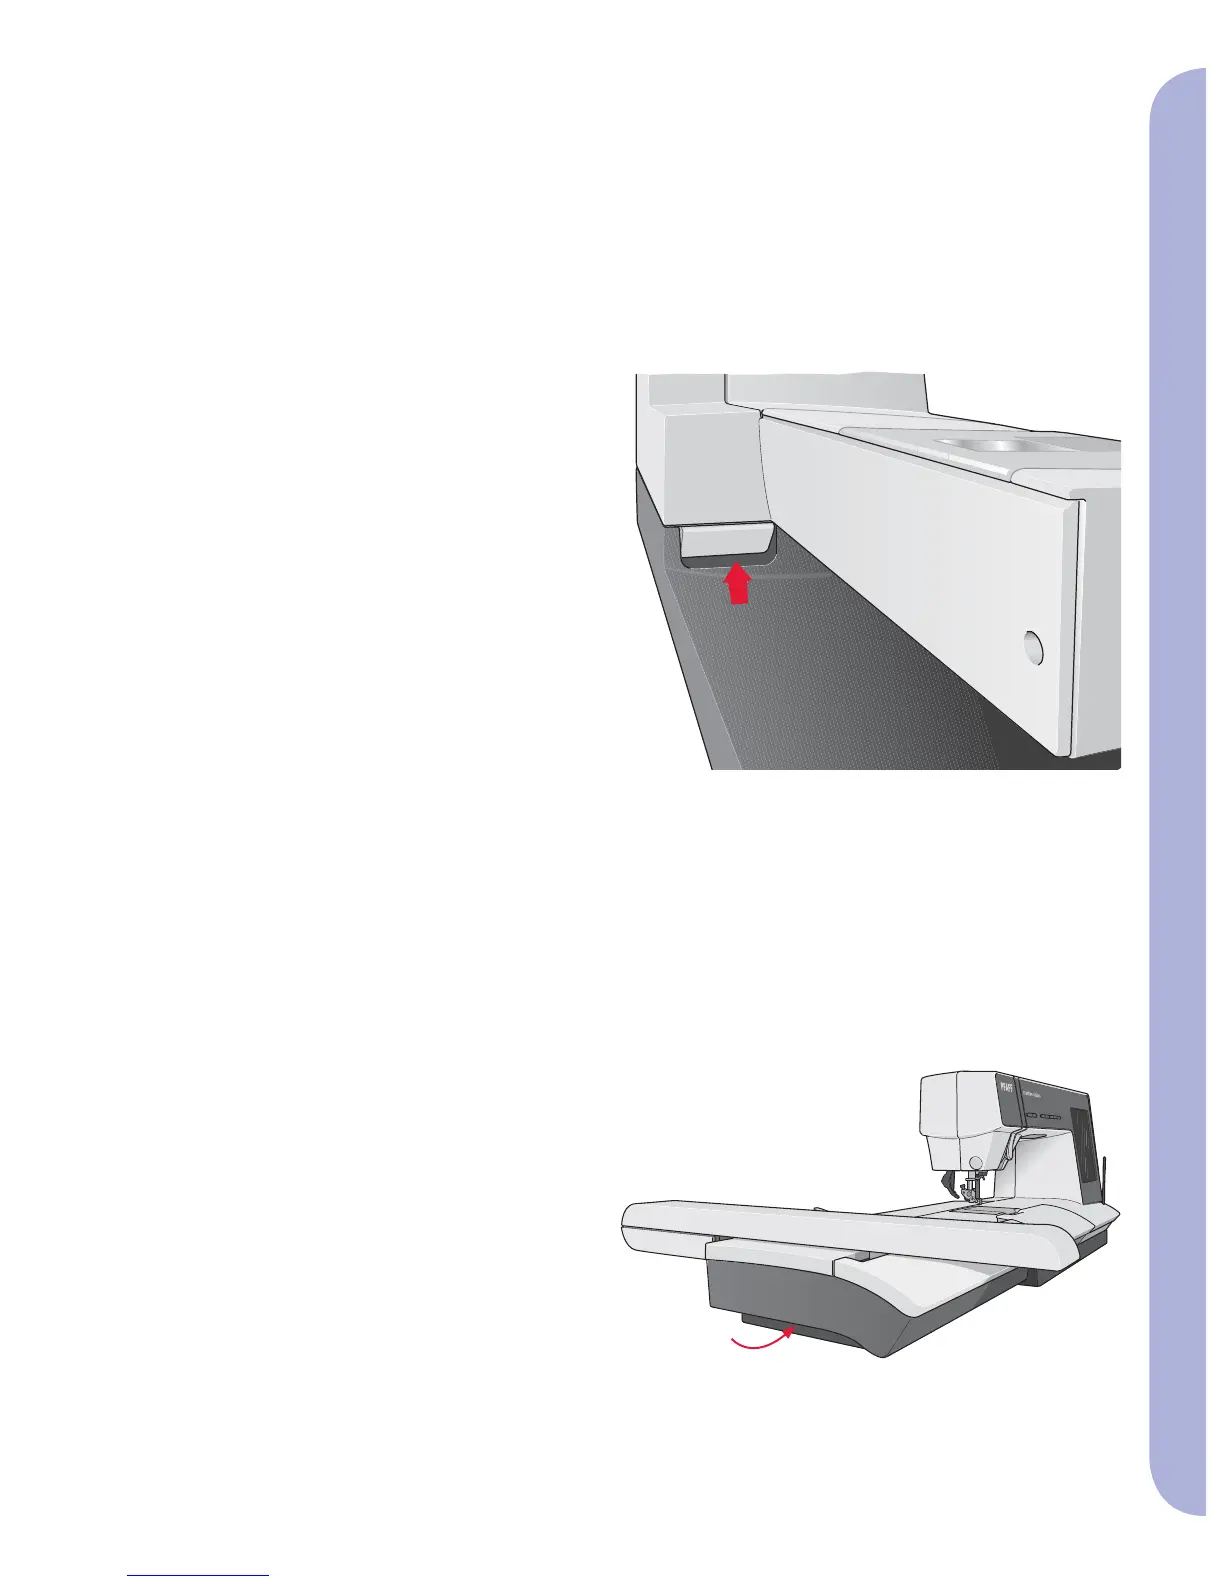
Details the parts of the PFAFF embroidery unit, including its arm, socket, and accessory tray.

Embroidery Hoop Components

Identifies the parts of the embroidery hoop, such as the connector, inner/outer hoops, and retaining screw.

Connecting and Removing Embroidery Unit

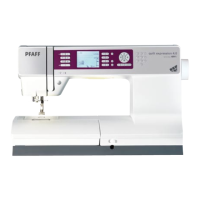
Step-by-step instructions for attaching and detaching the embroidery unit to the sewing machine.

Hooping Fabric and Attaching Hoop

Guides on hooping fabric and attaching the hoop to the embroidery unit for stitching.

Getting Started with Embroidery

Instructions on selecting a design, loading it into embroidery edit, and preparing for the stitching process.

Embroidery Stitching Process

Details the process of embroidering, including thread changes, cutting, and finishing the design.

Related product manuals